As the crisp autumn air settles in and Halloween decorations start filling the streets, I find myself craving the cozy comfort of homemade treats. This year, I decided to embrace the spooky spirit and whip up something fun: Spooky Mummy Brownies! The moment the sweet aroma of brownies wafts through my kitchen, it instantly lifts my spirits and brings back fond memories of baking with friends.
What makes these brownies so special is not just their decadence but also their playful presentation. With just a few simple ingredients—like a trusty box of brownie mix and some white chocolate chips—you can transform a classic dessert into an adorable Halloween centerpiece. Imagine the delight on your family and friends’ faces when they see these ghostly treats adorned with candy eyes! It’s a perfect recipe that combines ease and creativity, making it a crowd-pleaser for any gathering. So, let’s dive into the magic of creating these Spooky Mummy Brownies and add a little festive fun to your autumn baking!
Why are Spooky Mummy Brownies a must-try?
Irresistible spooky charm: These brownies aren’t just tasty—they’re a frightfully fun addition to your Halloween festivities.
Easy to make: With just a box of brownie mix and minimal ingredients, you’ll be baking up a storm in no time.
Crowd-pleaser: Perfect for parties and family gatherings, these brownies are guaranteed to bring smiles and spark joy.
Creative fun: Drizzling white chocolate to form mummy bandages adds an element of fun that kids will love helping with.
No-fuss dessert: This recipe saves you time while delivering an eye-popping presentation—what’s not to love?
Get ready to entice your guests with these delightful treats, and if you’re interested in more festive ideas, check out my Halloween dessert collection!
Spooky Mummy Brownies Ingredients
• Here’s what you need to create your hauntingly delicious treats!
For the Brownies
- Box brownie mix – A simple base that guarantees rich, fudgy goodness; follow the box’s instructions for best results.
- Ingredients listed on the box – Don’t forget to include eggs, oil, and water as mentioned; they’re crucial for your brownies to rise perfectly.
For the Mummy Decoration
- White chocolate chips – Melting these creates a creamy drizzle that mimics mummy bandages and adds a sweet contrast to the rich brownies.
- Candy eyes – An adorable touch that brings your Spooky Mummy Brownies to life and makes them irresistibly cute!
Now that you’ve got the essentials, you’re all set to embark on this fun baking adventure! Enjoy bringing your spooky treats to life this Halloween!
How to Make Spooky Mummy Brownies
-
Prepare the brownie mix according to the package instructions, whisking together the ingredients until smooth. Pour the batter into a greased baking pan for easy release later.
-
Bake the brownies in a preheated oven as directed on the box, usually around 350°F for about 20-25 minutes, or until a toothpick comes out with a few moist crumbs. Let them cool completely.
-
Melt the white chocolate chips in a microwave-safe bowl—heat in 30-second intervals, stirring in between until smooth and creamy. This will be your mummy bandage drizzle!
-
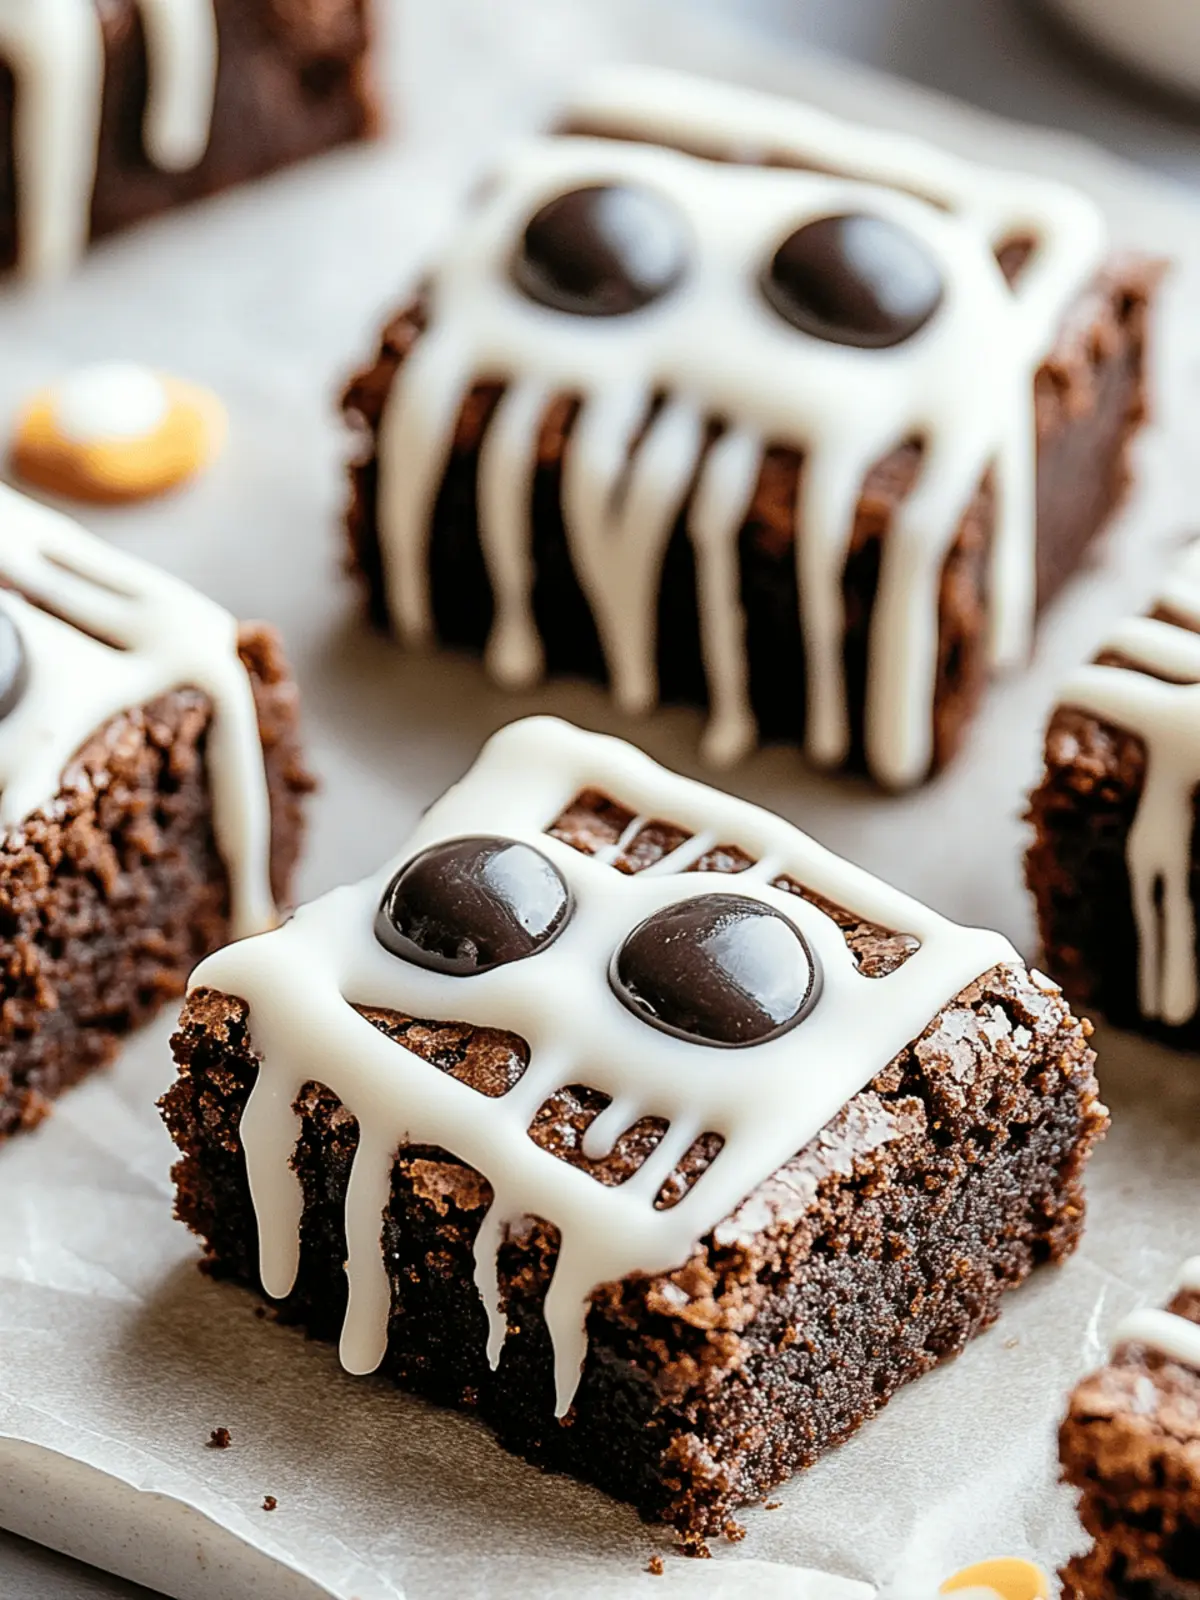
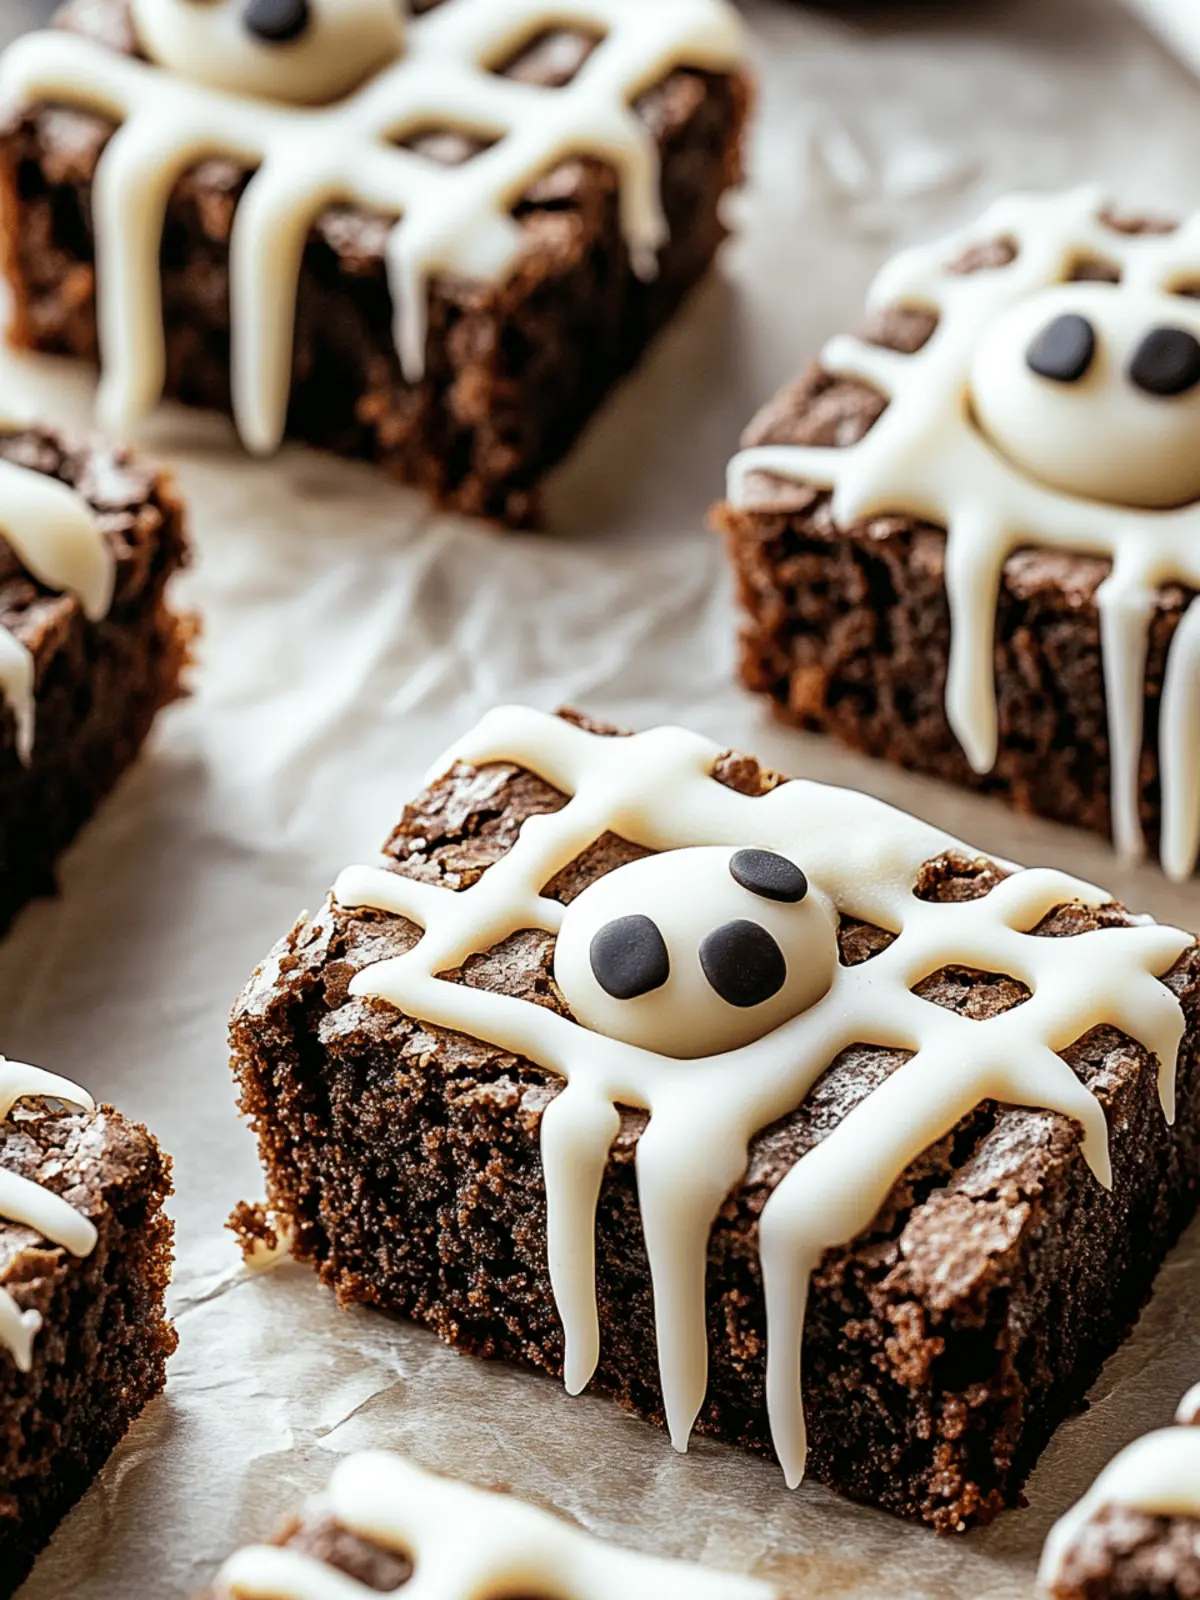
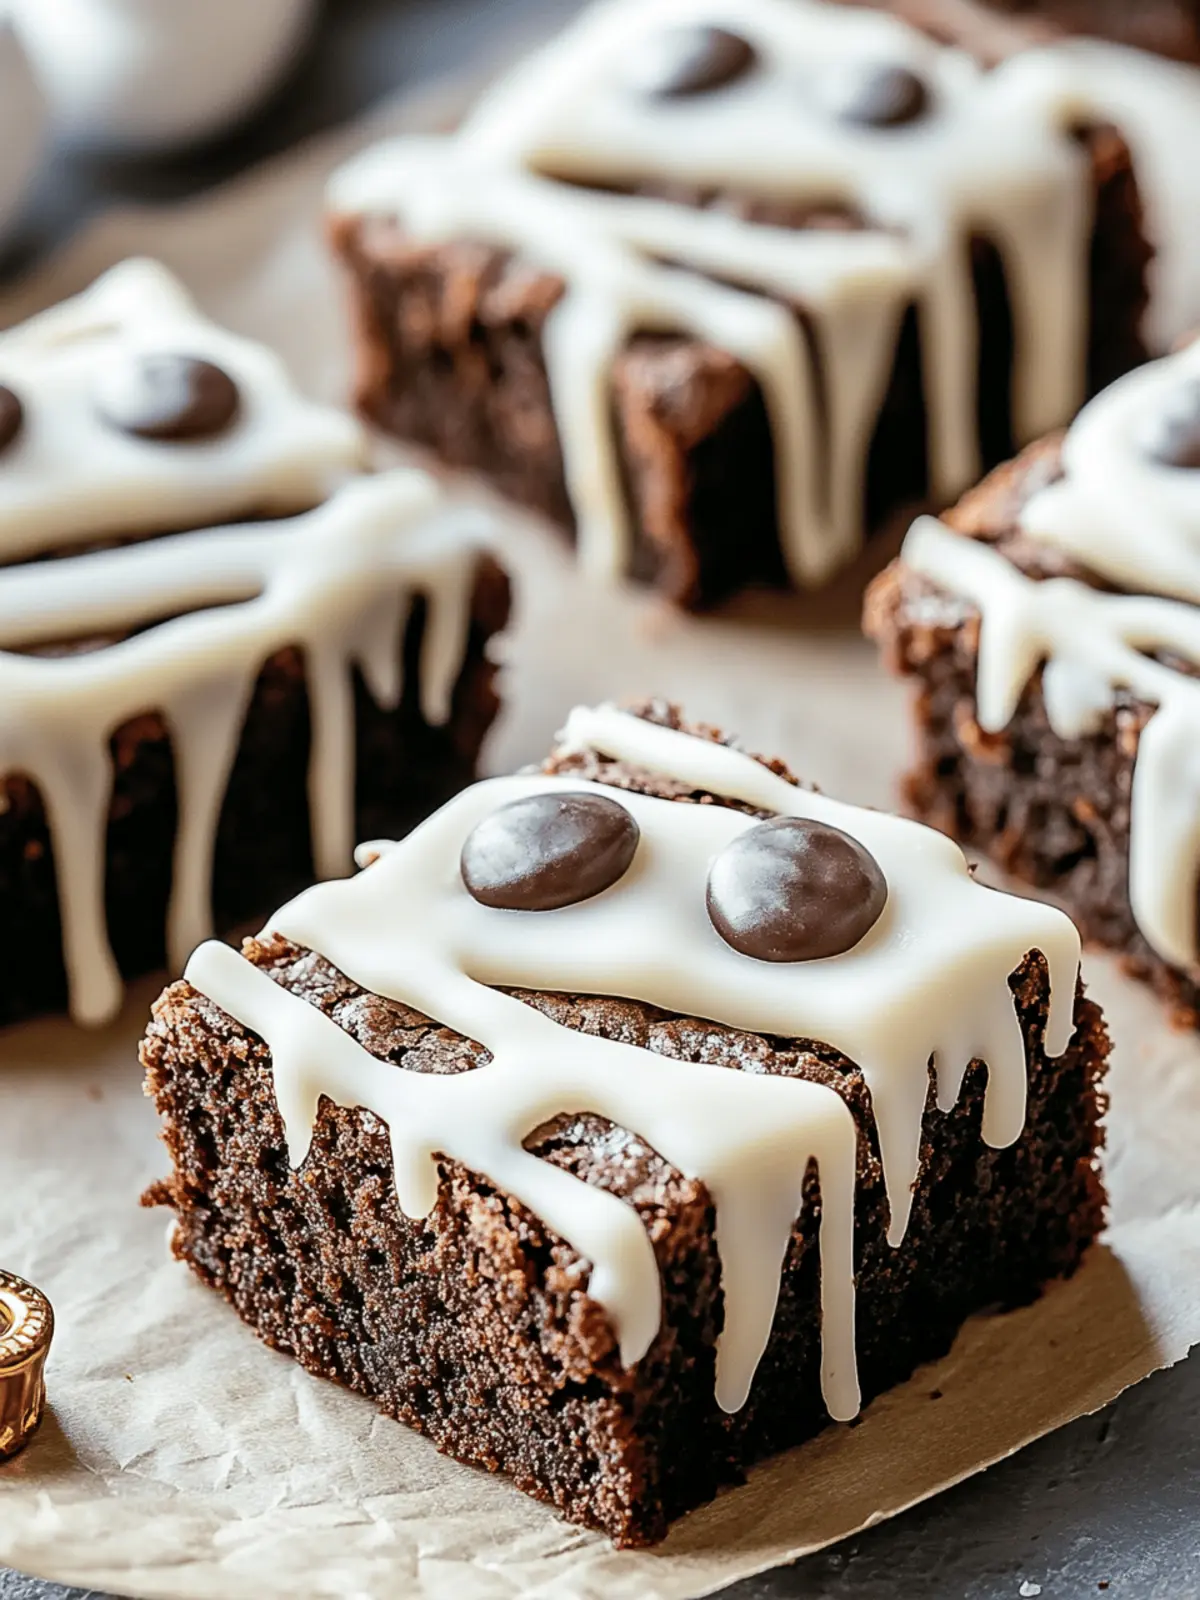
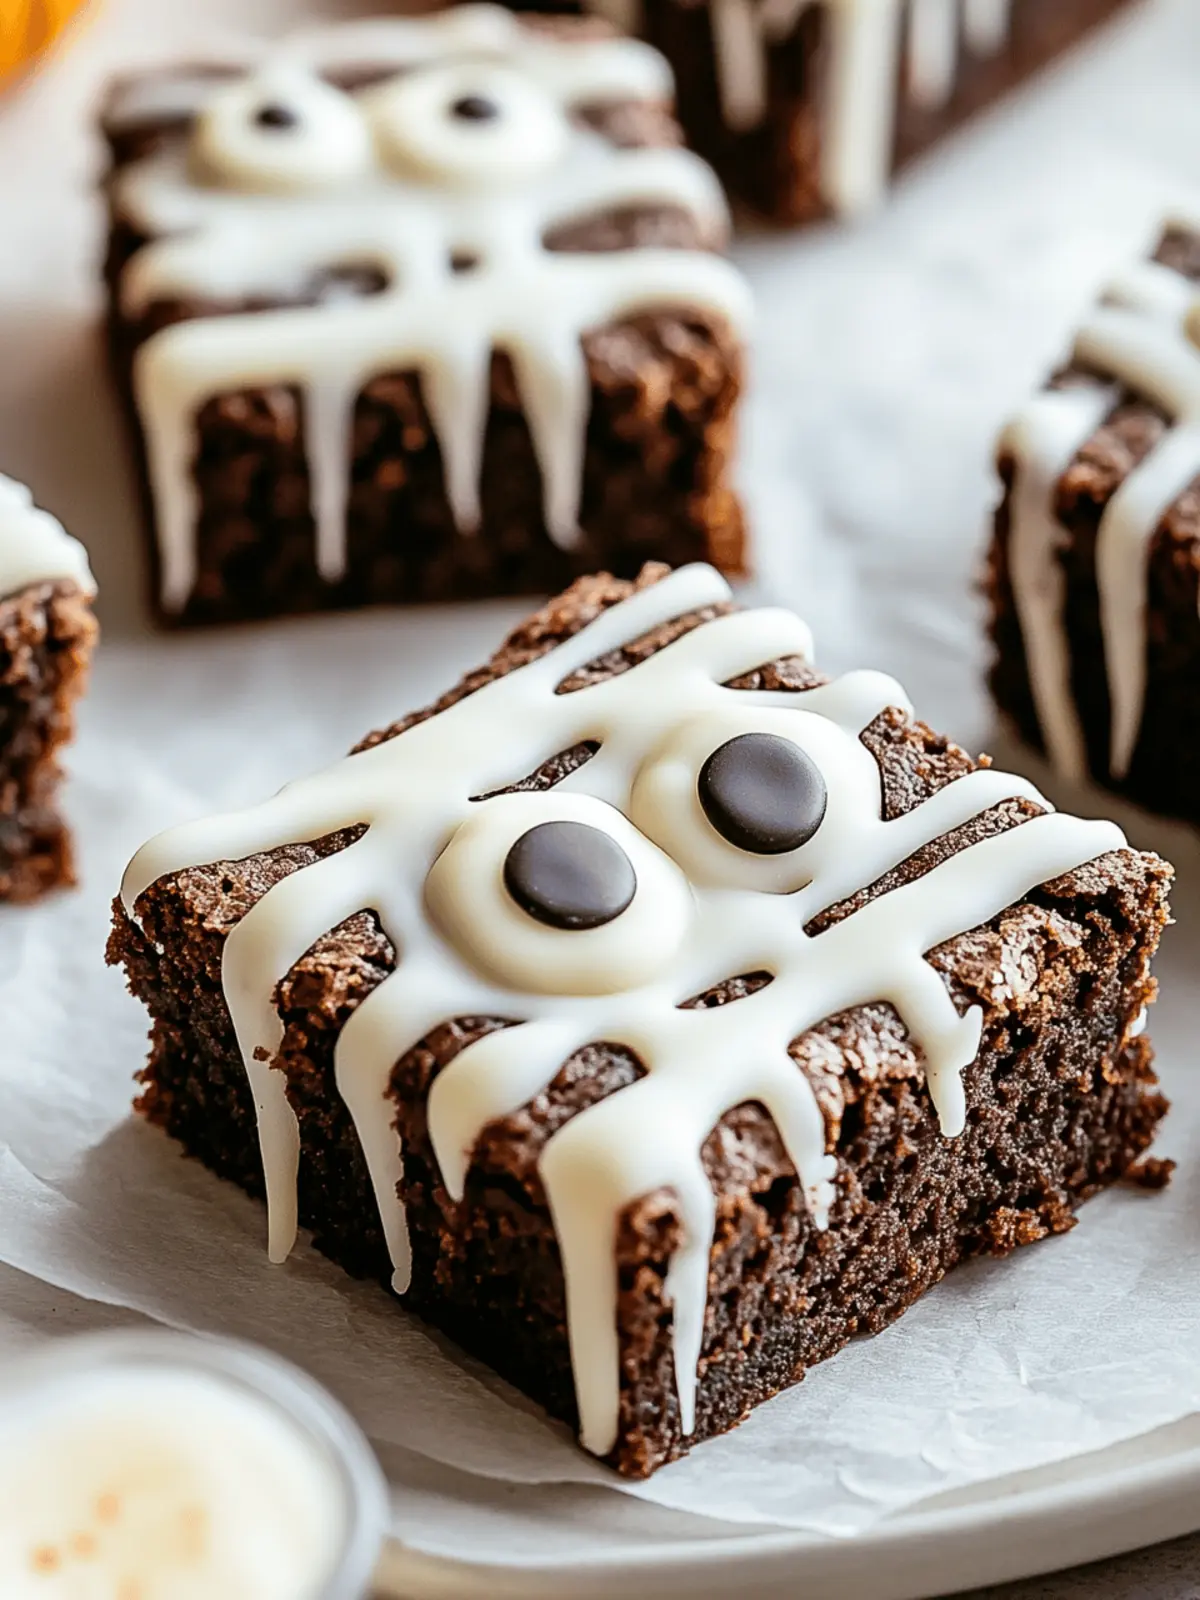
Transfer the melted white chocolate to a piping bag (or a plastic bag with the corner snipped off). Drizzle the chocolate in a zigzag pattern over the cooled brownies to create those adorable mummy bandages.
-
Place candy eyes on each brownie while the chocolate is still warm, so they stick nicely. This is where the fun really comes alive, as each brownie gets its unique spooky gaze!
-
Let the chocolate set for about 10-15 minutes at room temperature before slicing and serving your Spooky Mummy Brownies. They’ll look amazing on your Halloween dessert table!
Optional: Dust with a sprinkle of edible glitter for an extra festive touch.
Exact quantities are listed in the recipe card below.
How to Store and Freeze Spooky Mummy Brownies
Room Temperature: Store your Spooky Mummy Brownies in an airtight container at room temperature for up to 3 days for optimal freshness and flavor.
Fridge: If you want to keep them longer, refrigerate in an airtight container for up to a week. Just be aware that the cold might affect the texture of the chocolate drizzle.
Freezer: For freezing, wrap individual brownies tightly in plastic wrap and then place them in a freezer bag. Enjoy them later within 2-3 months for the best taste experience!
Reheating: When you’re ready to enjoy your frozen treats, let them thaw in the fridge overnight, and then pop them in the microwave for about 10-15 seconds to warm up for that fresh-baked feel!
Tips for the Best Spooky Mummy Brownies
- Choose Quality Mix: Using a high-quality brownie mix can elevate flavor; check for fudgy options for a richer taste.
- Cool Completely: Ensure your brownies are cooled fully before drizzling; warm brownies can cause the white chocolate to melt too much and lose shape.
- Perfect Drizzle Technique: Practice your zigzag motions before applying; this helps create more realistic looking mummy bandages for your spooky mummy brownies.
- Candy Eyes Placement: Place the candy eyes quickly while the drizzle is warm, as it helps them adhere better to your spooky creations!
- Add a Personal Touch: Feel free to experiment with different toppings like mini chocolate chips or colored sprinkles for added flair and festive fun!
What to Serve with Spooky Mummy Brownies?
As you whip up these charming treats, consider pairing them with delightful accompaniments that enhance the Halloween spirit!
-
Creamy Vanilla Ice Cream: A scoop of vanilla ice cream brings a refreshing contrast to the rich chocolate, adding a classic touch to your dessert experience.
-
Pumpkin Spice Latte: Embrace the season with this aromatic beverage that perfectly complements the flavors of chocolate while adding a festive flair.
-
Fresh Fruit Medley: Crisp apples, juicy oranges, and ripe strawberries offer a refreshing balance to the sweetness of the brownies, brightening your plate with color.
-
Chocolate Dipped Pretzels: The salty crunch of pretzels dipped in chocolate is a delightful contrast, making for a snack that kids and adults alike will enjoy.
-
Cranberry Almond Biscotti: These crunchy treats add a nutty flavor that pairs beautifully with the fudgy brownies, inviting guests to munch and mingle.
-
Spiced Cider: A warm mug of spiced cider envelops you in cozy fall vibes, enhancing your spooky dessert with soothing cinnamon and nutmeg flavors.
-
Ghostly Marshmallow Treats: Adorned with candy eyes, these fluffy treats are a whimsical addition that brings more fun and texture to your dessert spread.
-
Cocoa-infused Hot Chocolate: This rich drink, topped with whipped cream, accentuates the chocolatey goodness of the brownies, perfect for cool evenings.
-
Mini Pumpkin Pies: These bite-sized desserts carry the essence of fall while delighting your guests with their creamy filling and crispy crust.
Let your Mummy Brownies shine alongside these delicious options, and watch as your Halloween gathering becomes a spooktacular success!
Make Ahead Options
These Spooky Mummy Brownies are perfect for meal prep enthusiasts looking to save time during the busy Halloween season! You can prepare the brownies themselves up to 3 days in advance. Simply follow the baking instructions, let them cool completely, and then store them in an airtight container at room temperature to maintain their fudgy texture. The white chocolate drizzle, however, is best made fresh; you can melt and prepare it the day you’re ready to serve. On the day of the gathering, simply drizzle the chocolate over the brownies, add the candy eyes, and let them set for about 10-15 minutes for an unforgettable spooky treat!
Spooky Mummy Brownies Variations
Feel free to get creative and make these treats your own with delightful twists!
- Gluten-Free: Use a gluten-free brownie mix for a tasty alternative that everyone can enjoy without sacrificing flavor.
- Nutty Crunch: Incorporate 1/2 cup of chopped nuts or crushed cookies into the brownie mix for a delightful texture contrast.
- Minty Fresh: Add a few drops of peppermint extract to the melted white chocolate for a hauntingly delicious minty flavor.
- Boozy Twist: Mix in a splash of your favorite liqueur into the brownie batter; Irish cream or hazelnut liqueur pairs wonderfully!
- Spooky Swirls: Before baking, swirl in some softened cream cheese or colored frosting in the brownie batter for a marbled effect.
- Fruity Surprise: Add a layer of raspberry or cherry preserves on top of the brownies before drizzling with white chocolate for a tart burst surprise.
- Cinnamon Spice: Sprinkle a pinch of cinnamon into the brownie mix for a warm, cozy flavor reminiscent of autumn spices.
- Extra Chocolate: For true chocolate lovers, fold in a cup of chocolate chips into the brownie batter for an ultra-decadent treat.
These variations will not only spice up your baking adventure but also let you savor spooky flavors in a million delectable ways!
Spooky Mummy Brownies Recipe FAQs
What type of brownie mix is best for Spooky Mummy Brownies?
I recommend using a high-quality fudgy brownie mix for the perfect texture. Look for options that specify “fudgy” on the box. This will give your brownies that rich, moist base that complements the white chocolate drizzle beautifully!
How should I store leftover brownies?
Store your Spooky Mummy Brownies in an airtight container at room temperature for up to 3 days. If you want them to last longer, you can refrigerate them, but they may lose some of that delightful fudgy texture.
Can I freeze Spooky Mummy Brownies?
Absolutely! To freeze, wrap each cooled brownie tightly in plastic wrap, and then place them in a freezer bag. They’ll last for up to 2-3 months; when you’re ready to enjoy, let them thaw in the fridge overnight before reheating for 10-15 seconds in the microwave.
What if my white chocolate drizzle isn’t setting?
If your white chocolate drizzle doesn’t seem to set properly, ensure the brownies are completely cooled before applying the chocolate. If the drizzle is too runny, it might be that it wasn’t melted enough—microwave in 10-second intervals, stirring until smooth to achieve the right consistency.
Are Spooky Mummy Brownies suitable for kids with allergies?
Check the labels on your brownie mix and white chocolate chips, as many contain allergens like gluten, dairy, or nuts. If you’re catering to allergy concerns, consider using gluten-free brownie mixes and dairy-free white chocolate chips to keep everyone included in the fun!
How long do the candy eyes last on the brownies?
Candy eyes should last on your brownies for a number of days, but placing them just before serving is the best way to ensure they stay fresh and vibrant. If stored correctly, your brownies will be a hit for entertaining and festivities!
Indulge in Spooky Mummy Brownies for a Halloween Treat
Ingredients
Equipment
Method
- Prepare the brownie mix according to the package instructions, whisking together the ingredients until smooth. Pour the batter into a greased baking pan for easy release later.
- Bake the brownies in a preheated oven as directed on the box, usually around 350°F for about 20-25 minutes, or until a toothpick comes out with a few moist crumbs. Let them cool completely.
- Melt the white chocolate chips in a microwave-safe bowl—heat in 30-second intervals, stirring in between until smooth and creamy.
- Transfer the melted white chocolate to a piping bag (or a plastic bag with the corner snipped off). Drizzle the chocolate in a zigzag pattern over the cooled brownies to create those adorable mummy bandages.
- Place candy eyes on each brownie while the chocolate is still warm, so they stick nicely.
- Let the chocolate set for about 10-15 minutes at room temperature before slicing and serving your Spooky Mummy Brownies.



I’m still learning from you, while I’m improving myself. I definitely enjoy reading all that is posted on your website.Keep the posts coming. I enjoyed it!