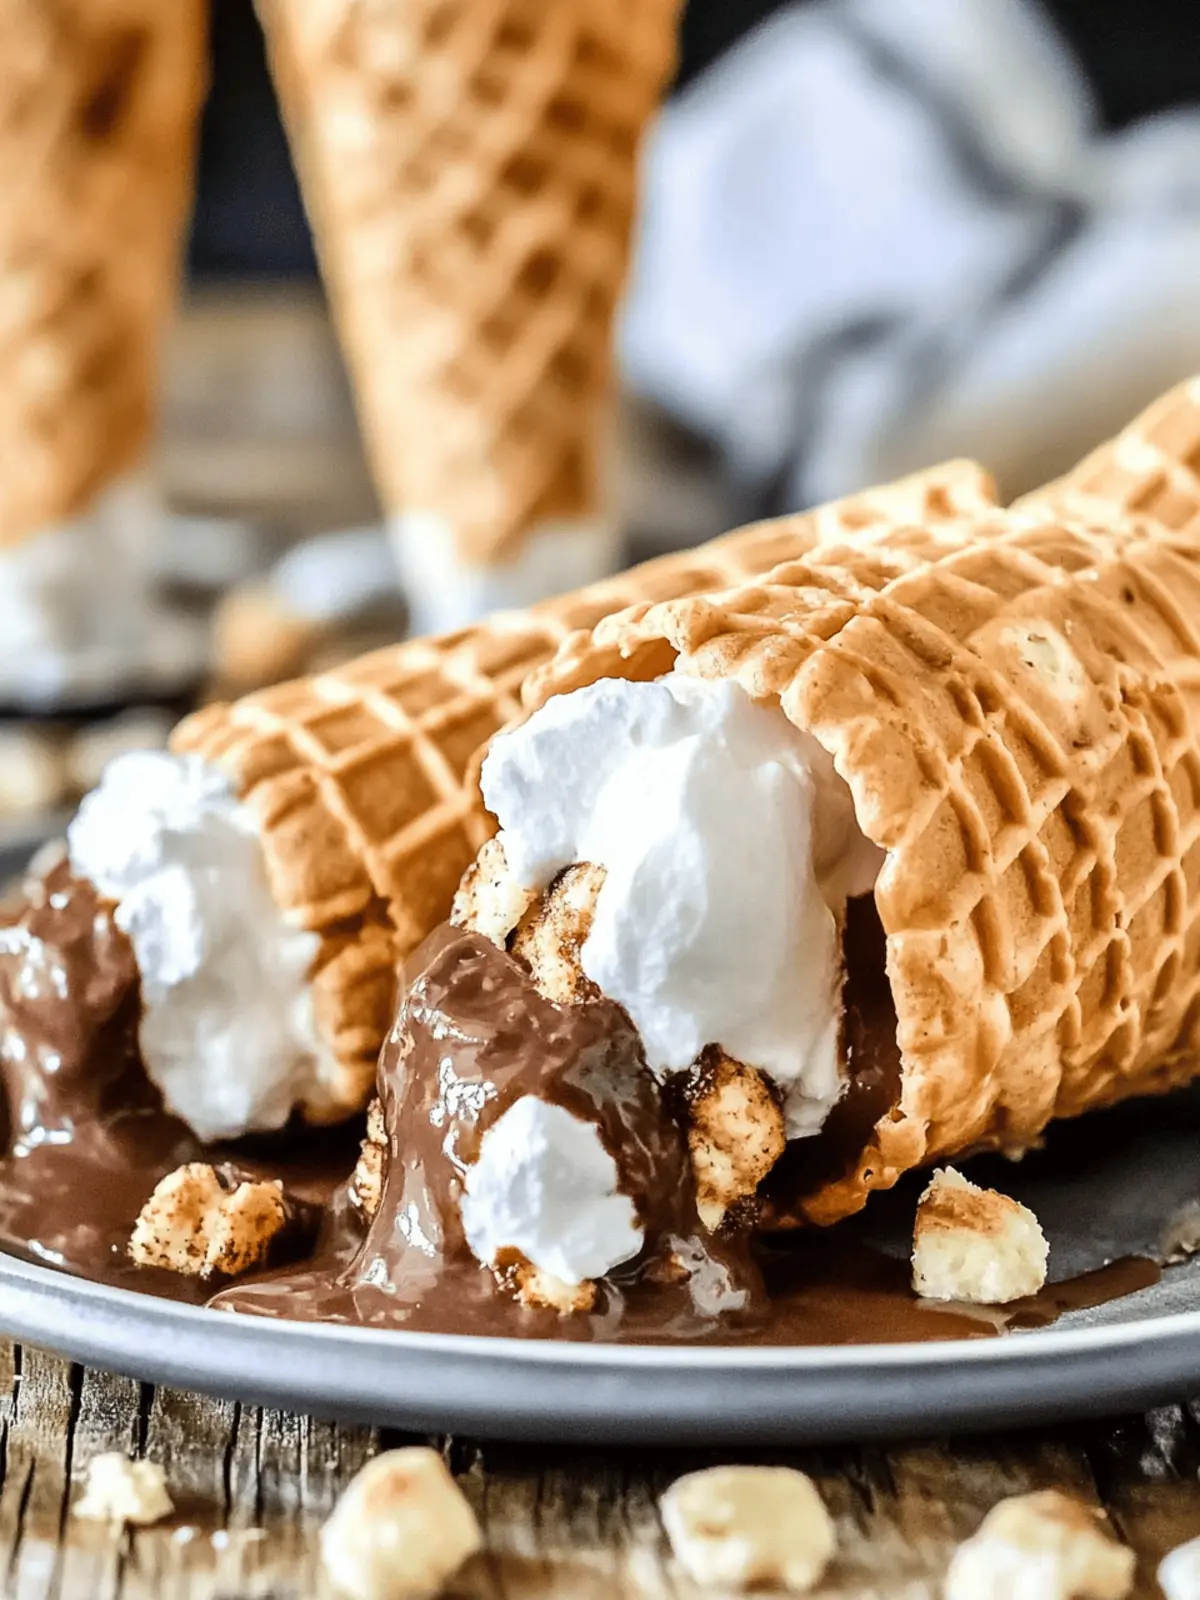
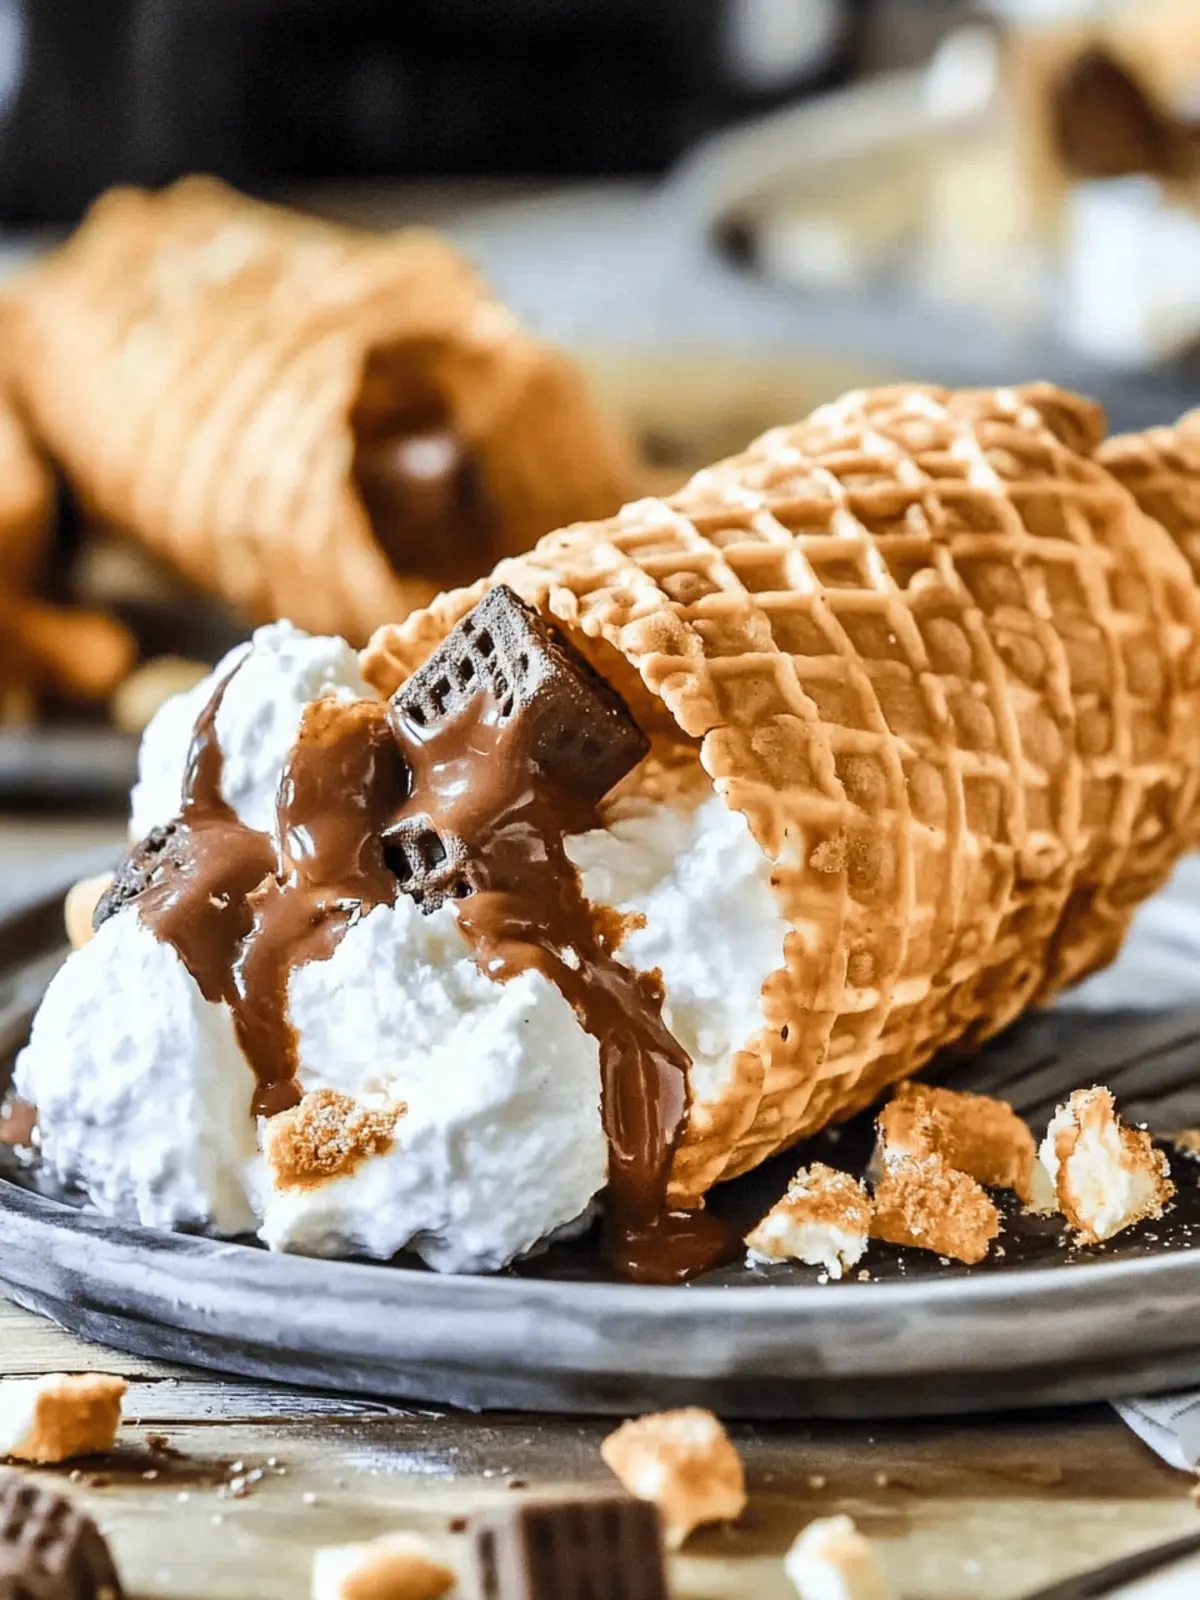
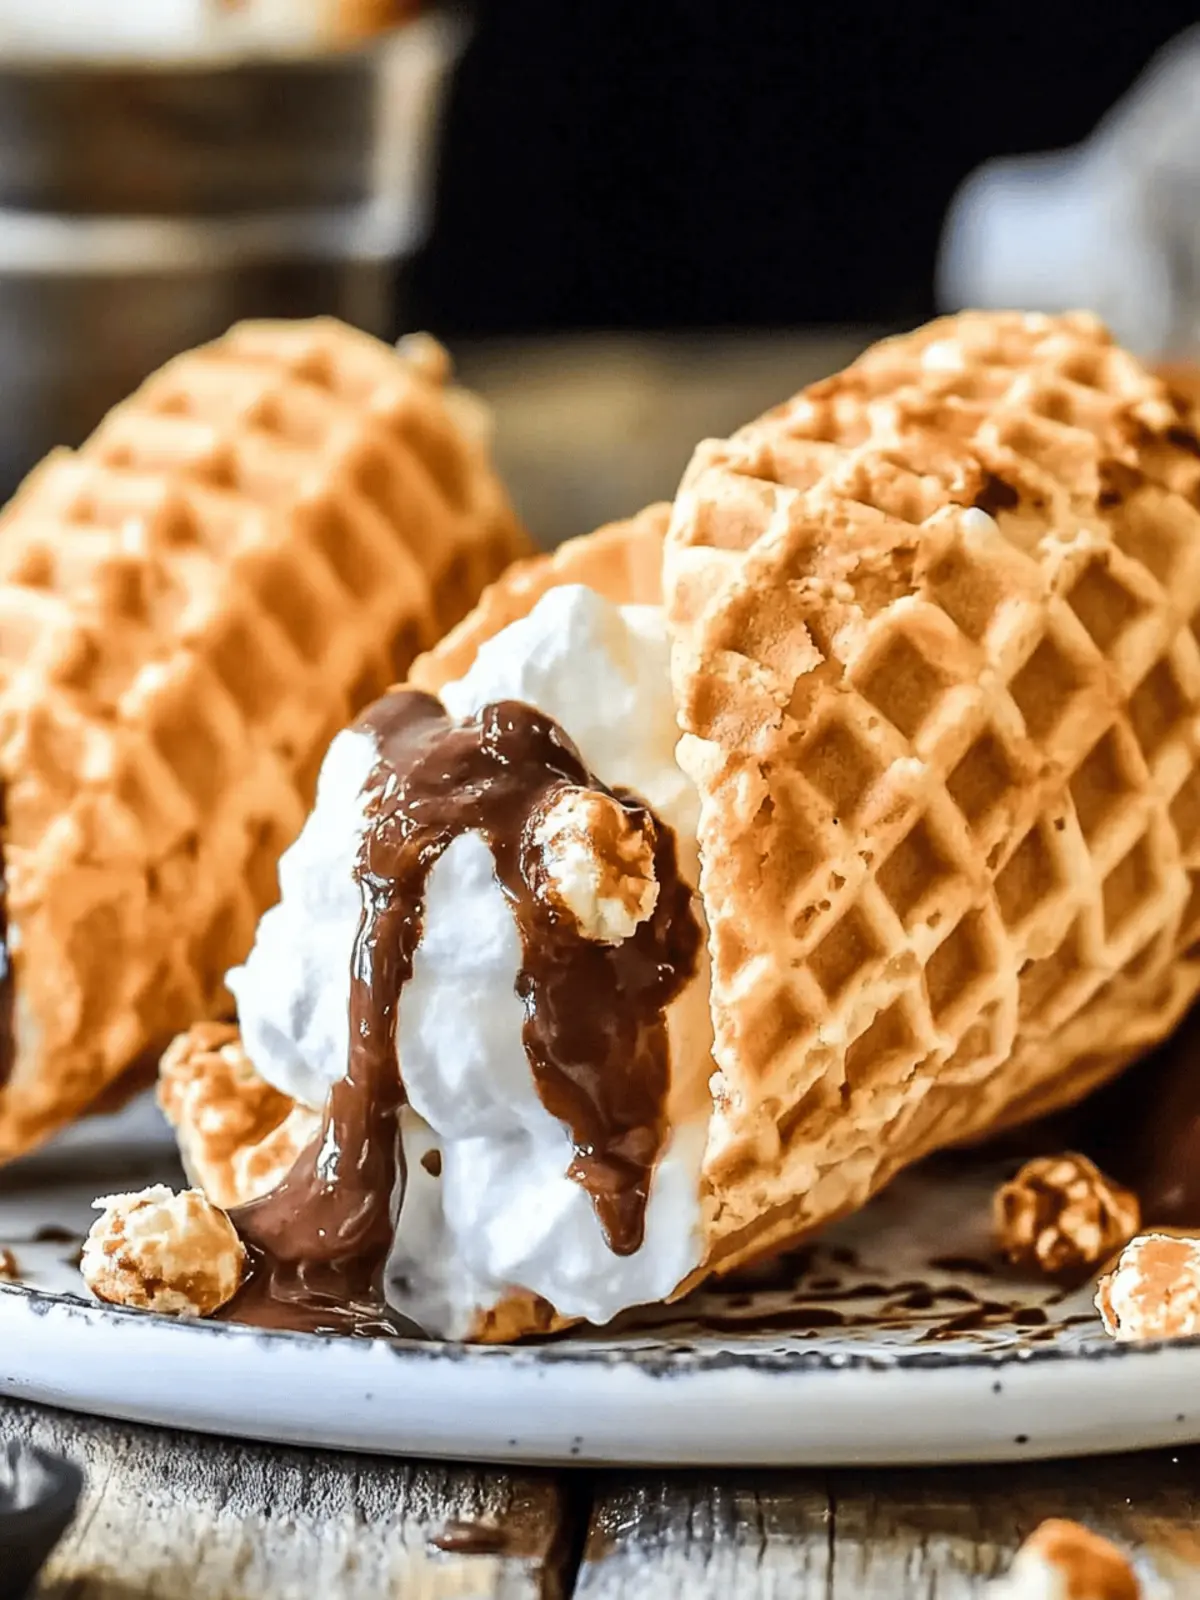
As the sun begins to dip below the horizon and fireflies start to twinkle, there’s nothing quite like gathering around a crackling campfire with friends and family. This is the moment when my favorite outdoor dessert comes to life: Gluten-Free Campfire S’mores Cones. Imagine the joy of biting into a crispy waffle cone overflowing with gooey marshmallows, rich chocolate, and your favorite seasonal fruits, all perfectly melted together. It’s an interactive treat that transforms a simple evening into a delightful adventure!
Whether you’re camping under a blanket of stars or enjoying a backyard barbecue, these customizable cones deliver a burst of sweetness that will please palates of all ages. Best of all, with their gluten-free setup, everyone can join in on the fun. So grab your cones and let’s create a dessert that’s not only easy to make but also unforgettable, sparking sweet memories around the fire!
Why love these Gluten-Free Campfire S’mores Cones?
Unforgettable moments await! Gather your friends and family around the fire for an interactive dessert that’s easy to make and even easier to enjoy. Customizable options allow you to mix and match flavors, ensuring everyone’s taste buds are satisfied. Crispy waffle cones create the ideal vessel for ooey-gooey fillings, while healthy fruity additions offer a burst of freshness. With just a few minutes over the flames, you’ll be indulging in a warm blend of nostalgic flavors reminiscent of classic s’mores, delighting both kids and adults alike. Plus, check out our helpful make-ahead tip for a breezy outdoor experience!
Gluten-Free Campfire S’mores Cones Ingredients
Adventure Awaits! Here’s what you need to create these delightful gluten-free campfire s’mores cones:
For the Cones
- Waffle Cones – Ensure they are gluten-free so everyone can enjoy this sweet experience!
For the Fillings
- Mini Marshmallows – Melt beautifully for that classic gooey texture; consider flavored ones for added fun.
- Chocolate Chips – Opt for milk or dark chocolate for a rich flavor that melts perfectly; ensure they are gluten-free.
- Fresh Fruits – Add seasonal favorites like strawberries or bananas to brighten up your cone and balance the sweetness.
For Cooking
- Foil Wraps – Essential for easy roasting over the fire while keeping all your delicious fillings intact; make sure they are heavy-duty!
Get ready to make memories that’ll keep you smiling long after the last bite of these gluten-free campfire s’mores cones!
How to Make Gluten-Free Campfire S’mores Cones
-
Prepare Ingredients: Begin by chopping your fresh fruits into small, bite-sized pieces. This will ensure they melt perfectly alongside the chocolate and marshmallows for a delightful layer of flavor.
-
Fill the Cones: Layer mini marshmallows, chocolate chips, and your chopped fruits in each gluten-free waffle cone. Make sure to pack them tightly for a deliciously gooey outcome that oozes happiness!
-
Wrap in Foil: Take a piece of heavy-duty foil and wrap each filled cone snugly, ensuring they’re completely sealed without squeezing the contents too tightly. This step is vital for keeping everything intact while roasting.
-
Roast: Place your foil-wrapped cones over hot coals or a grill for about 5-7 minutes. Keep an eye on them; look for steam escaping as a sign that they’re ready to indulge!
-
Serve: Carefully unwrap the cones, taking care with the steam, and get ready for the delightful moment when you take your first bite—let the deliciousness light up your evening!
Optional: Top off with whipped cream for an extra indulgent treat!
Exact quantities are listed in the recipe card below.

What to Serve with Gluten-Free Campfire S’mores Cones?
As you gather around the fire, consider pairing these delightful cones with complementary dishes to create a full outdoor feast.
- Crispy Potato Wedges: Seasoned to perfection, these crunchy wedges offer a savory contrast to sweet cones, making every bite a joy.
- Fruit Skewers: Colorful and refreshing, these skewers provide a burst of natural sweetness that pairs beautifully with the rich flavors of the cones.
- Grilled Corn on the Cob: Smoky and sweet, this classic barbecue side brings a hearty texture that balances the lightness of the dessert.
- Chocolate Milk or Hot Cocoa: An inviting and cozy beverage that enhances the indulgent experience of the campfire cones, making everything feel like a warm hug.
- S’mores Dip: This delightful twist on the classic combines gooey marshmallows and melty chocolate in a warm skillet, perfect for scooping with graham crackers.
- Root Beer Floats: The creamy vanilla ice cream combined with fizzy root beer creates a nostalgic treat, ideal for cooling down after a warm evening by the fire.
- Berry Compote: A sweet-tart sauce drizzled over the cones can elevate their flavor profile, adding a gourmet touch to this beloved childhood treat.
- Buttered Popcorn: Light and airy, popcorn offers a crunchy movie-night vibe that’s fun to snack on while enjoying the campfire ambiance.
Storage Tips for Gluten-Free Campfire S’mores Cones
-
Room Temperature: Enjoy your campfire cones fresh for the best taste! If you have leftovers, they can be stored at room temperature for up to 1 day in an airtight container.
-
Fridge: If you need to keep your cones a little longer, consider storing them in the fridge, but be aware that the texture may change. They will last here for up to 2 days; just remember to cover them well!
-
Freezer: While it’s not ideal, if you must freeze your assembled cones, wrap them tightly in plastic wrap followed by foil to prevent freezer burn. They can be stored for up to 1 month. Reheat directly from the freezer for the best results.
-
Reheating: When you’re ready to enjoy your stored gluten-free campfire s’mores cones, unwrap and warm them over the grill or in a toaster oven for a few minutes. This will help revive that gooey goodness!
Make Ahead Options
These Gluten-Free Campfire S’mores Cones are perfect for busy cooks seeking to streamline their outdoor gatherings! You can prepare the cones by filling them with mini marshmallows, chocolate chips, and your favorite fruits up to 24 hours in advance. After filling, wrap each cone snugly in heavy-duty foil to preserve freshness and prevent any sogginess. Storing the filled cones in an airtight container will help maintain their quality until you’re ready to roast them. When it’s time to enjoy, simply place the wrapped cones over hot coals or a grill for about 5-7 minutes—watch for steam to indicate readiness. This prep-ahead strategy saves time, letting you focus on creating sweet memories around the fire!
Tips for the Best Gluten-Free Campfire S’mores Cones
-
Choose Sturdy Cones: Select high-quality gluten-free waffle cones to prevent breakage. A sturdy cone ensures that all those gooey fillings stay put!
-
Layer Wisely: Pack your fillings tightly but avoid overstuffing. This prevents leaks and ensures a delightful bite filled with chocolate and marshmallows.
-
Watch the Heat: Keep an eye on the campfire or grill; too much heat can burn the cones. Rotate them occasionally to ensure even cooking.
-
Avoid Wet Fillings: Steer clear of overly juicy fruits or fillings to maintain the integrity of your cones. Stick with drier options like chocolate and marshmallows for the best results.
-
Customize Creatively: Feel free to experiment with various fruits or chocolates to personalize your gluten-free campfire s’mores cones. Every cone can be a unique treat!
Variations & Substitutions for Gluten-Free Campfire S’mores Cones
Feel free to let your imagination run wild and customize these sweet cones to your heart’s content!
-
Dairy-Free: Substitute traditional chocolate chips with dairy-free varieties or use dark chocolate for a rich flavor without the dairy.
-
Nut Butter Delight: Add a spoonful of almond or peanut butter inside the cone before layering fillings for a nutty twist that elevates the classic flavor profile.
-
Fruit Swaps: Use seasonal fruits like raspberries or diced peaches for a refreshing change. Each fruit will lend a unique taste to the gooey blend.
-
Spice It Up: Sprinkle a dash of cinnamon or chili powder on your chocolate chips for a delightful kick that transforms the experience into something exciting!
-
S’mores Madness: Instead of just chocolate and marshmallows, add crumbled gluten-free graham crackers between the layers for an extra crunch that pays homage to traditional s’mores.
-
Coconut Cream: For a tropical flair, layer in toasted coconut flakes or a dollop of coconut cream. This sweet addition enhances both texture and flavor.
-
Miniature Treats: Use mini cones or even shot glasses filled with the components for a fun and interactive dessert that’s perfect for parties or gatherings.
-
Gourmet Chocolates: Experiment with flavored chocolates like sea salt caramel or espresso for unique taste sensations that will wow your guests.
Mix and match these ideas to create memorable, personalized flavors that turn every campfire into an unforgettable gathering!

Gluten-Free Campfire S’mores Cones Recipe FAQs
What type of cones should I use for gluten-free campfire s’mores cones?
Absolutely! Make sure to choose high-quality gluten-free waffle cones to ensure everyone can enjoy these treats. Many brands label their cones as gluten-free, so just check the packaging for that guarantee. You want a sturdy cone that can hold all those delicious fillings without breaking under pressure – the perfect vessel for your gooey goodness!
How do I store leftover gluten-free campfire s’mores cones?
To maintain their freshness, enjoy your campfire cones on the same day they’re made. However, if you do have leftovers, you can keep them in an airtight container at room temperature for up to 1 day. If you find you need to store them longer, place them in the fridge, but be aware that the texture may change slightly. They’ll last for up to 2 days in the fridge. Just remember to cover them well!
Can I freeze the filled gluten-free campfire s’mores cones?
Sure! If you need to freeze your prepared cones, wrap them tightly in plastic wrap followed by a layer of heavy-duty foil to prevent freezer burn. They can be stored in the freezer for up to 1 month. When you’re ready to enjoy, simply unwrap and reheat directly from the freezer over the grill or in a toaster oven for a few minutes until warmed through. This step helps to bring back that lovely gooey texture!
What should I do if my cones become soggy?
If you notice your cones getting a bit soggy, it could be due to using overly juicy fruits or fillings. For the best results, stick with drier options like chocolate and marshmallows. If your cones are already soggy, consider reheating them briefly on a grill to help crisp them up again, but keep an eye on them to prevent burning. The more the merrier when it comes to experimenting with ingredients, but balance is key!
Are there any allergen considerations for the ingredients?
Definitely! When preparing gluten-free campfire s’mores cones, always check that your chocolate chips and any other mix-ins are labeled gluten-free as some brands may contain gluten or cross-contaminate during processing. Additionally, if you’re catering to allergies, make sure to consider food sensitivities for other ingredients, like using dairy-free chocolate or marshmallows if necessary. Always better safe than sorry!
Can I change the filling ingredients in campfire cones?
Very! That’s part of the fun! Feel free to experiment and customize your gluten-free campfire s’mores cones with different types of fruits, chocolates, or even nut butters. Each cone can be a unique creation tailored to your taste, so mix and match to create your ideal filling! I often make different versions, and it’s pure joy to see what everyone loves!

Gluten-Free Campfire S’mores Cones for Sweet Nostalgic Nights
Ingredients
Equipment
Method
- Begin by chopping your fresh fruits into small, bite-sized pieces.
- Layer mini marshmallows, chocolate chips, and your chopped fruits in each gluten-free waffle cone.
- Wrap each filled cone snugly in heavy-duty foil, ensuring they're completely sealed.
- Place your foil-wrapped cones over hot coals or a grill for about 5-7 minutes.
- Carefully unwrap the cones and enjoy the delightful moment when you take your first bite.


