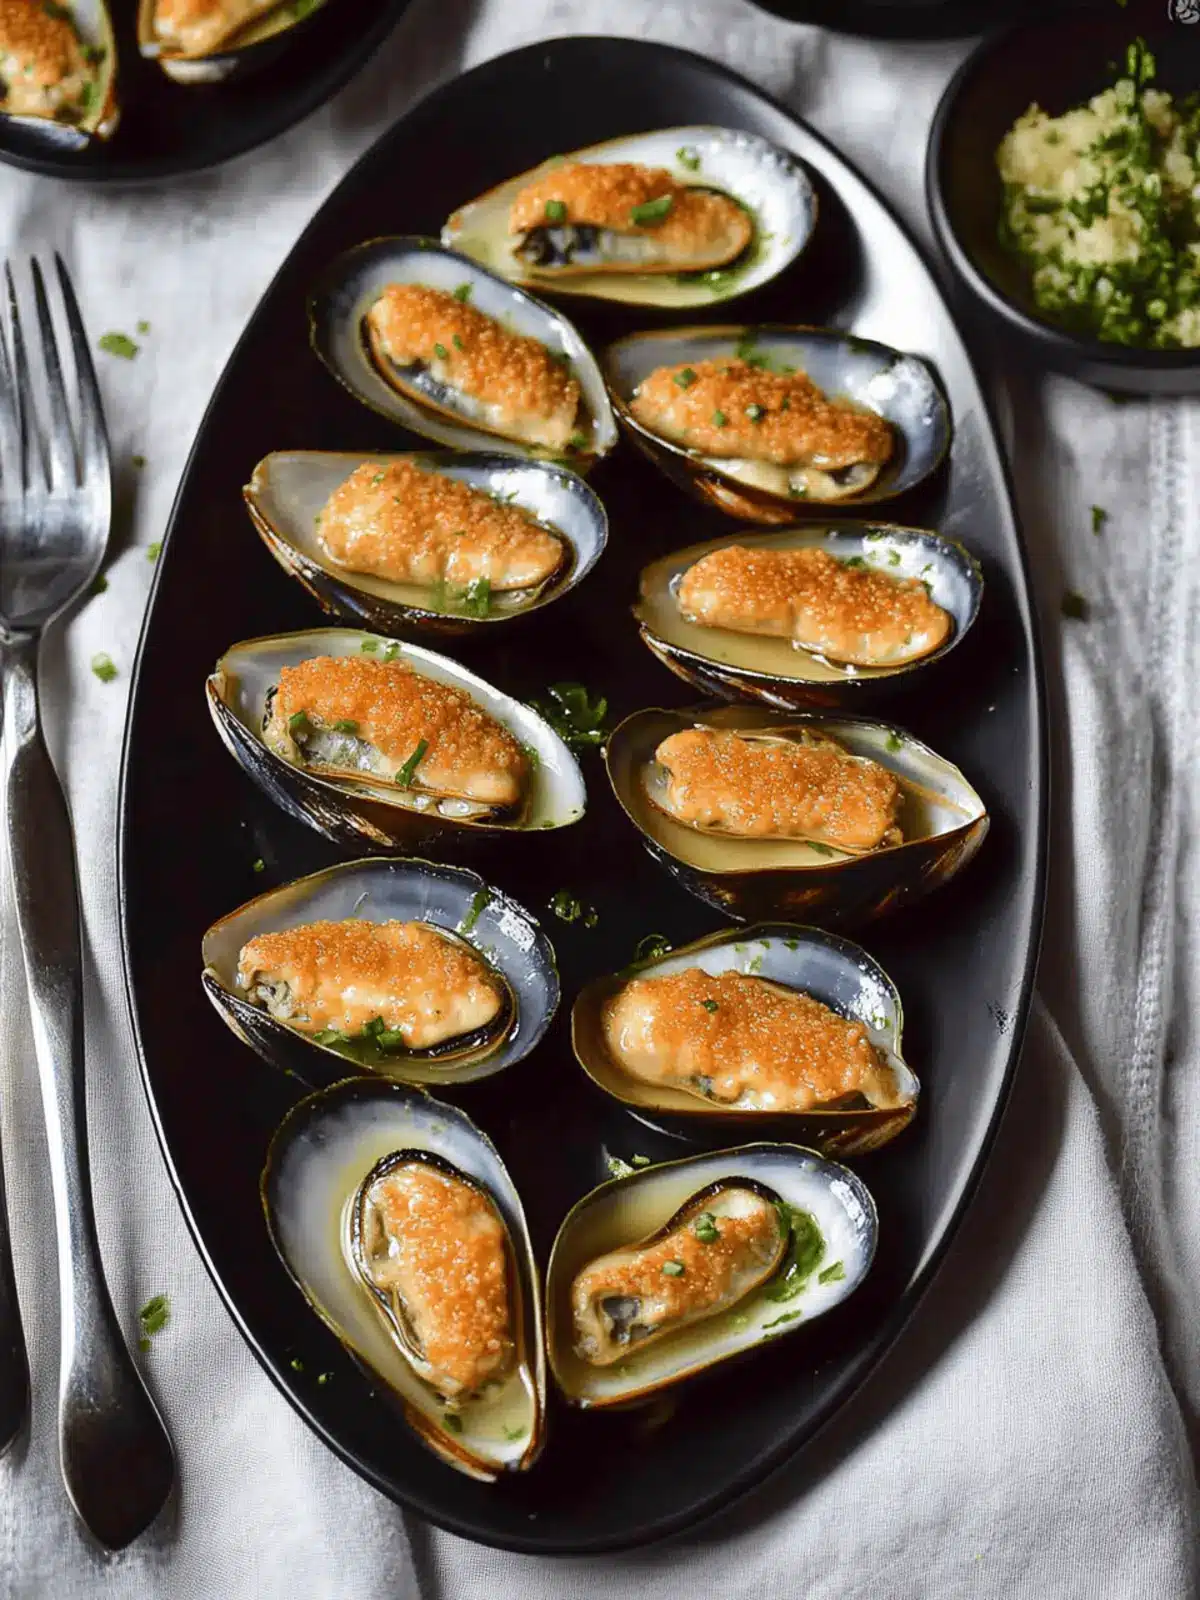
When the craving for something indulgent yet effortless strikes, nothing beats the magic of Baked Mayo-Cheese Mussels. Picture this: plump, tender mussels nestled under a blanket of creamy Kewpie mayonnaise and gooey cheese, ready to make your taste buds dance. The first time I tried this quick seafood delight, the umami flavor captivated me, transforming an ordinary weeknight into a gourmet experience in just under 10 minutes!
With minimal prep and a handful of ingredients, you can impress family and friends while keeping your budget in check. Plus, this dish caters to a variety of palates—whether paired with a zesty lemon squeeze or drizzled with a smoky barbecue sauce, every bite promises to be a culinary adventure. Ready to elevate your seafood game? Let’s dive into this easy recipe that’s sure to become a household favorite!
Why are Baked Mayo-Cheese Mussels a Must-Try?
Indulgent Flavor: The creamy Kewpie mayonnaise combined with gooey cheese creates a rich, umami-packed topping that elevates simple mussels to extraordinary heights.
Quick and Easy: In less than 10 minutes, this dish can go from your kitchen to your table, making it perfect for busy weeknights or spontaneous gatherings.
Crowd-Pleaser: With a burst of flavor that appeals to seafood lovers and novices alike, these mussels are sure to impress family and friends at your next get-together.
Versatile Enjoyment: Whether served as an appetizer or paired with sides like edamame, these mussels can adapt to any meal occasion.
Budget-Friendly: Using just a few affordable ingredients, this dish offers a gourmet experience without breaking the bank. It’s a win-win for your taste buds and your wallet!
Baked Mayo-Cheese Mussels Ingredients
For the Mussels
• Mussels – Fresh and plump, look for New Zealand green-lipped mussels for the best flavor.
For the Topping
• Kewpie Mayonnaise – This unique Japanese mayo adds a creamy richness; any good mayonnaise can be substituted but Kewpie really shines.
• Cheese (Mild Cheddar or Similar) – Melty and savory, other suitable options include Gouda, Swiss, or Mozzarella for delightful variations.
• Spring Onion (Scallions) – Chopped for garnish, these add a fresh, mild onion flavor; fresh parsley works as a great alternative if you prefer.
• Barbecue Sauce (optional) – Adds a touch of smokiness; feel free to swap with chipotle sauce for a spicy kick.
• Lemon or Lime Juice – A splash brings brightness and balances the richness, enhancing the overall taste of your Baked Mayo-Cheese Mussels.
How to Make Baked Mayo-Cheese Mussels
-
Preheat the oven to 375°F (190°C). This warm environment ensures the cheese melts perfectly and the mussels cook evenly.
-
Clean the mussels thoroughly under cold running water. Discard any that are open and won’t close when tapped; they should be fresh and vibrant.
-
Mix Kewpie mayonnaise with grated cheese in a bowl. If you like, add your chosen seasonings like barbecue or chipotle sauce to enhance the flavors.
-
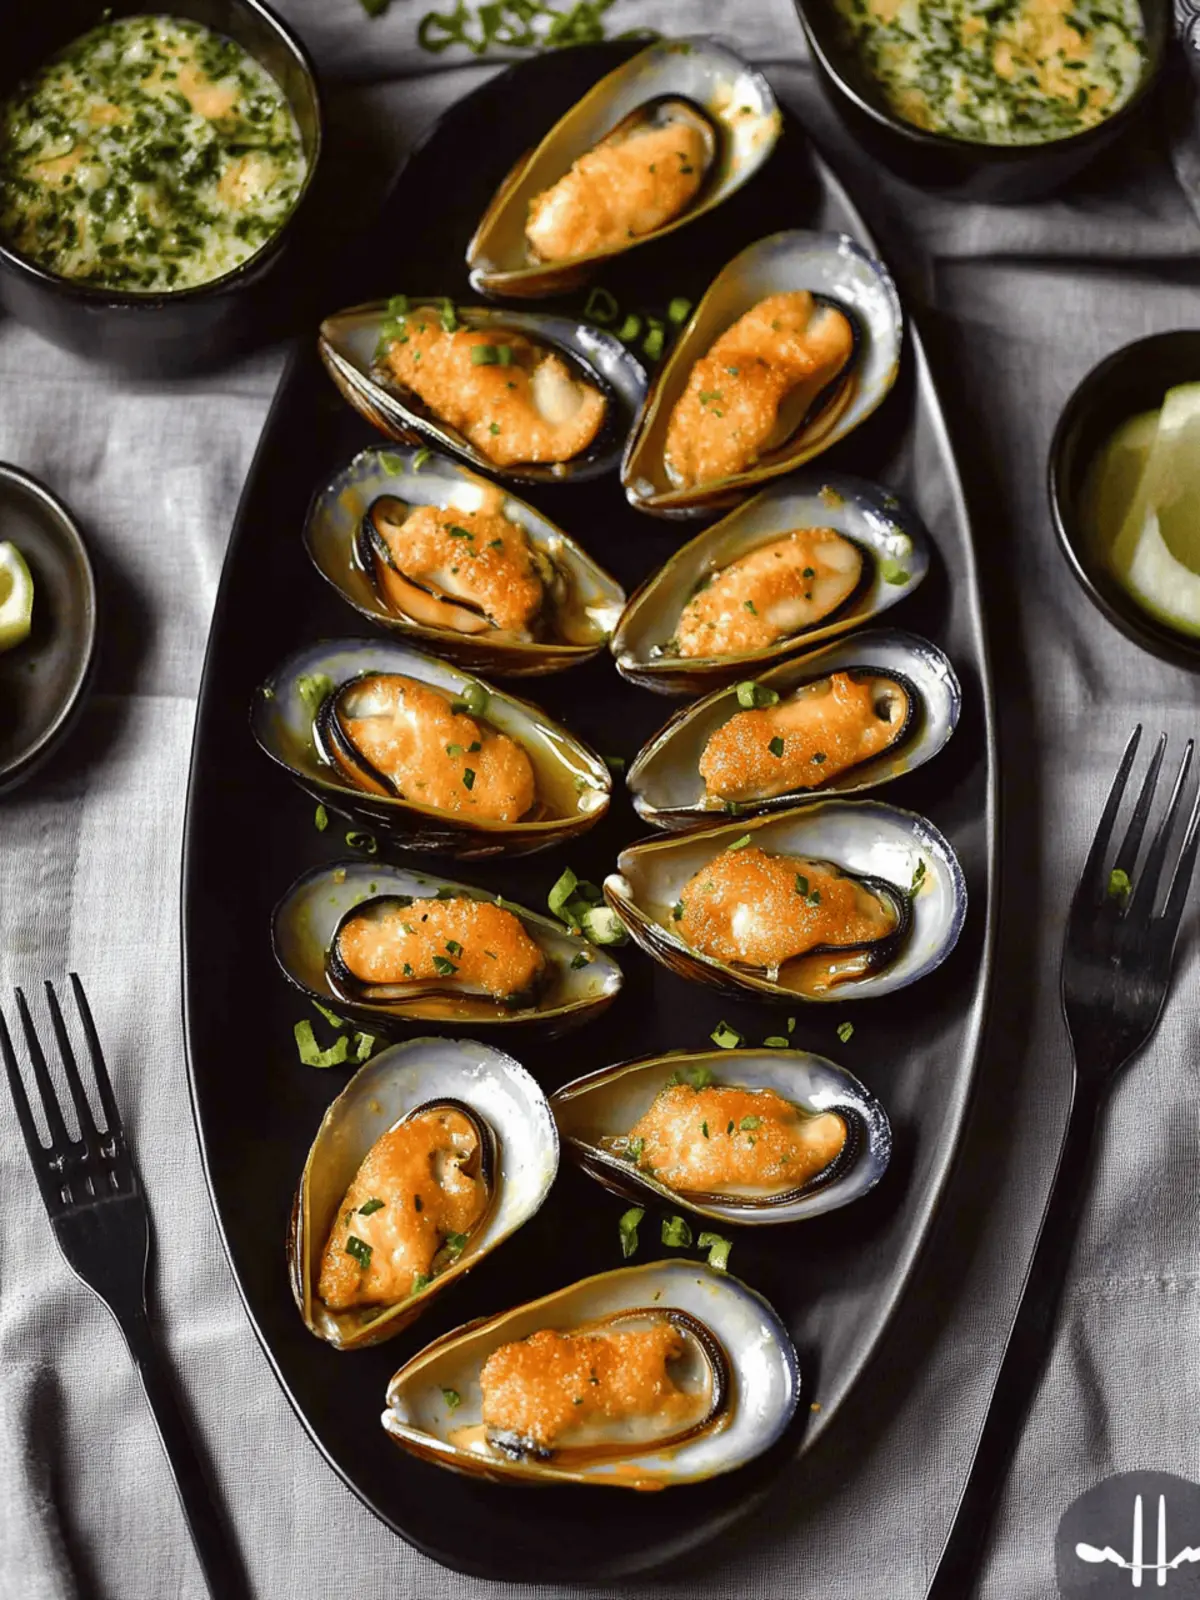
Spoon the mayo-cheese mixture generously over each mussel. Ensure each one is well-coated for maximum deliciousness.
-
Bake in the oven for 5-7 minutes, watching closely until the cheese is bubbly and slightly browned. This step is crucial for that perfect melty texture!
-
Serve immediately, garnished with chopped spring onions if desired. They add a pop of color and a refreshing crunch!
Optional: Drizzle with extra lemon juice for a zesty finish.
Exact quantities are listed in the recipe card below.
What to Serve with Baked Mayo-Cheese Mussels?
Elevate your dining experience with delightful pairings that complement the creamy, cheesy goodness of these delightful mussels.
- Crispy Garlic Bread: This warm, crunchy treat is perfect for scooping up any delectable cheese that spills over the mussels.
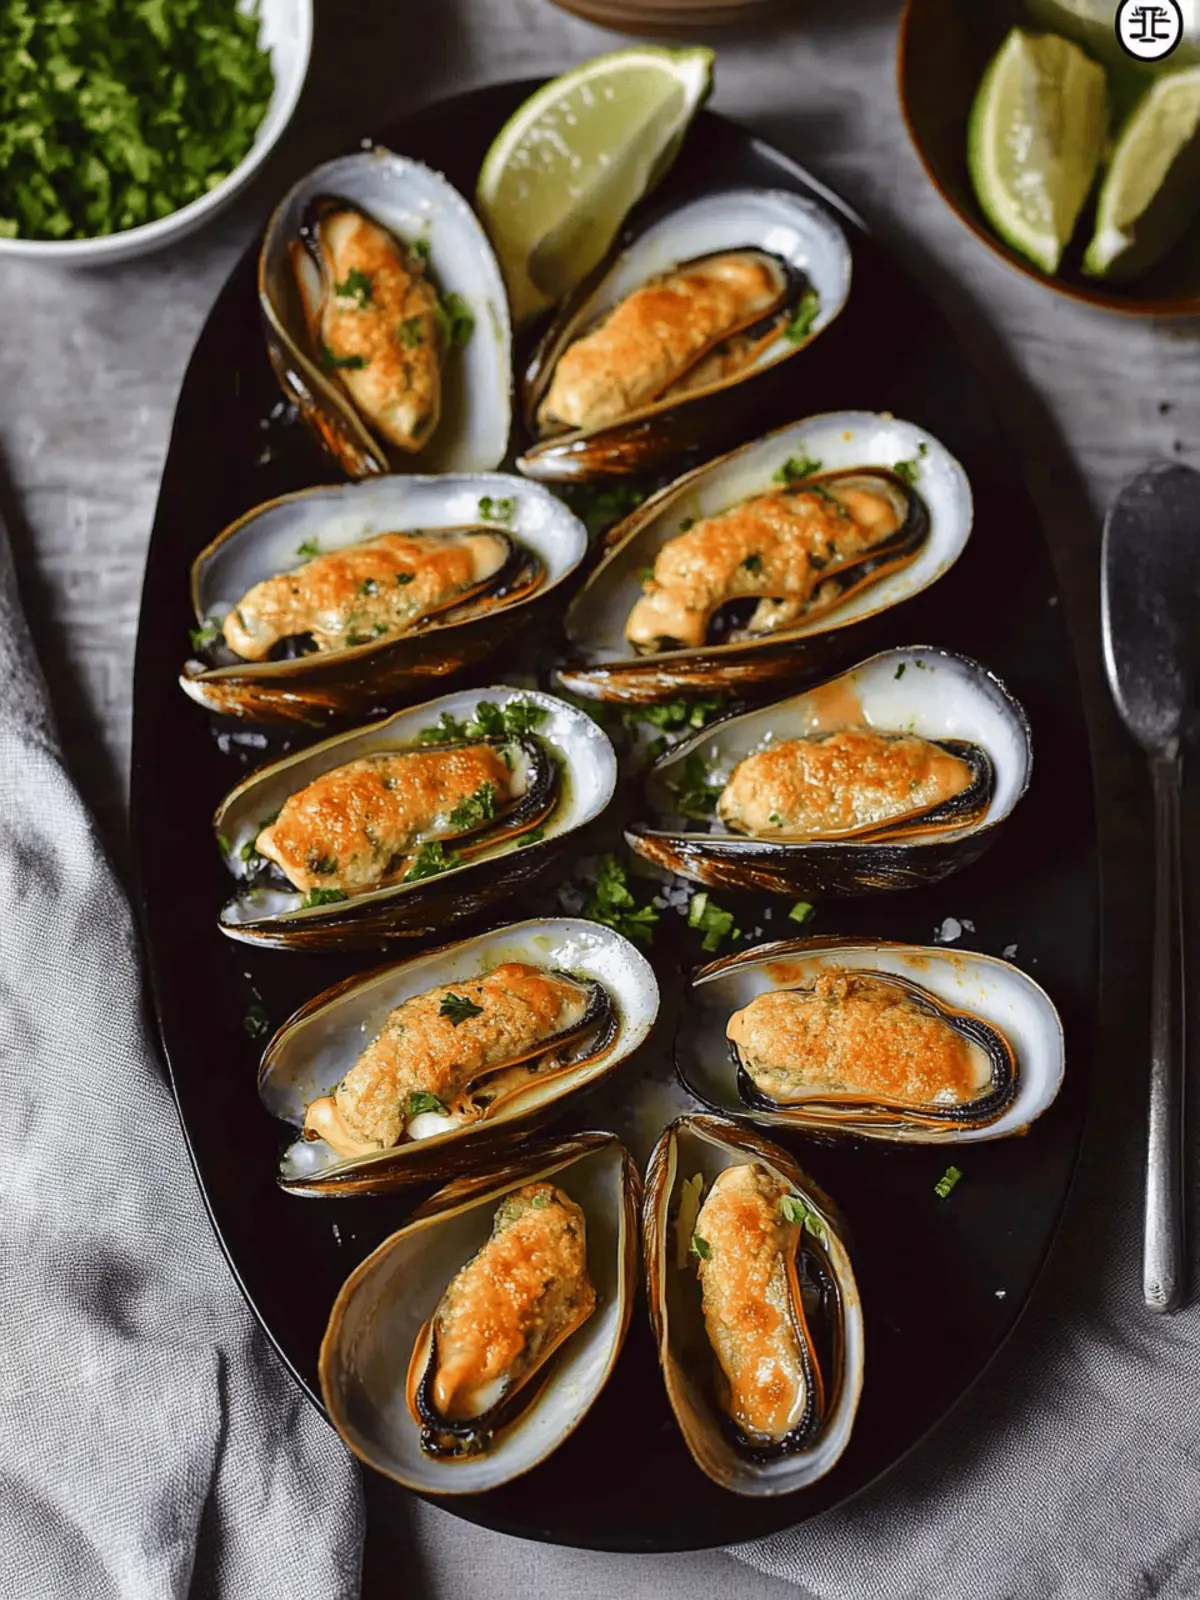
- Zesty Lemon Wedges: Brighten the dish with a refreshing squeeze of lemon juice to cut through the richness and enhance the umami flavors.
- Fresh Green Salad: A light salad with vinaigrette adds a crisp texture and balances out the indulgent elements of the dish beautifully.
- Edamame: These vibrant green soybeans bring a satisfying bite and a light saltiness, making them a lovely snack alongside the mussels.
- Chilled White Wine: A glass of crisp Sauvignon Blanc or a dry Riesling pairs excellently with seafood, enhancing the flavors while keeping your palate refreshed.
- Roasted Vegetables: Whatever seasonal veggies you have will provide a medley of flavors and textures, making each bite with the mussels more expansive and enjoyable.
- Creamy Polenta: The smooth, buttery taste of polenta acts as a gorgeous base, soaking up the deliciousness of mussels while offering a comforting element to the meal.
- Savory Risotto: A creamy, cheesy risotto complements the mussels, filling you with warmth and depth that’s truly luxurious.
- Chocolate Mousse: For dessert, a light, airy chocolate mousse makes a delicious finale, playing well against the richness of the seafood appetizer.
Make Ahead Options
These Baked Mayo-Cheese Mussels are perfect for busy cooks looking to save time during meal prep! You can clean the mussels and prepare the creamy mayo-cheese topping up to 24 hours in advance; simply store them separately in the refrigerator to maintain freshness. When you’re ready to enjoy this seafood delight, generously spoon the mayo-cheese mixture over the mussels, and bake them in a preheated oven for 5-7 minutes until bubbly and lightly browned. This approach not only streamlines your cooking process but also ensures that each bite remains just as delicious, allowing you to indulge in a gourmet appetizer without the last-minute rush.
Mayo-Cheese Mussels Variations
Feel free to experiment and tailor the recipe to your taste preferences!
- Regular Mayo: Substitute Kewpie with standard mayo mixed with a splash of lemon juice for brightness.
- Cheese Variety: Try swapping in feta or goat cheese for a tangy flair that complements the mussels beautifully.
- Herbed Delight: Add fresh herbs like dill or basil to the mayo mixture for an aromatic twist that elevates the dish.
- Spicy Kick: Mix in sriracha or chili flakes for those who love a bit of heat—it will warm your taste buds!
- Crunchy Topping: Sprinkle breadcrumbs on top before baking to add an irresistible crunchy texture that contrasts the creamy filling.
- Pesto Infusion: Blend a spoonful of pesto with the mayo for an herby, garlicky layer that brings an Italian vibe to the dish.
- BBQ Flavor: Drizzle barbecue sauce over the mussels before baking for a smoky, sweet addition that will tantalize your palate.
- Citrus Zing: Incorporate lime zest into the mayo mixture as a fresh, bright note that’ll make each bite pop with flavor.
How to Store and Freeze Baked Mayo-Cheese Mussels
-
Room Temperature: It’s best to enjoy Baked Mayo-Cheese Mussels immediately after baking for the best flavor and texture. If left out, consume within 2 hours to maintain safety.
-
Fridge: Store any leftover mussels in an airtight container in the refrigerator. They will stay good for up to 3 days. Reheat gently in the oven or microwave before serving.
-
Freezer: While I recommend enjoying these mussels fresh, you can freeze them before baking. Place the assembled mussels in a single layer on a baking sheet, freeze until solid, then transfer to a freezer bag for up to 2 months. Bake directly from frozen; add a few extra minutes to the cooking time.
-
Reheating: To reheat, place chilled or defrosted mussels on a baking dish and warm in a preheated oven at 350°F (175°C) for about 5-10 minutes, until the cheese is melted and bubbly again.
Expert Tips for Baked Mayo-Cheese Mussels
-
Fresh Mussels: Ensure mussels are fresh and stored properly; look for tightly closed shells and avoid any that are open.
-
Clean Thoroughly: Scrub the mussels under cold water to remove grit. A clean mussel ensures an enjoyable final dish.
-
Watch the Oven: Keep an eye on the baking time; the cheese should be bubbly and golden, but avoid overcooking to maintain tender mussels.
-
Flavorful Experimentation: Don’t hesitate to experiment with different cheeses or toppings for your Baked Mayo-Cheese Mussels—each variety will bring a unique touch.
-
Serving Warm: Serve right out of the oven for the best experience, as the melty cheese and delicate mussels shine when hot and fresh.
Baked Mayo-Cheese Mussels Recipe FAQs
How do I select fresh mussels?
Absolutely! When choosing mussels, look for tightly closed shells; they should feel heavy and respond to a gentle tap. Avoid any that remain open or have dark spots as they may be dead or spoiled.
How should I store leftover Baked Mayo-Cheese Mussels?
Very! Store your leftover mussels in an airtight container in the refrigerator, where they will stay fresh for up to 3 days. When you’re ready to enjoy them again, gently reheat in the oven or microwave for best results.
Can I freeze Baked Mayo-Cheese Mussels?
Certainly! While I recommend slight hesitation, you can freeze these mussels assembled (before baking). Simply lay them out on a baking sheet to freeze until solid, then transfer them to a freezer bag. They can be stored for up to 2 months. Bake directly from frozen and add a few extra minutes to the cooking time to ensure they heat through.
What should I do if the mussels don’t open while baking?
If you notice that some mussels haven’t opened after baking, it’s likely they were dead before cooking. Always ensure to discard any mussels that remain closed after cooking, as they may not be safe to eat.
Are Baked Mayo-Cheese Mussels suitable for someone with a shellfish allergy?
Definitely not! Mussels are seafood and can trigger allergic reactions for those with shellfish allergies. I recommend steering clear of this dish if anyone in your household has such allergies.
How long can I keep Baked Mayo-Cheese Mussels at room temperature?
Very! It’s best to enjoy them right after they’re made. If left at room temperature, they should be consumed within 2 hours to ensure food safety and quality.
Baked Mayo-Cheese Mussels Recipe FAQs
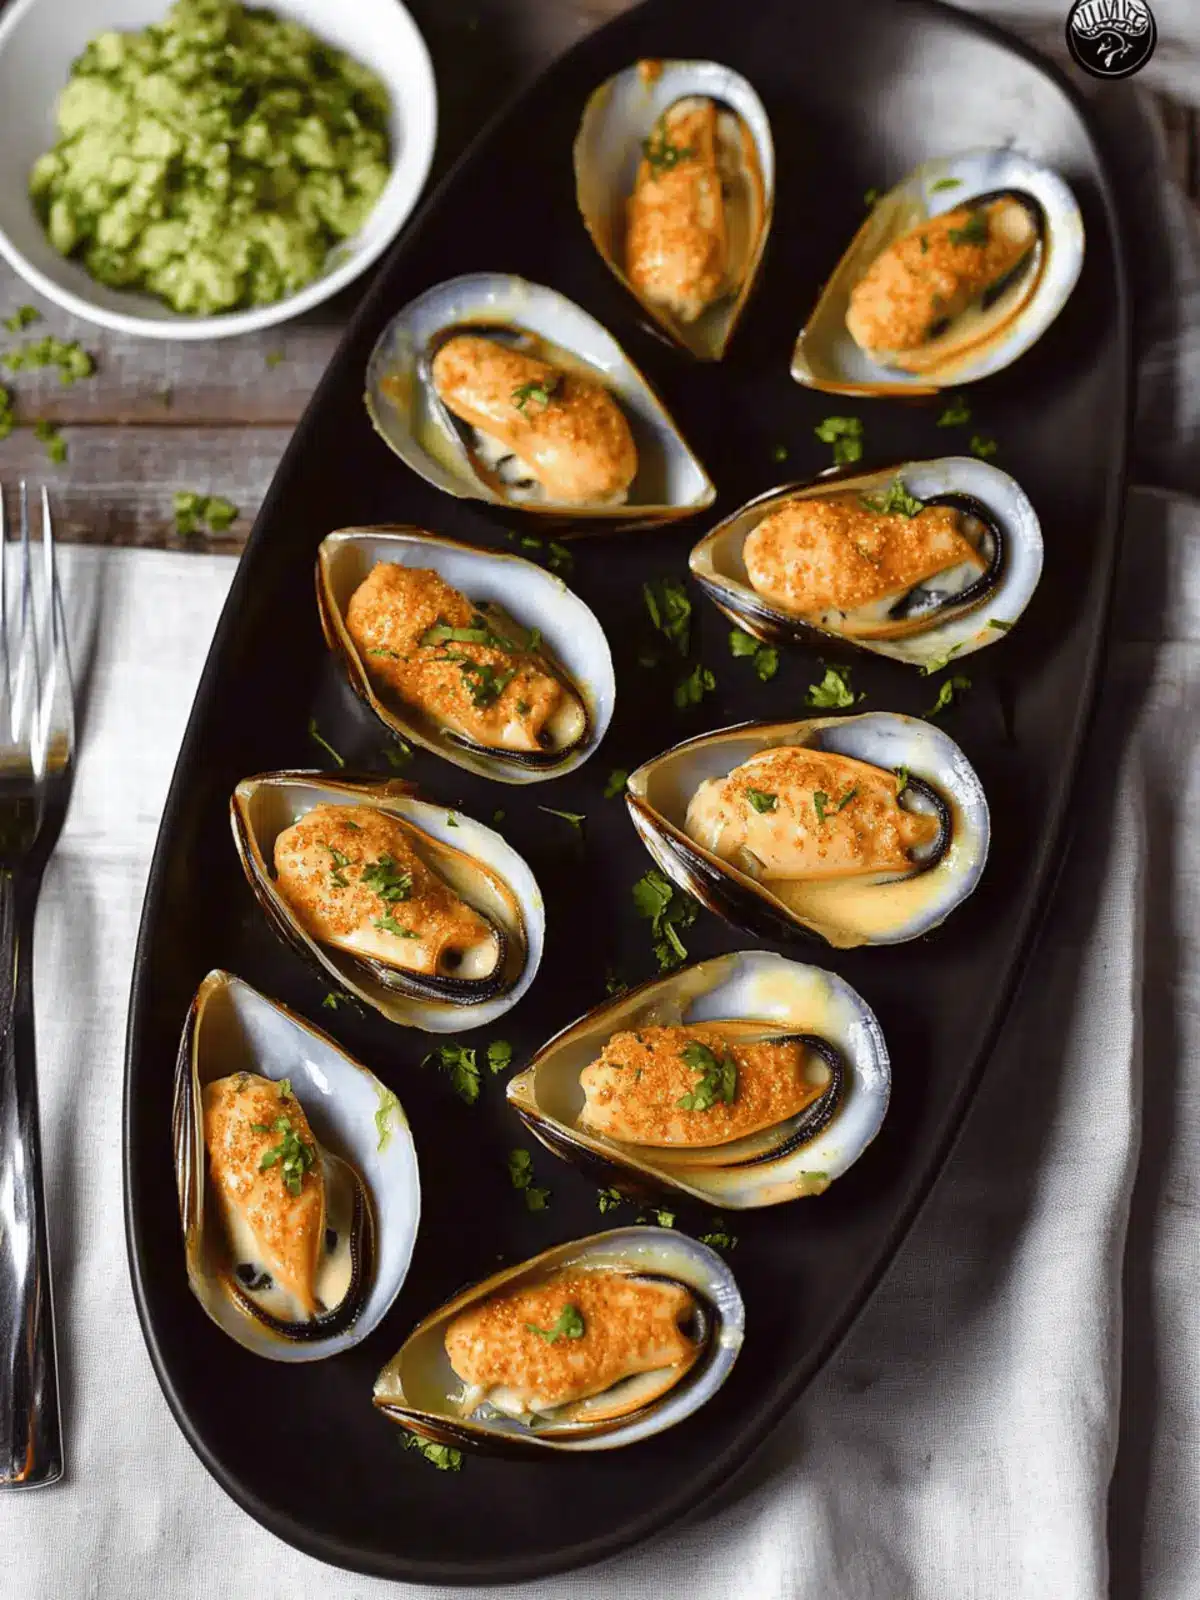
Baked Mayo-Cheese Mussels: Your New Favorite Seafood Treat
Ingredients
Equipment
Method
- Preheat the oven to 375°F (190°C).
- Clean the mussels thoroughly under cold running water and discard any that are open.
- Mix Kewpie mayonnaise with grated cheese in a bowl and add any optional seasonings.
- Spoon the mayo-cheese mixture generously over each mussel.
- Bake in the oven for 5-7 minutes until cheese is bubbly and slightly browned.
- Serve immediately, garnished with chopped spring onions if desired.
