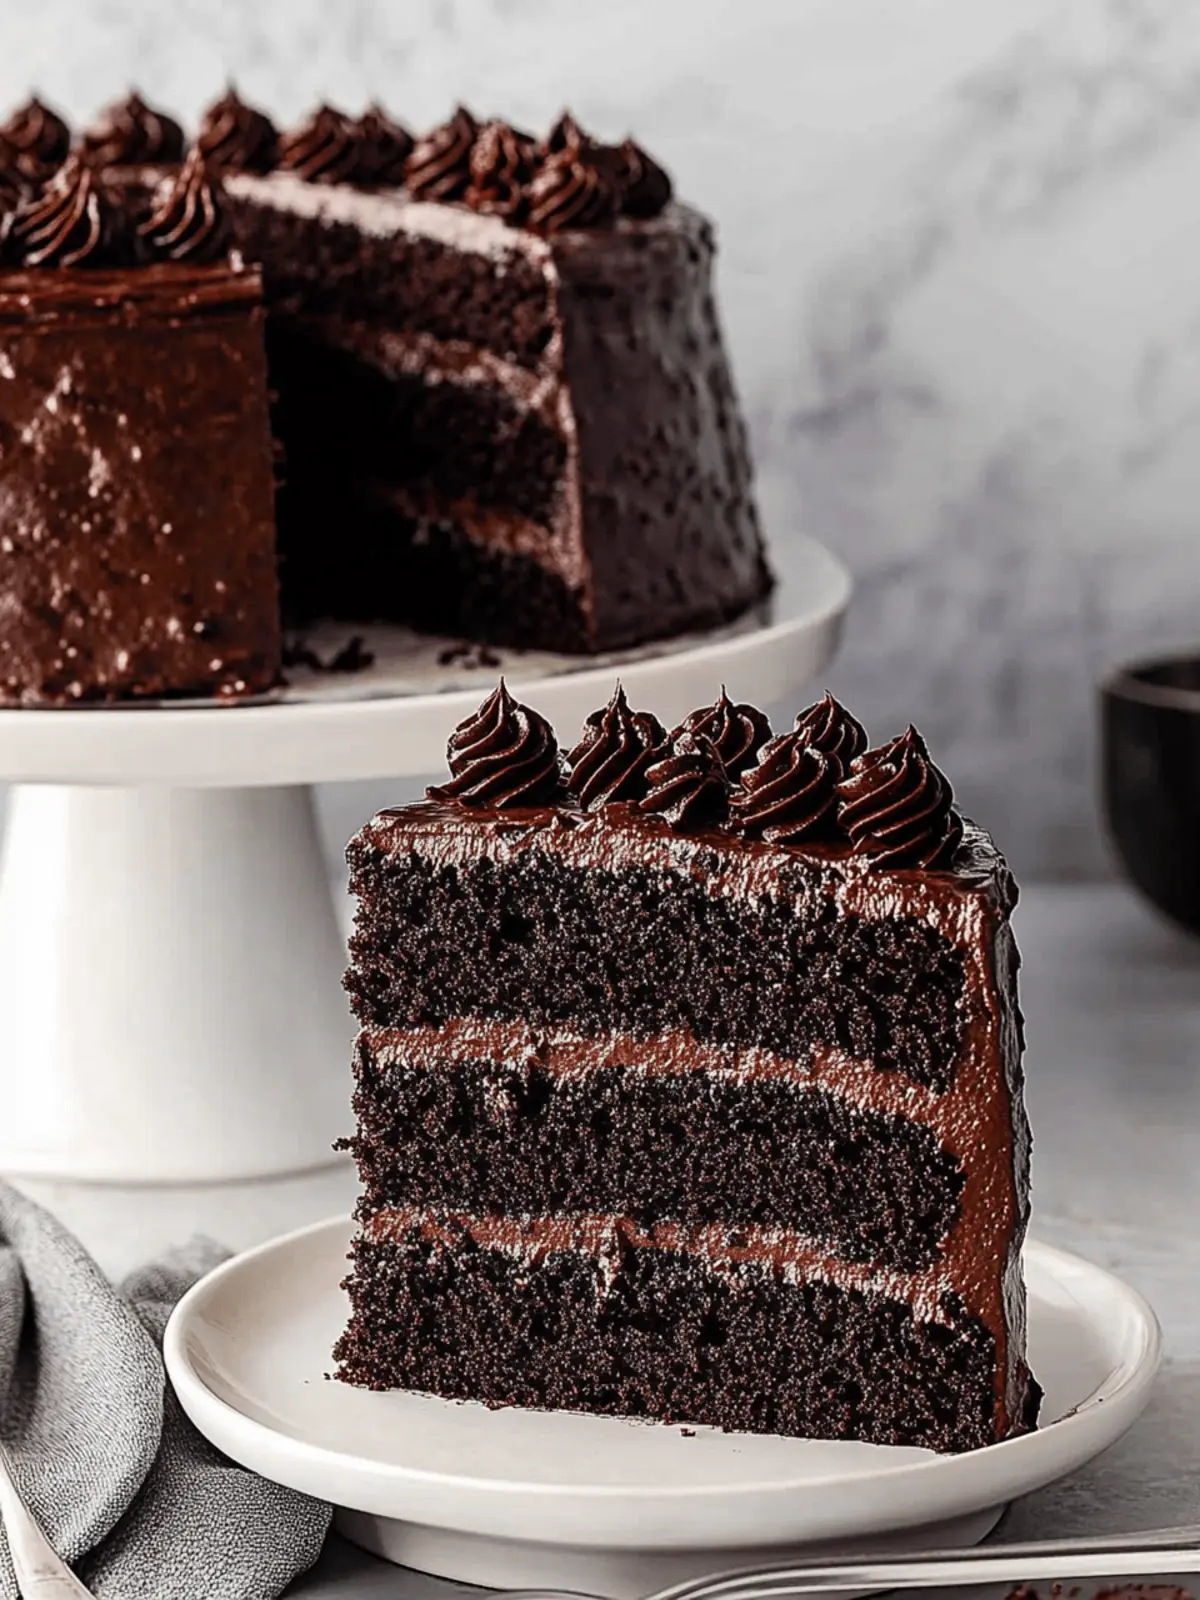
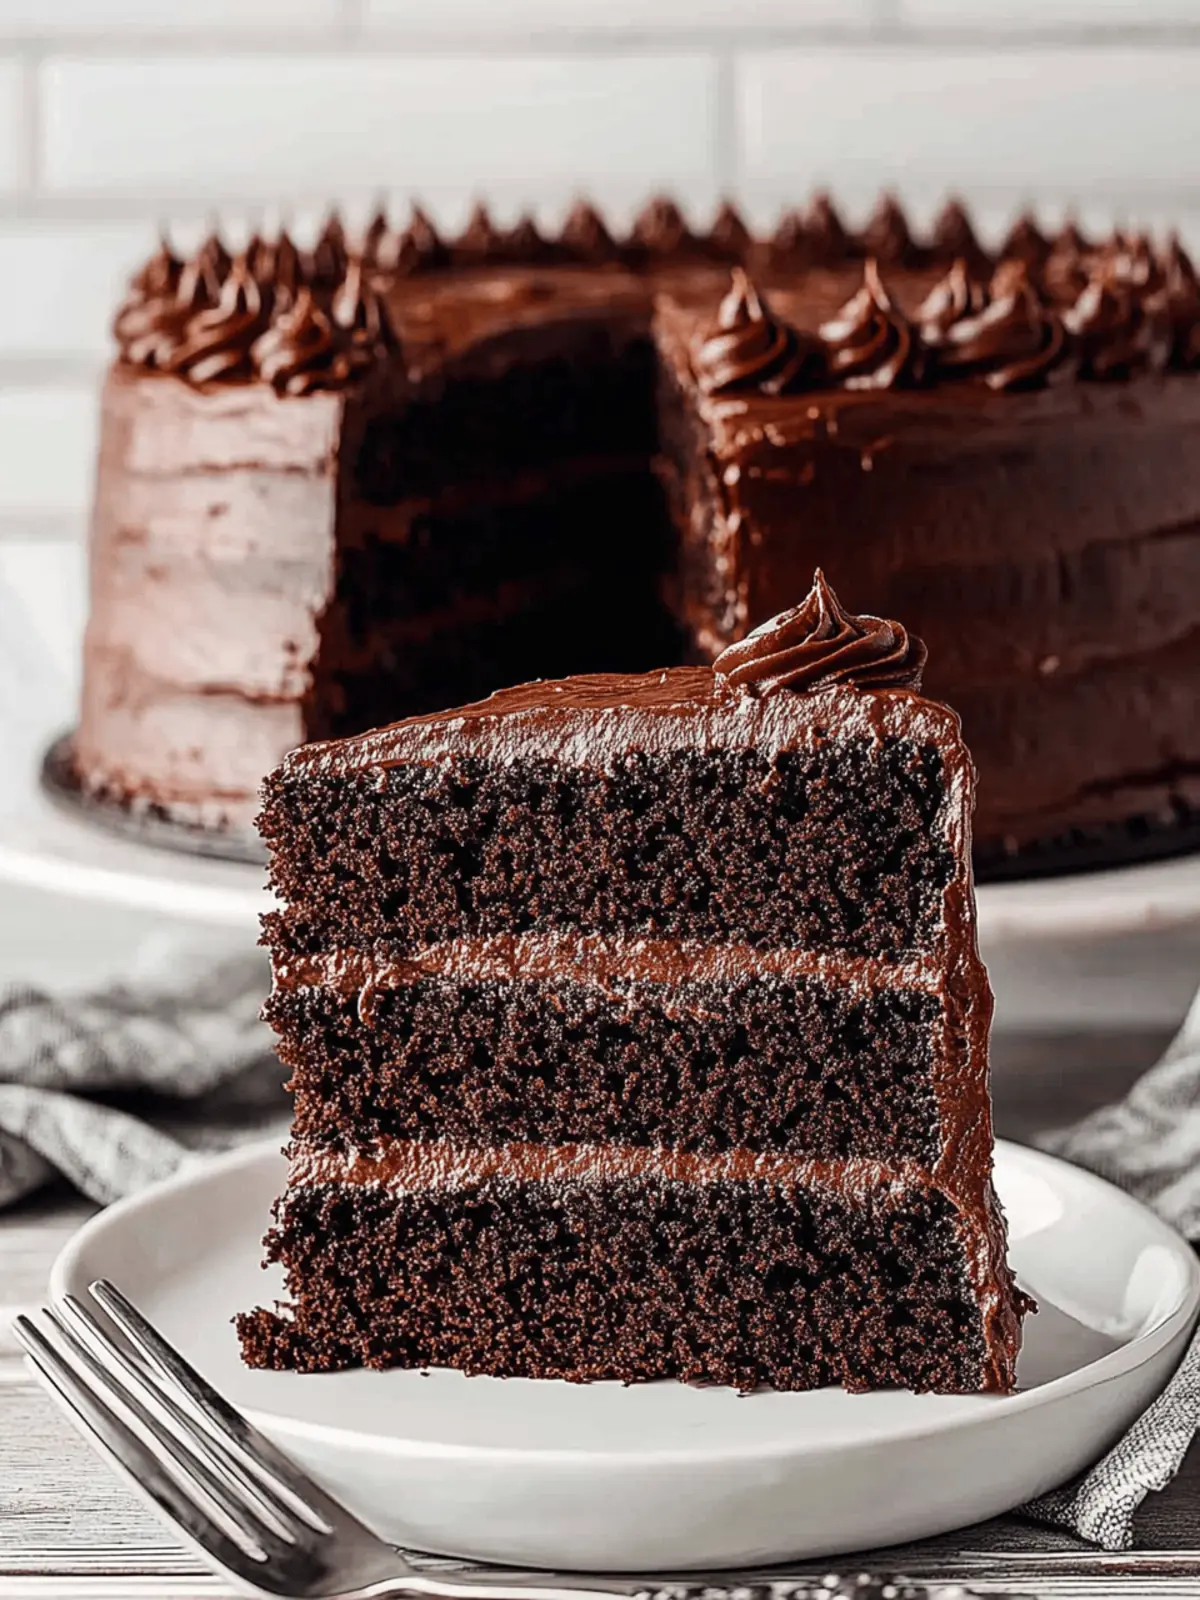
There’s a little slice of heaven that comes from slicing into a rich, dark chocolate cake, and this Brooklyn Blackout Cake is no exception. It’s that moment when your fork effortlessly glides through layers of velvety chocolate, and the aroma envelops you like a hug. I first tasted this luscious cake at a friend’s birthday bash, where its decadent allure simply stole the show.
This recipe is perfect for those of us looking to break away from the mundane cycle of fast food and embrace the comforting joy of homemade treats. The combination of Dutch-process cocoa and bittersweet chocolate creates a depth of flavor that’s utterly irresistible. Plus, this cake isn’t just for special occasions; it transforms any average day into an extraordinary celebration.
So, whether you’re surprising your loved ones or indulging in a well-deserved treat, allow me to guide you through creating this crowd-pleasing beauty. Let’s gather those ingredients and dive into the wonderful world of baking!
Why is Brooklyn Blackout Cake so special?
Decadent layers of dark chocolate await you in this recipe, bringing pure bliss to every bite. Irresistible flavor comes from the blend of Dutch-process cocoa and bittersweet chocolate, making it a chocoholic’s dream. Crowd-pleasing perfection ensures this cake is the life of any gathering, leaving guests asking for seconds. Versatile and easy to make, you can whip it up for birthdays, celebrations, or even a simple sweet treat at home. For a delightful twist, consider pairing it with a scoop of homemade vanilla ice cream as a delicious addition!
Brooklyn Blackout Cake Ingredients
• To create this heavenly cake, gather the following essential ingredients!
For the Cake
- Large eggs – 2 large eggs add richness and structure to your Brooklyn Blackout Cake.
- Granulated sugar – 2 cups of sugar provide the right sweetness to balance the cocoa’s richness.
- Dutch-process cocoa powder – ½ cup enhances the deep chocolate flavor and gives the cake a luxurious texture.
- Instant coffee powder – 1 teaspoon enhances the chocolate flavor, deepening the overall taste experience.
- Hot water – 1 cup helps to bloom the cocoa, releasing its full flavor potential.
- All-purpose flour – 2 ½ cups ensure the cake has the right amount of structure while remaining moist.
- Baking soda – 2 teaspoons helps the cake rise, creating a soft, airy texture.
- Baking powder – 1 teaspoon works in conjunction with baking soda for a perfect rise.
- Kosher salt – ½ teaspoon enhances the sweetness and balances the flavors beautifully.
- Vegetable oil – 1 cup keeps the cake moist and tender with its rich fat content.
- Buttermilk – 1 cup adds a lovely tanginess and keeps the cake moist and incredibly delicious.
- Vanilla extract – 1 tablespoon infuses the cake with warmth and depth of flavor.
For the Frosting
- Granulated sugar – 1 ⅓ cup is the perfect sweetener to balance your rich chocolate frosting.
- All-purpose flour – 2/3 cup thickens the frosting to achieve that ideal consistency.
- Dutch-process cocoa powder – 6 tablespoons maximizes chocolate flavor in the frosting, bringing it all together.
- Kosher salt – 1 ½ teaspoon ensures the sweetness in the frosting is balanced and delectable.
- Milk – 2 cups keeps the frosting smooth and creamy, allowing for easy spreading.
- Vanilla extract – 1 tablespoon enhances the flavor of the frosting for that extra special touch.
- Salted butter – 1 pound, when softened, creates a rich and creamy base for your frosting.
- Bittersweet chocolate chips – 1 ½ cups melted chocolate deepens the richness and flavor of the frosting, taking it over the top.
Gather these delightful ingredients and prepare to indulge in a chocolate masterpiece with your Brooklyn Blackout Cake!
How to Make Brooklyn Blackout Cake
-
Sift the dry ingredients in a medium saucepan, combining the sugar, flour, and cocoa powder. Whisk in 1 teaspoon of salt and the milk. Heat over medium while stirring continuously until the mixture thickens, which should take about 8-10 minutes. Cook for an additional 2 minutes, then remove from heat, adding in the vanilla. Let cool to room temperature for about 30 minutes before covering and refrigerating for 2 hours to set.
-
Preheat your oven to 350°F. Prepare 3 9-inch round cake pans by spraying them with nonstick baking spray to ensure an easy release once baked.
-
Beat the eggs and sugar together in a stand mixer bowl on high speed for 2-3 minutes. This will help incorporate air into the batter for a light and fluffy cake.
-
Combine the cocoa powder and instant coffee into hot water in a separate bowl. Gradually add this mixture to the eggs and sugar, stirring well to blend.
-
Sift the dry ingredients (flour, baking soda, baking powder, and salt) into a small bowl. With the mixer on low speed, add these dry ingredients in two intervals. Then incorporate the vegetable oil, buttermilk, and vanilla extract, beating until just combined.
-
Divide the cake batter evenly among the prepared pans. Bake for 22-25 minutes, or until a toothpick inserted into the center comes out clean. Halfway through baking, rotate the pans for even cooking.
-
Rest the cakes for 10 minutes before carefully removing them from the pans. Transfer to a wire rack to cool completely, which will take about 30 minutes.
-
Break one cooled cake layer into small, walnut-sized pieces. Spread them on a parchment-lined baking sheet in an even layer and bake at 350°F for 30-35 minutes, stirring halfway through, until they’re dried out. Cool for about 15 minutes and then crush the pieces in a zip-top bag with a rolling pin to create crumbs.
-
Melt the chocolate in a microwave-safe bowl for 3 minutes on low, stirring every 20 seconds until smooth. Allow the melted chocolate to cool for 5 minutes.
-
Whip the butter in the stand mixer with the whisk attachment for about 1 minute until light and smooth. Gradually add the cooled pudding mixture in three intervals, mixing on medium and scraping down the sides as you go.
-
Pour in the cooled chocolate and salt. Raise mixer speed to high and mix for an additional minute, allowing the frosting to catch a rich texture and a dull sheen.
-
Slice each remaining cake layer in half horizontally. Place the bottom layer on a cake stand, add some frosting on top, and sprinkle some cake crumbs. Repeat this process with the next two layers.
-
Top with the last cake layer and apply a thin crumb coat of frosting on the top and sides. Chill the cake in the refrigerator for 30 minutes to set the frosting.
-
Frost the top and sides of the cake with the remaining frosting, smoothing it out for a polished finish.
-
Press the crumbs gently into the sides of the cake as a delightful garnish. Brush off any excess crumbs for a clean look.
-
Slice and serve your Brooklyn Blackout Cake immediately, allowing everyone to enjoy that rich, chocolate bliss!
Optional: Top with fresh berries for a burst of color and flavor.
Exact quantities are listed in the recipe card below.

Brooklyn Blackout Cake Variations & Substitutions
Feel free to explore these delightful twists on your Brooklyn Blackout Cake for a fun and personalized touch!
- Gluten-Free: Substitute all-purpose flour with a gluten-free blend for a delicious, cakelike treat that everyone can enjoy. Many blends contain xanthum gum, helping maintain a fantastic texture.
- Vegan: Replace eggs with flax eggs and substitute buttermilk with almond milk mixed with vinegar. The cake will be just as rich and indulgent!
- Coffee Lovers: Add an additional tablespoon of instant coffee powder for an extra caffeine kick, enhancing your cake’s chocolate flavor.
- Nutty Twist: Incorporate 1 cup of chopped walnuts or pecans into the batter for a delightful crunch that adds both flavor and texture.
- Spicy Kick: Stir in ½ teaspoon of cayenne pepper or chili powder for a surprising warmth that pairs beautifully with chocolate! This twist gives the cake a layered depth of flavor.
- Minty Fresh: Add 1 teaspoon of peppermint extract to the batter and frosting for a refreshing flavor that screams indulgence. Top with chocolate mint candies for a cute finish!
- Fruit-Infused: Fold in 1 cup of raspberry or cherry puree into the frosting for a fruity contrast—every bite becomes a sweet surprise!
- Frosting Flaret: Mix flavored extracts like almond or orange into the frosting for a zesty, flavorful change that enhances your chocolate experience.
Experiment with these variations and discover how your Brooklyn Blackout Cake can turn into a unique culinary masterpiece, tailor-made for your taste!
Expert Tips for Brooklyn Blackout Cake
- Room Temperature Ingredients: Ensure eggs and buttermilk are at room temperature for better mixing and a fluffier cake. Cold ingredients can result in a dense texture.
- Measure Accurately: Use a kitchen scale for precision, especially with flour and cocoa powder. Too much flour can lead to a dry cake.
- Cooling Time: Allow the cakes to cool completely on racks to prevent soggy layers and ensure proper frosting application.
- Crumb Coat: Don’t skip the thin crumb coat! It seals in crumbs and creates a smooth base for the final frosting layer.
- Frosting Technique: Use an offset spatula to spread frosting evenly and smoothly; it helps achieve that professional bakery-style finish.
By following these expert tips, your Brooklyn Blackout Cake will be a delicious masterpiece that delights every chocolate lover!
How to Store and Freeze Brooklyn Blackout Cake
Room Temperature: Keep unfrosted cake layers at room temperature in an airtight container for up to 3 days. Avoid direct sunlight to maintain freshness.
Fridge: Store frosted Brooklyn Blackout Cake in the refrigerator for up to 5 days, covered securely. This helps retain moisture and flavor while prolonging its deliciousness.
Freezer: For longer storage, freeze individual slices or the entire cake wrapped in plastic wrap and aluminum foil for up to 3 months. Thaw in the fridge overnight before serving.
Reheating: If desired, gently warm slices in the microwave for about 10-15 seconds, just enough to enhance that chocolaty goodness without melting the frosting.
What to Serve with Brooklyn Blackout Cake?
Transform your dessert experience with delightful pairings that elevate your indulgence!
- Fresh Berries: A burst of tangy sweetness from strawberries or raspberries perfectly contrasts the rich chocolate, delivering a refreshing bite.
- Vanilla Ice Cream: Creamy vanilla ice cream melts into the cake, enhancing its chocolatey richness while adding a luscious creaminess.
- Espresso or Coffee: A robust coffee or espresso cuts through the cake’s sweetness, providing a warm, cozy atmosphere with each sip.
- Whipped Cream: Light and airy, a dollop of freshly whipped cream complements the dense chocolate cake, adding a smooth texture to each bite.
- Chocolate Sauce: Drizzling warm chocolate sauce on top creates an indulgent, dreamy dessert, amplifying your chocolate experience to new heights.
- Nutty Biscotti: Serve alongside crunchy, nutty biscotti for a delightful textural contrast that enhances the overall enjoyment of the cake.
- Mint Tea: A soothing cup of mint tea cleanses the palate after the decadence of chocolate, offering a refreshing end to your dessert experience.
- Chocolate Stout: For the adults, a rich chocolate stout beer pairs beautifully, accentuating the chocolaty flavors while providing a pleasant depth.
Make Ahead Options
These Brooklyn Blackout Cake components are perfect for meal prep, making your baking experience seamless and stress-free! You can prepare the cake layers up to 3 days in advance; simply wrap them tightly in plastic wrap once they are completely cooled to keep them moist. The frosting can be made up to 24 hours ahead—just store it in the refrigerator, and give it a quick mix before using to restore its creamy texture. For the cake crumbs, you can bake and crush them up to a week ahead. Remember to seal them in an airtight container to maintain their crunch. When you’re ready to serve, assemble the layers and frost for dessert that’s just as delicious, saving you precious time!

Brooklyn Blackout Cake Recipe FAQs
What do I look for when selecting cocoa powder?
Absolutely! When choosing Dutch-process cocoa powder, look for a rich, dark color and a fragrant aroma. Avoid any that have a chalky texture or a watery scent, as these may compromise your cake’s flavor. The better the cocoa, the more intense the chocolate experience!
How should I store leftover Brooklyn Blackout Cake?
You can keep frosted Brooklyn Blackout Cake in the refrigerator for up to 5 days. Make sure it’s covered securely with plastic wrap or placed in an airtight container. This way, it maintains its delightful moisture and flavor, allowing you to enjoy each slice just like the first!
Can I freeze Brooklyn Blackout Cake?
Yes, you can! To freeze your cake, wrap it tightly in plastic wrap and then in aluminum foil. This double-wrap will keep the cake fresh for up to 3 months. When you’re ready to indulge, simply thaw it overnight in the fridge. For best results, slice before freezing for quick serving options!
What can I do if the cake layers dome while baking?
Don’t worry! If your cake layers rise with a dome, simply level them off once they cool. Use a serrated knife to slice off the top for a perfect, even surface before frosting. This will help ensure that all layers are uniform, allowing for stunning presentation and easier stacking.
Is this cake suitable for people with allergies?
Excellent question! Keep in mind that Brooklyn Blackout Cake contains eggs, dairy, and gluten. To make it more allergy-friendly, you can substitute the eggs with flax eggs or applesauce, and use gluten-free flour blends. Always check the labels of substitutes to ensure they meet your specific dietary needs.
Can I make this cake ahead of time?
Very much so! You can bake the cake layers a day in advance. Allow them to cool completely, then wrap them in plastic wrap or place them in airtight containers. This helps the flavors develop further. Just frost it the day you plan to serve, as fresh frosting does make all the difference!
Feel free to reach out if you have more questions or need assistance while baking!

Brooklyn Blackout Cake: Indulge in Chocolate Bliss
Ingredients
Equipment
Method
- Sift dry ingredients in a medium saucepan, combine sugar, flour, and cocoa powder. Whisk in salt and milk. Heat until thickened, about 8-10 minutes, then cool.
- Preheat oven to 350°F. Prepare 3 9-inch round cake pans with nonstick spray.
- Beat eggs and sugar in a stand mixer on high for 2-3 minutes.
- Combine cocoa powder and instant coffee in hot water, then mix into egg/sugar mixture.
- Sift dry ingredients (flour, baking soda, baking powder, salt) into a bowl. Add dry ingredients in two intervals with mixer on low, followed by vegetable oil, buttermilk, and vanilla.
- Divide batter evenly among pans. Bake for 22-25 minutes. Rotate pans halfway.
- Rest cakes for 10 minutes, then transfer to wire racks to cool for 30 minutes.
- Break one cooled layer into small pieces and bake to dry out, then crush.
- Melt chocolate in a microwave-safe bowl until smooth.
- Whip butter in stand mixer until light. Add cooled pudding mixture gradually.
- Mix in cooled chocolate and salt until texture is rich.
- Slice remaining cake layers in half. Layer frosting and cake crumbs.
- Top with last layer, apply crumb coat, and chill for 30 minutes.
- Frost cake, pressing crumbs into the sides.
- Slice and serve immediately.


