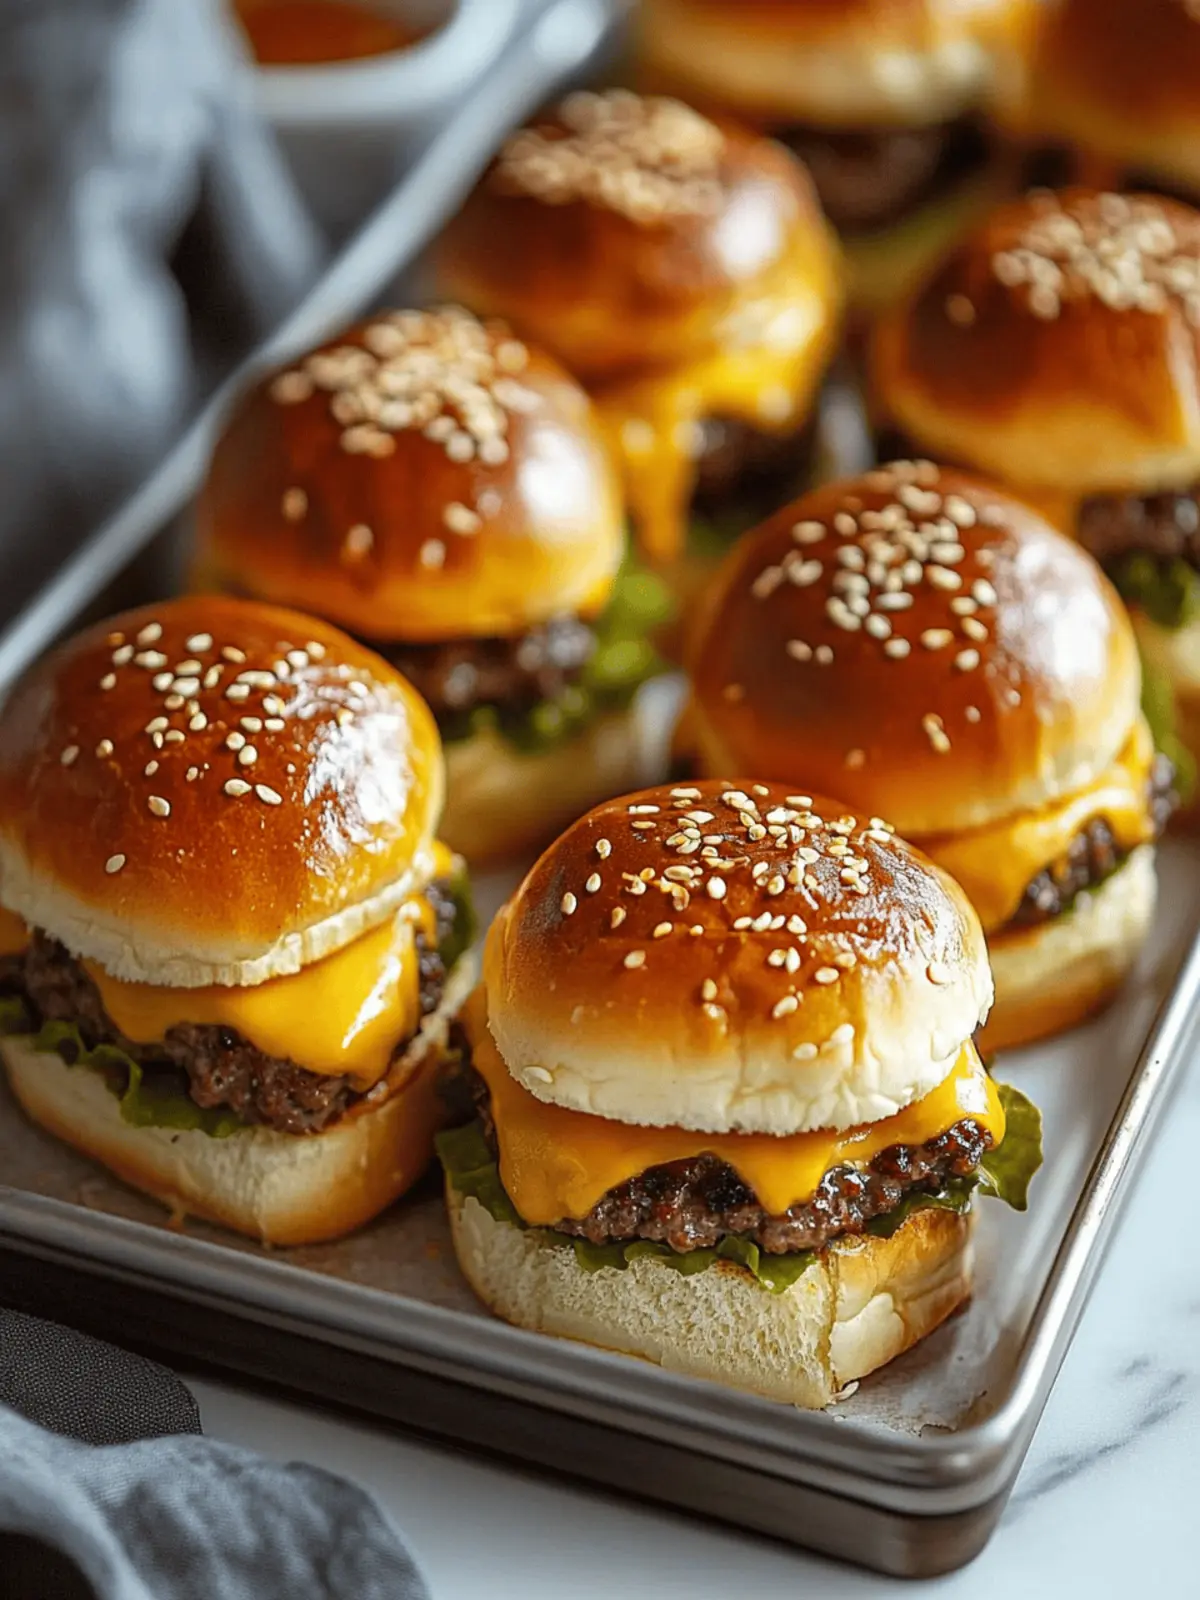
There’s something irresistibly inviting about the aroma of melted cheese and sizzling beef wafting through the kitchen. When I first concocted these Easy Cheeseburger Sliders, I was looking for a casual bite that packed a flavorful punch, suitable for everything from game day celebrations to weekend barbecues. Bite-sized and brimming with all the classic cheeseburger goodness, these sliders are the perfect marriage of simplicity and taste.
As I stacked the golden buns with juicy patties and generous toppings, I couldn’t help but imagine the delightful chatter and laughter that would fill the air as friends and family gathered around the platter. Not only are they quick to prepare—allowing you more time to enjoy the company—but their delightful size makes them dangerously easy to indulge in. Whether you prefer gooey cheddar, zesty pickles, or want to adventure with your toppings, these sliders invite endless customization. Let’s dive into this crowd-pleaser that will turn an ordinary meal into a festive feast!
Why are Cheeseburger Sliders a must-try?
Flavor Explosion: Each slider bursts with savory beef and melty cheese, providing a delightfully satisfying bite.
Endless Customization: From bacon to avocado, the topping options let you create your perfect burger.
Quick and Easy: With a prep time of just 30 minutes, you can whip these up in no time, giving you more moments with your guests.
Crowd-pleasing Appeal: Whether for a game night or a summer cookout, these sliders are sure to capture everyone’s hearts (and stomachs!).
Versatile Serving Options: Pair them with fries or a fresh salad for a meal that impresses, and don’t forget to check out my other appetizer ideas for more fun options!
Cheeseburger Sliders Ingredients
For the Sliders
- Slider Buns – Hawaiian rolls are wonderfully sweet and soft, making them the ideal base for your cheeseburger sliders.
- Ground Beef – Opt for 80/20 or 90/10 for a juicy yet lean patty that captures that cheeseburger essence.
- Onion Powder – A sprinkle adds savory depth; it’s a must for elevating the beef flavor.
- Garlic Powder – Use this to enhance the overall taste profile; it’s a flavor booster you won’t want to skip.
- Salt and Black Pepper – Essential seasoning duo—adjust to taste for your perfect flavor balance.
- Vegetable Oil – A little in the skillet helps achieve that coveted golden crust on each patty.
For the Sauce
- Mayonnaise – Creates a creamy base for your zesty sauce blend.
- Ketchup – Adds sweetness and tang; mix with mayonnaise for a classic taste.
- Yellow Mustard – Offers a zesty kick that complements the other flavors beautifully.
For the Toppings
- Shredded Cheddar Cheese – Melts into gooey perfection; feel free to swap with your favorite meltable cheese for a twist.
- Diced Dill Pickles – They provide a tangy crunch; for sweetness, try substituting with bread-and-butter pickles.
These cheeseburger sliders ingredients will not only create a satisfying snack but allow for creativity and personal touches that can make every gathering special!
How to Make Cheeseburger Sliders
-
Preheat the oven to 375°F and get your baking pan ready lined with parchment paper. This ensures easy cleanup and helps those sliders come out perfectly crispy!
-
Mix the ground beef gently with onion powder, garlic powder, salt, and black pepper. It’s important to combine these just until they’re incorporated to keep the patties tender and juicy.
-
Form the seasoned beef into 12 equal patties. In a heated, oiled skillet over medium-high, cook each patty for 3-4 minutes on each side until they achieve a beautiful golden brown color.
-
Combine mayonnaise, ketchup, and mustard to create a creamy sauce. Spread this delightful mixture generously on the bun halves to add some extra flavor!
-
Assemble your sliders by stacking shredded cheese, warm cooked patties, and diced pickles on the bottom bun. Finally, cap with the top bun to complete your mini masterpieces.
-
Bake the assembled sliders for about 8-10 minutes until the cheese is perfectly melted and the buns are nice and toasty. You’ll know they’re ready when that heavenly aroma fills your kitchen!
-
Serve immediately while they’re hot and melty. Gather your loved ones and watch as they enjoy these scrumptious bites!
Optional: Add some crispy bacon or spicy jalapeños for an extra zing!
Exact quantities are listed in the recipe card below.
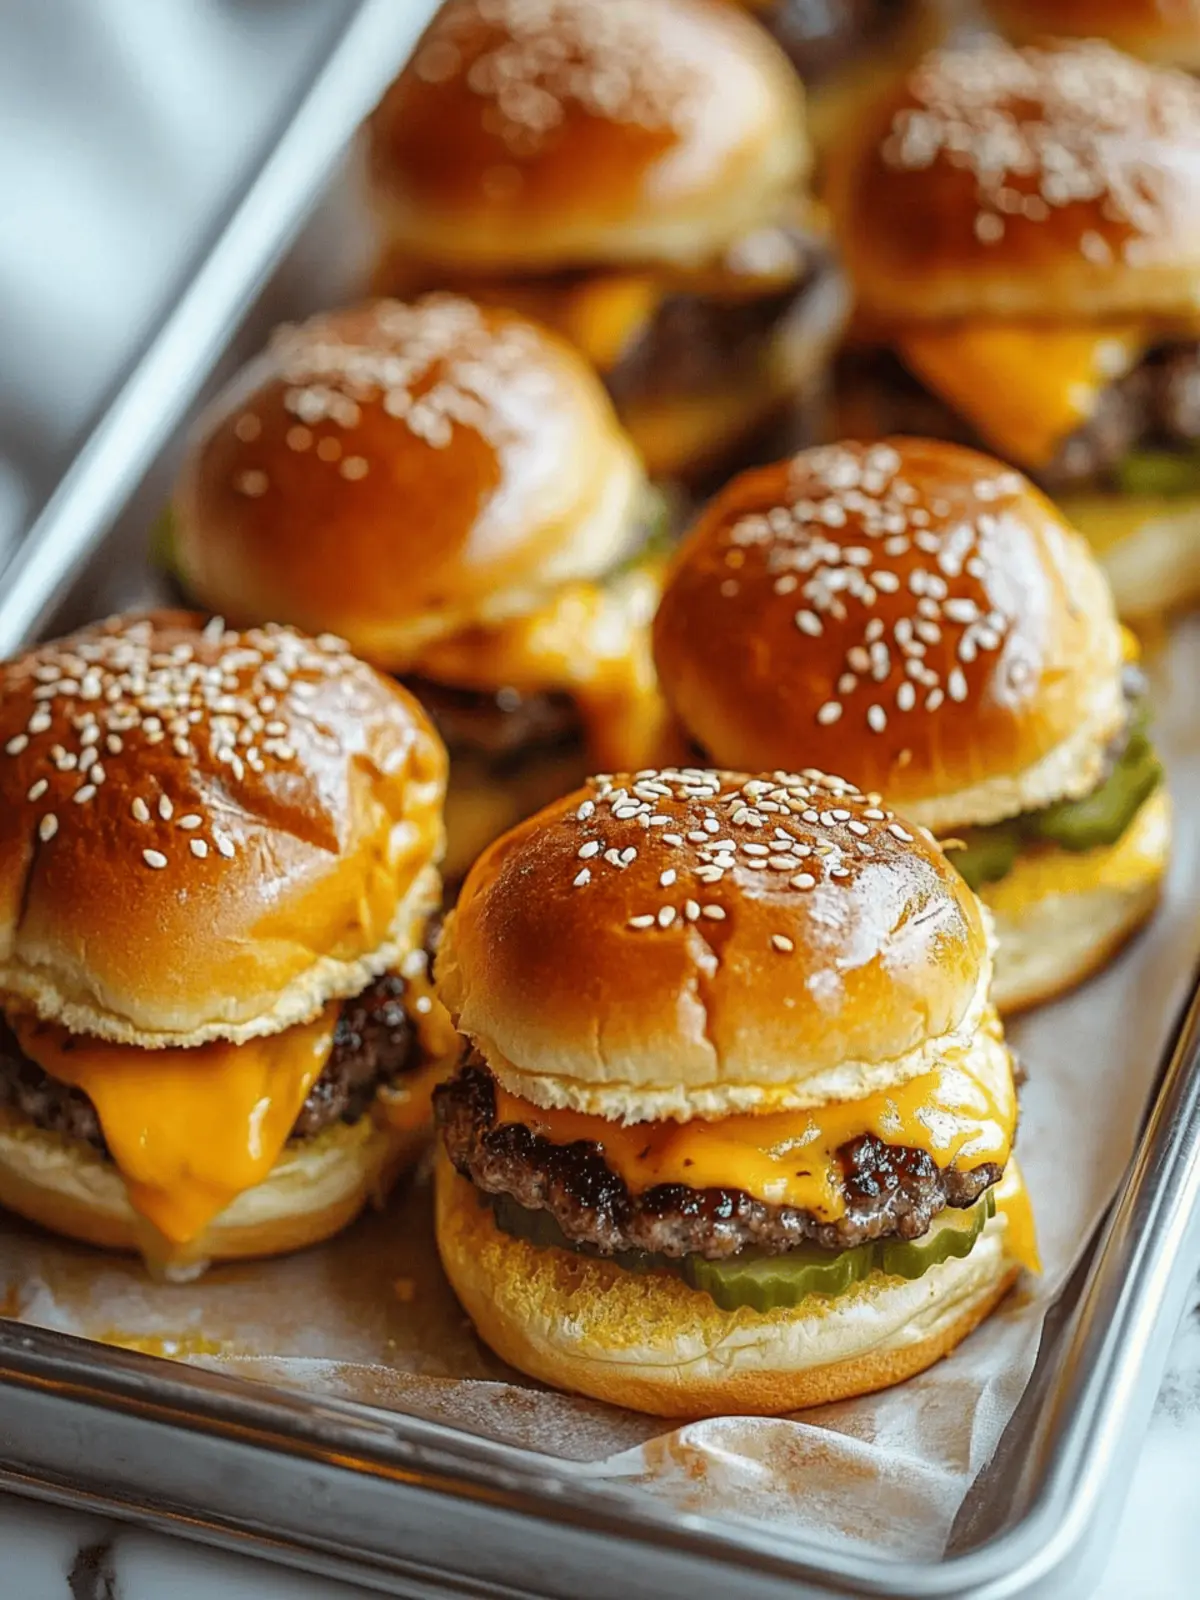
Expert Tips for Cheeseburger Sliders
-
Avoid Overmixing: Keep the patties tender by mixing the ground beef just until the ingredients are combined; overmixing can lead to tough sliders.
-
Use a Thermometer: For perfectly cooked cheeseburger sliders, check that the internal temperature reaches 130-135°F for medium-rare.
-
Cheese Barrier: Place cheese both beneath and above the patty to maintain moisture and achieve that gooey texture everyone loves.
-
Rest Time Matters: Let the sliders sit for a few minutes after baking to allow the juices to redistribute, enhancing flavor and juiciness.
-
Easy Serving: Insert toothpicks into each slider for neat serving, making it easy for guests to grab their favorite bites without mess.
Storage Tips for Cheeseburger Sliders
Fridge: Store leftover cheeseburger sliders in an airtight container for up to 3 days to keep them fresh and delicious.
Freezer: Wrap sliders tightly in plastic wrap and then in aluminum foil; they can be frozen for up to 3 months.
Reheating: To reheat, place frozen sliders in a preheated oven at 350°F for about 15-20 minutes or microwave for 1-2 minutes until heated through.
Assemble Ahead: For convenience, you can assemble sliders a day in advance, cover, and refrigerate. Bake just before serving for a fresh, hot treat!
Cheeseburger Sliders Variations & Substitutions
Feel free to explore these fun twists and adaptations to make the cheeseburger sliders your own!
-
Dairy-Free: Swap cheddar for a dairy-free cheese alternative for a creamy, melt-y finish without the dairy.
-
Ground Turkey: For a lighter option, use ground turkey instead of beef, packing in flavor with spices like paprika and cumin.
-
Spicy Kick: Add diced jalapeños or a sprinkle of cayenne pepper to the beef mixture for a fiery twist that heat-lovers will adore.
-
Gourmet Touch: Incorporate sautéed mushrooms or caramelized onions for an elevated flavor profile that adds depth and sweetness.
-
Bun Swap: Try using pretzel or whole-grain buns for a unique texture and taste that adds character to your sliders.
-
Herbed Patty: Mix fresh herbs like parsley or thyme into the ground beef for refreshing notes and a burst of color.
-
Tangy Sauce: Go for a zesty homemade BBQ sauce or chipotle mayo instead of traditional condiments to kick your sliders up a notch!
-
Veggie Boost: Add shredded vegetables, such as zucchini or carrots, into the beef mix for added nutrition and moisture without compromising flavor.
These variations offer a chance to play with flavors and ingredients, ensuring everyone can enjoy their perfect version of cheeseburger sliders!
Make Ahead Options
These Cheeseburger Sliders are perfect for meal prep enthusiasts! You can assemble the sliders up to 24 hours in advance by preparing the patties and mounting the toppings on the buns, then refrigerate them covered tightly to maintain freshness. The creamy sauce can also be prepped ahead and stored separately for optimal taste. When you’re ready to enjoy your sliders, simply pop them in the oven, bake at 375°F for 8-10 minutes, until the cheese is melted, and buns are toasty. This way, you’ll savor the same juicy goodness with less time spent in the kitchen, making these bite-sized delights a lifesaver for busy weeknights!
What to Serve with Cheeseburger Sliders?
Looking to create the ultimate spread with your sliders? Let’s explore delightful side dishes and treats that accompany these bite-sized joys.
-
Crispy Sweet Potato Fries: The natural sweetness and crispiness pair perfectly with sliders, delivering a delightful contrast in flavors and textures.
-
Garlic Parmesan Potato Wedges: Their savory, cheesy goodness complements the umami of the sliders, creating a comfort-food match made in heaven.
-
Classic Coleslaw: This refreshing, crunchy slaw adds a zesty crunch that balances the richness of the beef and cheese beautifully.
-
Zesty Onion Rings: Crunchy and golden, these add an irresistible textural pop that enhances the overall eating experience of your sliders.
-
Dipping Sauces: Serve with a variety of sauces, like tangy BBQ or creamy ranch, allowing guests to personalize their flavor adventure!
For a drink pairing, consider Sweet Iced Tea: Its refreshing sweetness washes down the richness of the sliders, creating a well-rounded meal experience.
Each of these suggestions adds its own flair, ensuring your cheeseburger sliders shine brightly in a deliciously satisfying feast!
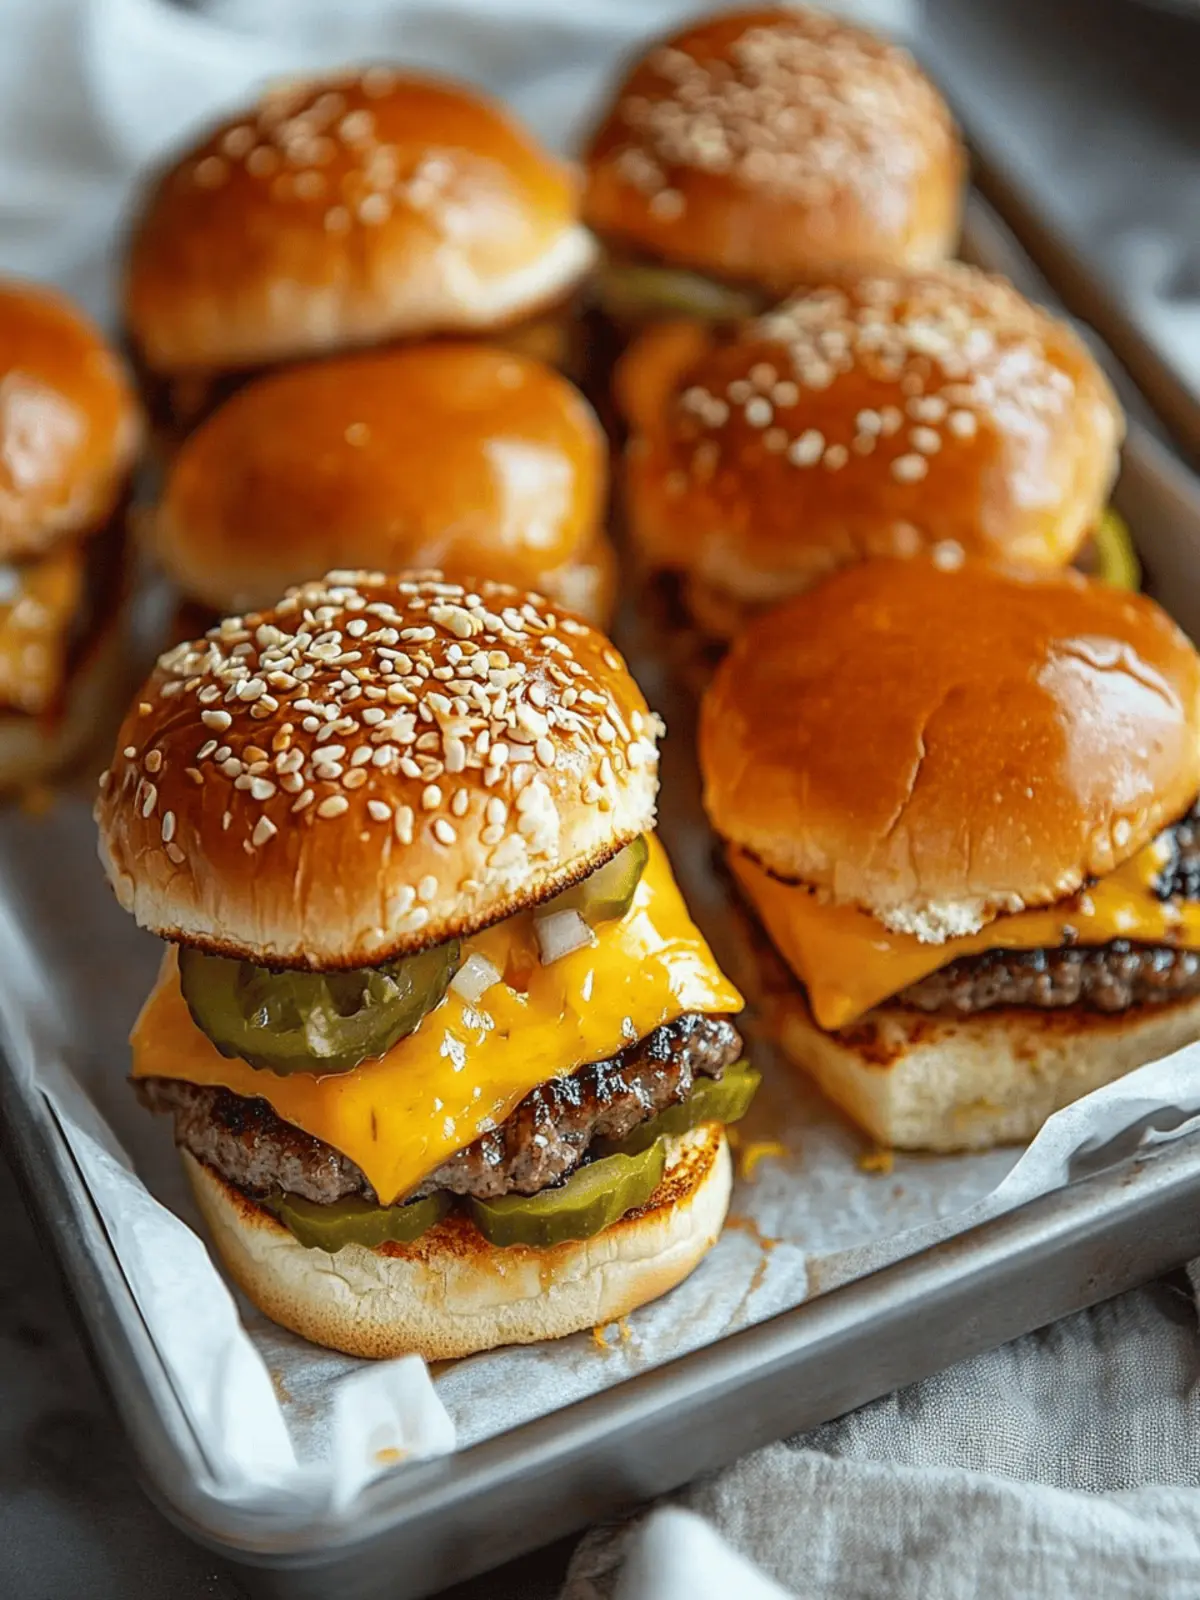
Cheeseburger Sliders Recipe FAQs
How do I choose the right ground beef for cheeseburger sliders?
You’ll want to look for ground beef that has a fat content of 80/20 or 90/10. This balance provides enough juiciness while still being lean enough for a great texture. Using too lean of a beef can lead to dry patties, so don’t skimp on the fat!
What is the best way to store leftover cheeseburger sliders?
Absolutely! Store your leftover cheeseburger sliders in an airtight container in the fridge. They will maintain their taste and quality for up to 3 days. If you want to keep them longer, wrapping each slider individually in plastic wrap followed by aluminum foil will protect them in the freezer for up to 3 months.
How should I reheat frozen cheeseburger sliders?
To reheat your frozen cheeseburger sliders, preheat your oven to 350°F. Unwrap the sliders and place them on a baking sheet. Bake for about 15-20 minutes until heated through. For a quicker option, you can microwave them for 1-2 minutes; just be sure they are hot all the way through!
What if my sliders turn out too dry?
If your sliders are on the dry side, it might be due to overmixing the beef or cooking them too long. It’s best to combine the beef gently, just until mixed, and cook each patty for about 3-4 minutes per side. Using a thermometer to check that each slider reaches an internal temperature of 130-135°F for medium-rare can be very helpful, too!
Can I make cheeseburger sliders ahead of time?
Yes, you can! To make your life easier, assemble your cheeseburger sliders a day ahead and refrigerate them. Cover them tightly, then bake just before serving. This way, they’ll come out hot and fresh when it’s time to enjoy. It’s perfect for gatherings, minimizing stress in the kitchen!
Are there any dietary considerations for cheeseburger sliders?
When preparing cheeseburger sliders, be mindful of allergies, especially for guests with sensitivities to gluten or dairy, given the buns and cheese involved. For a gluten-free option, you can use gluten-free slider buns. If someone is avoiding dairy, feel free to use a dairy-free cheese alternative. Always check your ingredient labels for allergens!
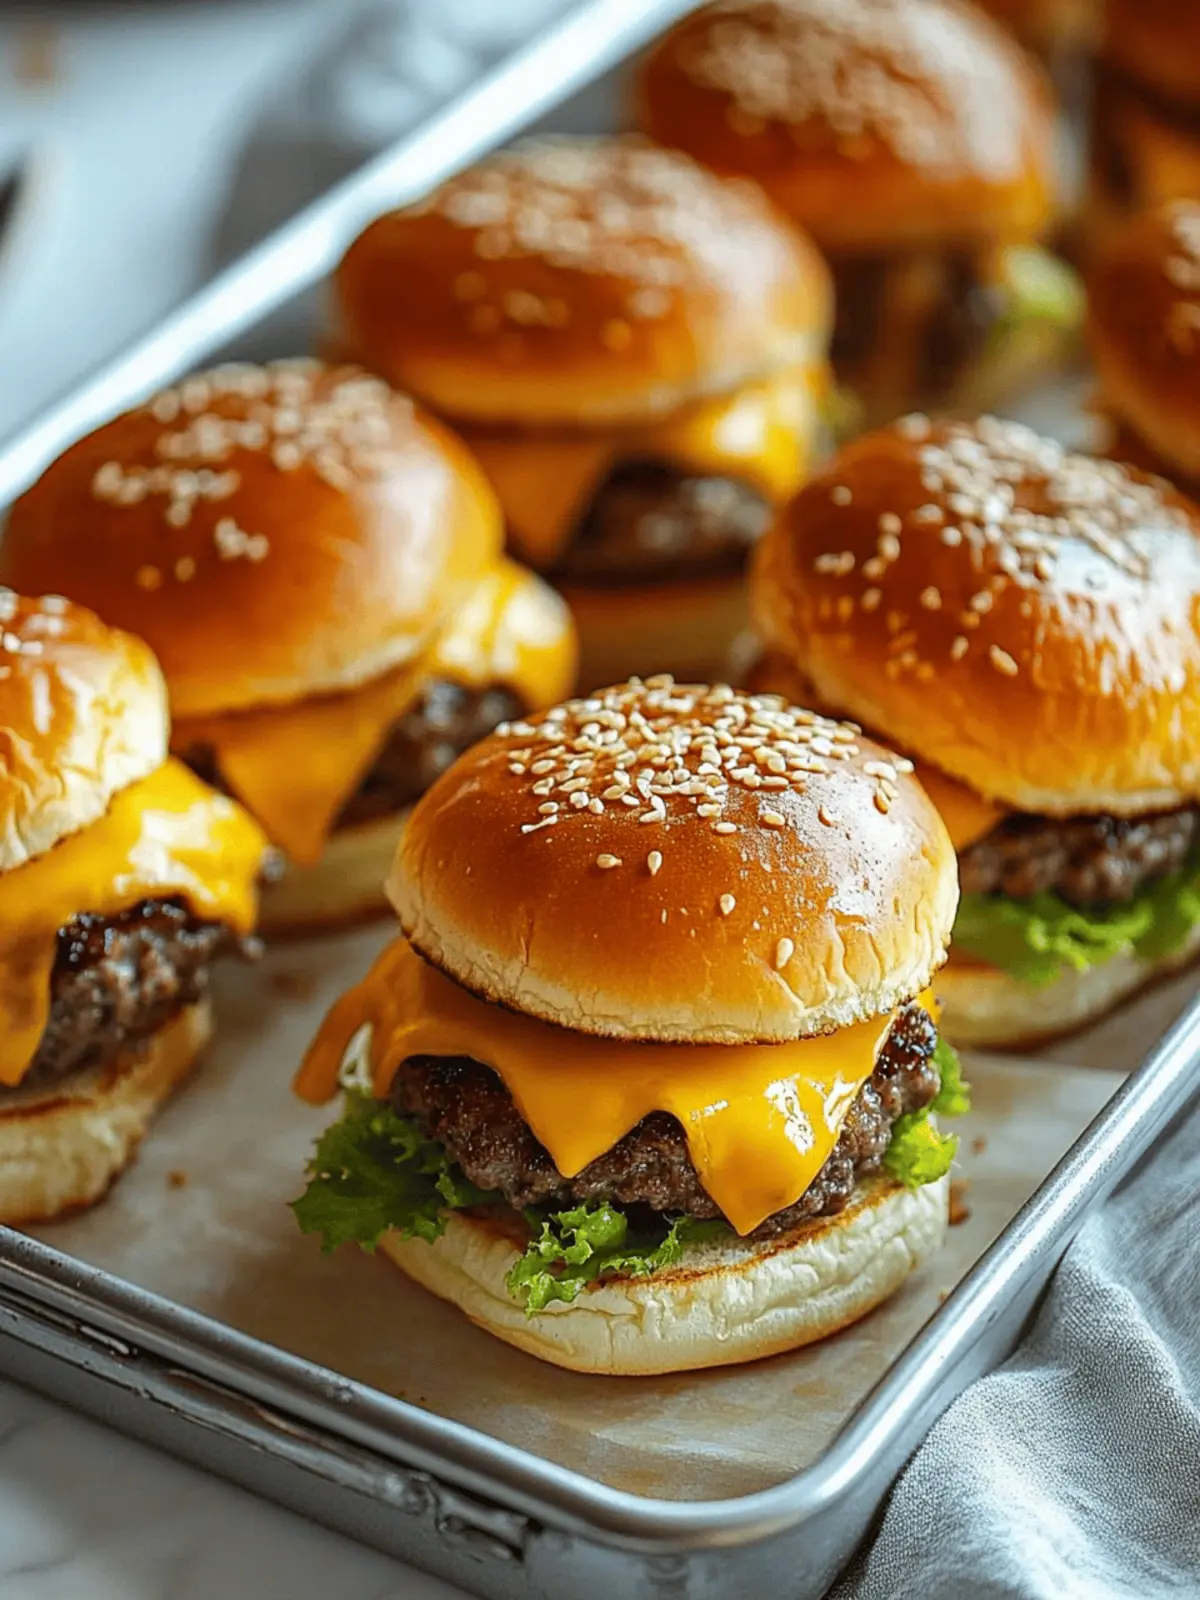
Cheeseburger Sliders: Bite-Sized Joy for Any Gathering
Ingredients
Equipment
Method
- Preheat the oven to 375°F and get your baking pan ready lined with parchment paper.
- Mix the ground beef gently with onion powder, garlic powder, salt, and black pepper.
- Form the seasoned beef into 12 equal patties and cook each patty for 3-4 minutes on each side.
- Combine mayonnaise, ketchup, and mustard to create a creamy sauce and spread on the bun halves.
- Assemble your sliders by stacking shredded cheese, warm cooked patties, and diced pickles.
- Bake the assembled sliders for about 8-10 minutes until the cheese is melted and the buns are toasty.
- Serve immediately while they’re hot and melty.

