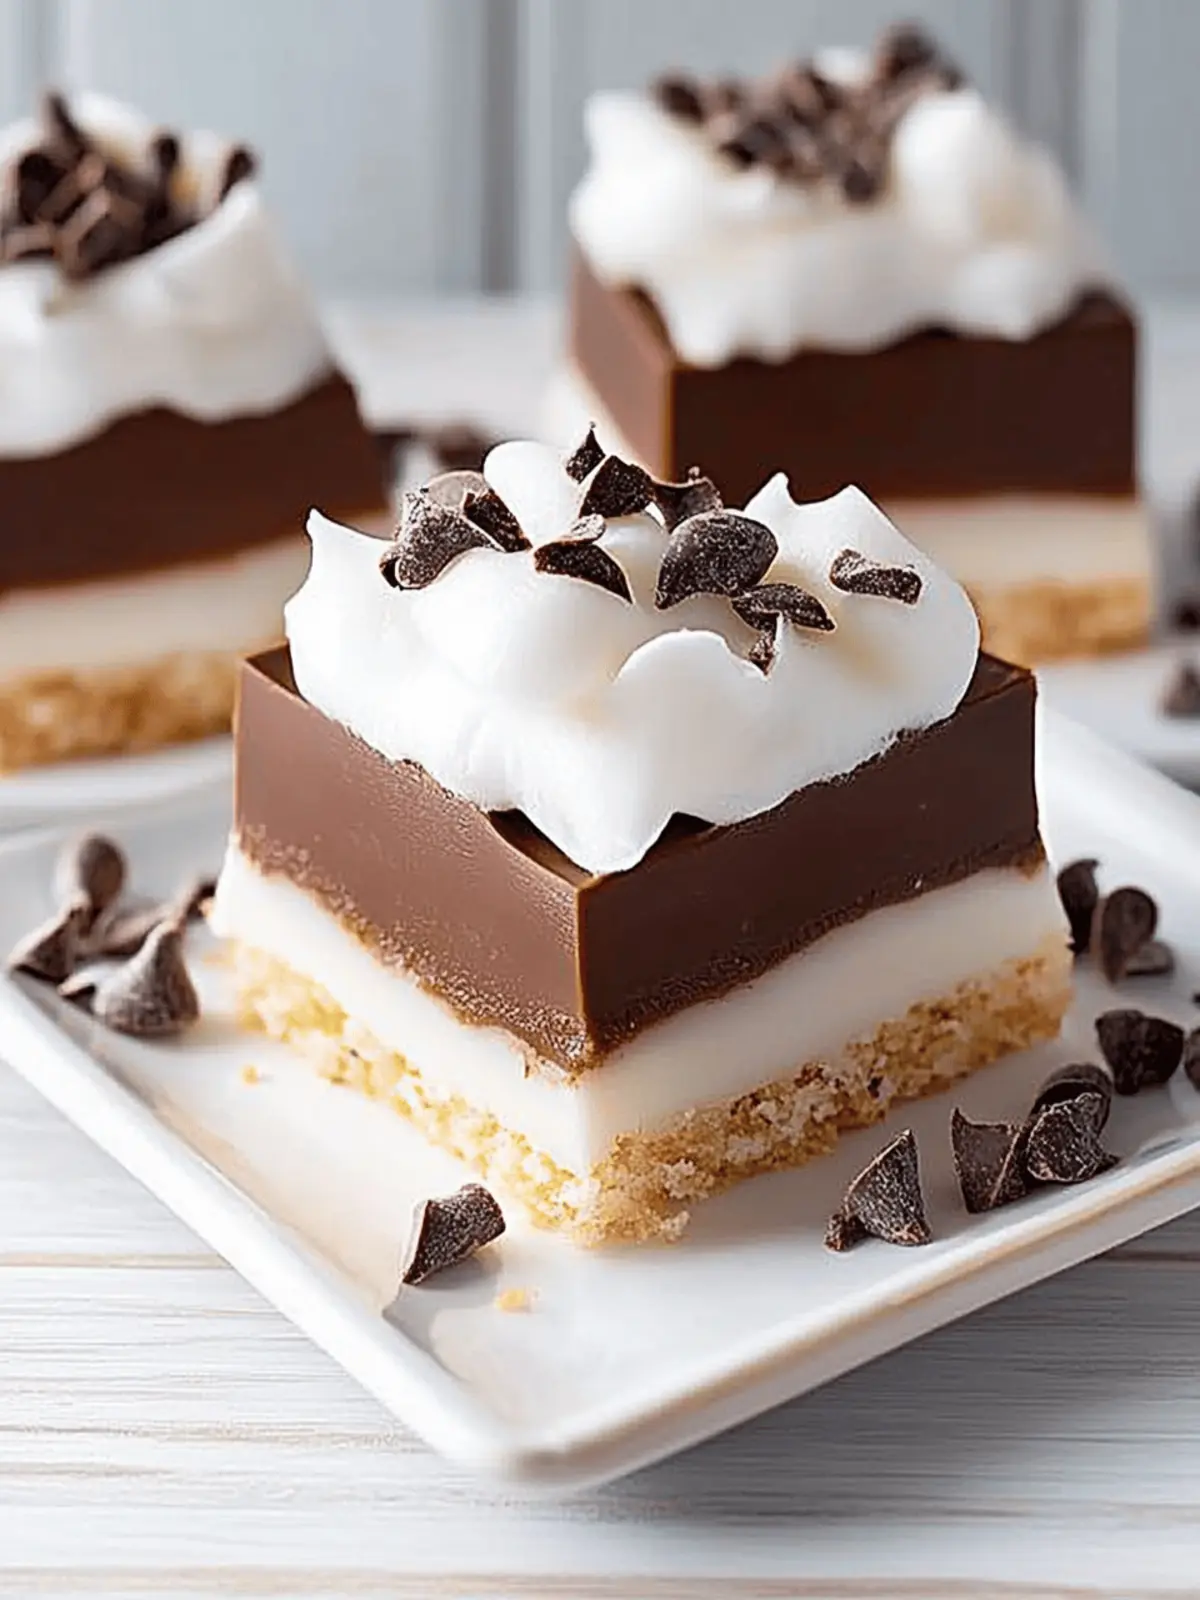
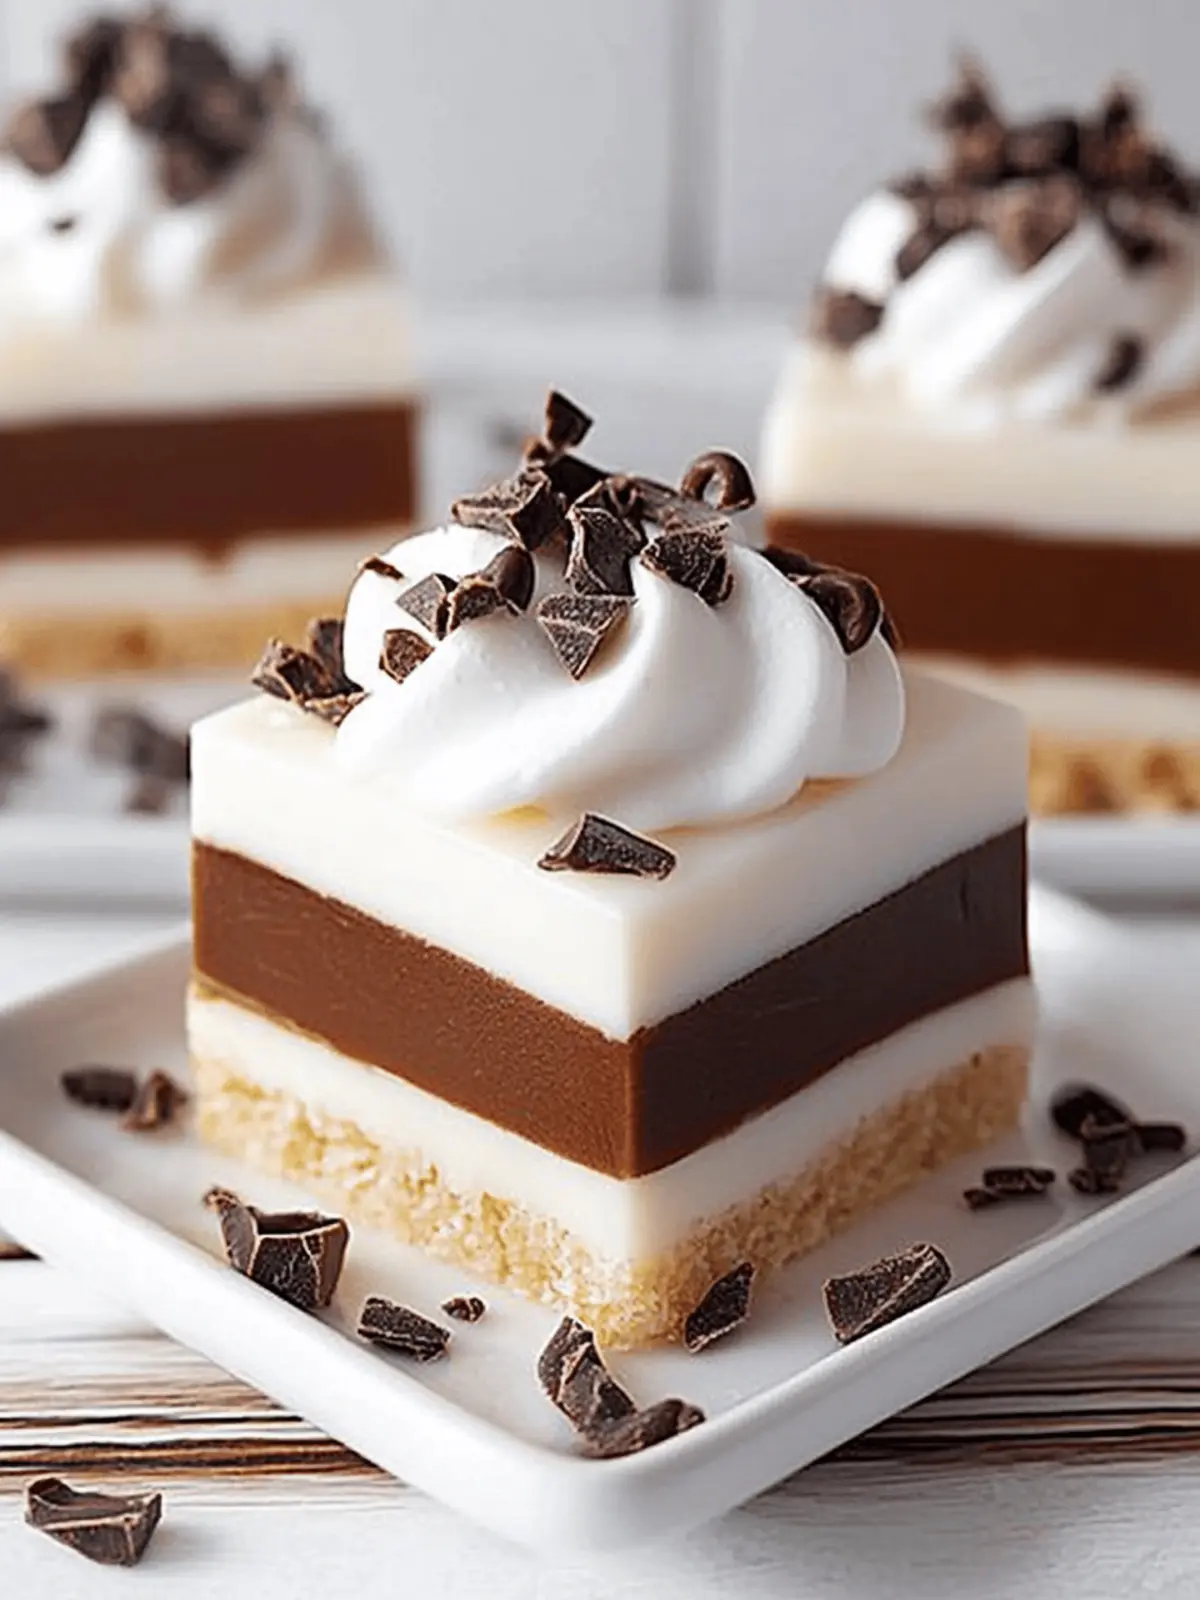
There’s something special about gathering with loved ones and indulging in sweet, homemade treats. I remember a sunny afternoon when my friend surprised me with a delicious batch of Chocolate Haupia Bars, a delightful blend of creamy coconut and rich chocolate, all nestled atop a buttery macadamia crust. It was a true feast for the senses!
These bars are not just desserts; they’re a celebration of flavors and textures that will transport you to a tropical paradise with every bite. The smooth, luscious haupia filling contrasting with the crunch of toasted macadamia nuts is simply divine. Plus, they’re surprisingly easy to whip up, making them perfect for any occasion, whether you’re hosting a gathering or simply want to treat yourself after a long day.
With just a few simple ingredients and love, you can create a dessert that has everyone asking for seconds. So, let’s dive into this recipe and make your kitchen the heart of flavors!
Why You’ll Love These Chocolate Haupia Bars
Irresistible: Each bite of these bars offers a delightful blend of creamy haupia and rich chocolate, making them a true culinary delight.
Easy: With simple steps, even beginner cooks can master this treat without hassle.
Textural Contrast: The buttery macadamia crust perfectly balances the smooth haupia and luscious chocolate layers.
Crowd-Pleaser: Ideal for parties or family gatherings, they are sure to impress anyone with a sweet tooth.
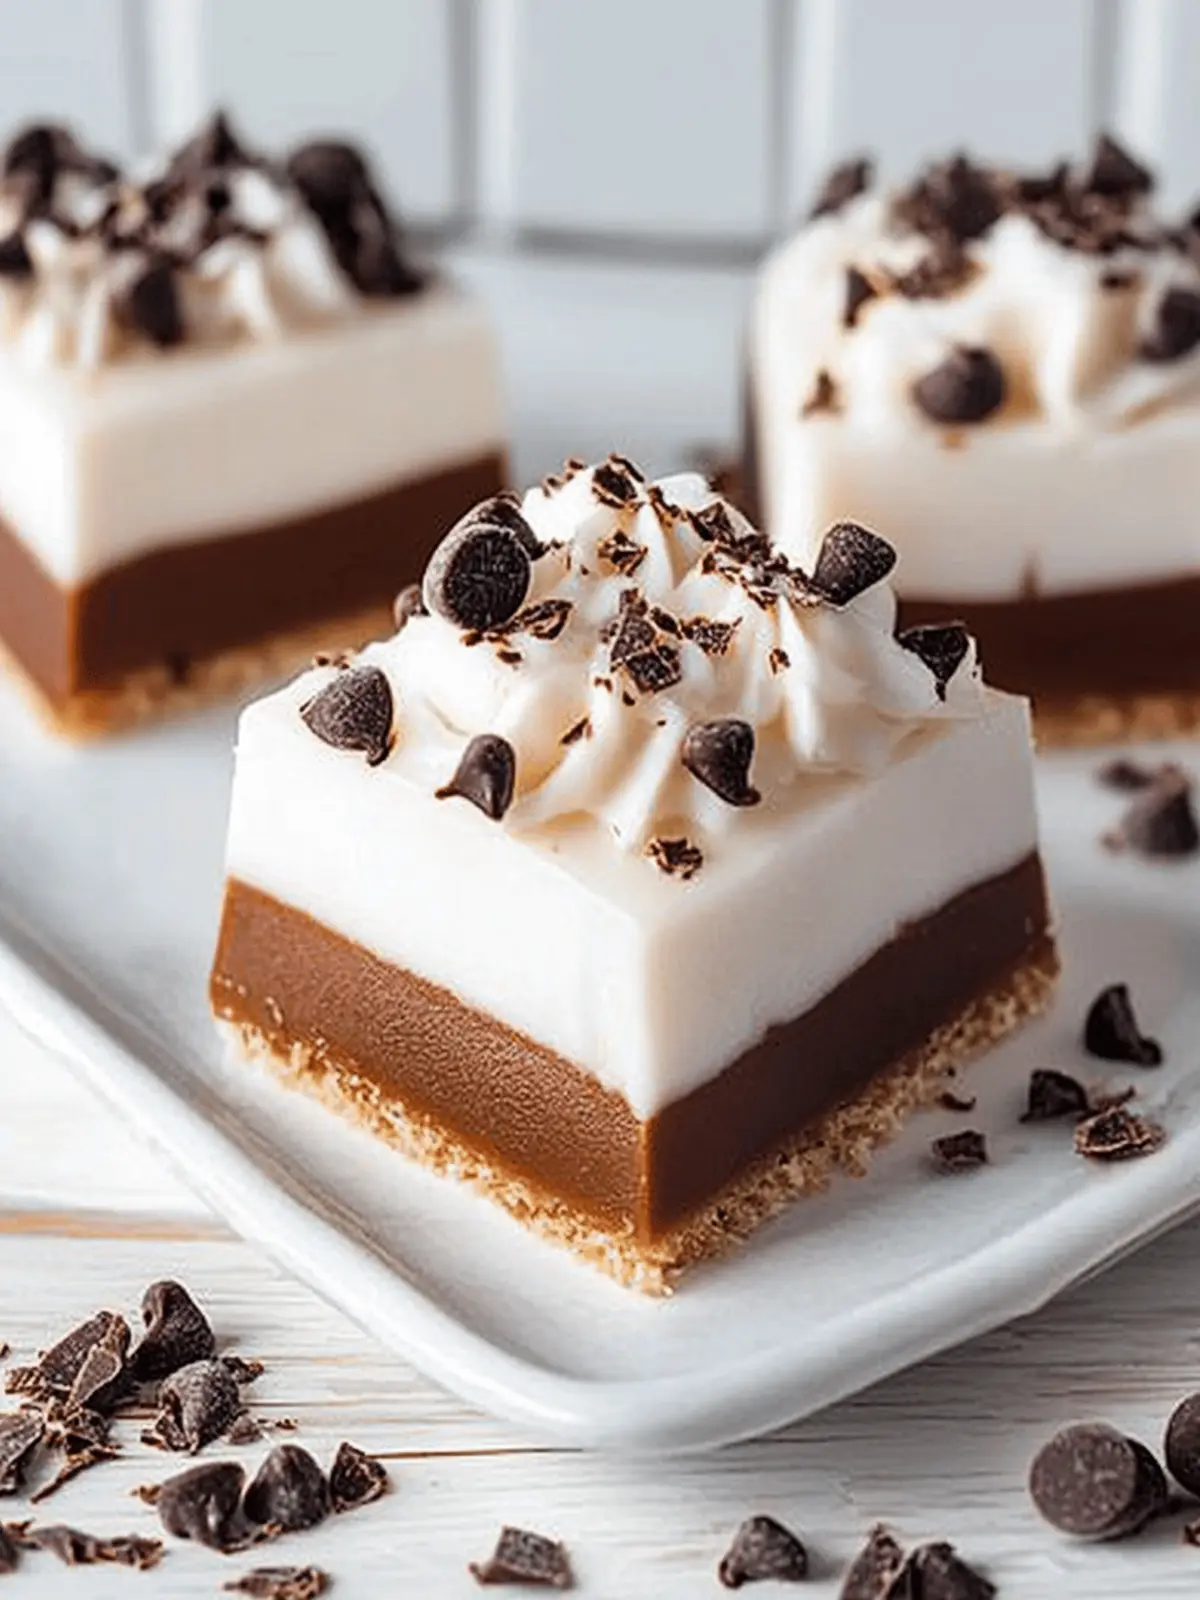
Versatile: Customize them with toppings like whipped cream or shaved chocolate for an extra touch of decadence.
Unique Flavor Profile: The combination of macadamia nuts and coconut creates a tropical vibe that stands out from standard desserts.
Chocolate Haupia Bars Ingredients
For the Crust
• Granulated sugar – This sweetener helps to achieve the perfect balance of flavor in the crust.
• Flour – Essential for the structural integrity of the buttery base.
• Chopped macadamia nuts – Adds a delightful crunch and nutty flavor that pairs beautifully with chocolate.
• Butter (melted) – Provides moisture and richness, ensuring a tender crust.
For the Haupia Filling
• Cornstarch – Acts as a thickening agent for that luscious haupia texture.
• Water – Helps to dissolve the cornstarch, creating a smooth mixture.
• Milk – A creamy base for the haupia; feel free to use non-dairy alternatives if desired.
• Coconut milk (full fat) – This is the heart of haupia, giving it that rich, tropical flavor.
• Salt – Enhances all the flavors in your haupia, balancing sweetness.
• Sugar – Sweetens the haupia, making it irresistibly creamy and delightful.
• Coconut extract – Amplifies the coconut flavor, making these Chocolate Haupia Bars feel truly indulgent.
For the Chocolate Layer
• Semi-sweet bakers chocolate – Essential for a rich, chocolatey finish that melds beautifully with the haupia.
For Serving
• Whipped cream or cool whip – Provides a light and airy touch that complements the richness of the bars.
• Shaved chocolate – Adds an elegant garnish that elevates presentation and taste.
How to Make Chocolate Haupia Bars
-
Preheat the oven to 350°F. This step ensures that your crust bakes evenly, leading to a golden and delicious base.
-
Line a 9×13-inch pan with parchment paper, allowing for some overhang on the edges. This makes for easy lifting and slicing later!
-
Mix together the sugar, flour, and chopped macadamia nuts in a medium bowl. Once combined, stir in the melted butter until everything is evenly moistened.
-
Press the crust mixture into the bottom of your prepared pan, ensuring it’s spread evenly for consistent baking.
-
Bake for 15 to 20 minutes or until the edges are lightly browned, letting that delicious aroma fill your kitchen.
-
Cool the crust while you prepare the haupia. This helps keep the layers distinct and creamy!
-
Chop the baker’s chocolate into small pieces and set aside for later; we want it ready to melt.
-
Combine the cornstarch and water in a separate bowl, stirring until smooth. This will help thicken your haupia later.
-
Heat a medium saucepan over medium-high heat, and combine the milk, coconut milk, salt, and sugar. Stir frequently until just before boiling.
-
Remove from heat and whisk the cornstarch mixture into the hot coconut milk mixture. Return to stovetop and turn down to medium-low heat.
-
Whisk continually for about 15 minutes until the mixture thickens to a consistency resembling thick yogurt.
-
Stir in the coconut extract and allow to cool for a few minutes before adding the chocolate.
-
Melt the chopped chocolate in a microwave-safe bowl, heating in 15-20 second intervals and stirring in between until smooth.
-
Mix 3 cups of haupia into the melted chocolate, stirring until completely combined. Pour this delicious layer onto the cooled crust and smooth it out.
-
Chill in the refrigerator for about 5 to 10 minutes to help the chocolate layer set.
-
Whisk the remaining haupia to keep it smooth, then pour it over the chocolate layer, smoothing out the top for an even finish.
-
Cover tightly with foil and refrigerate for at least 4 hours, or preferably overnight, to let it all meld together beautifully.
-
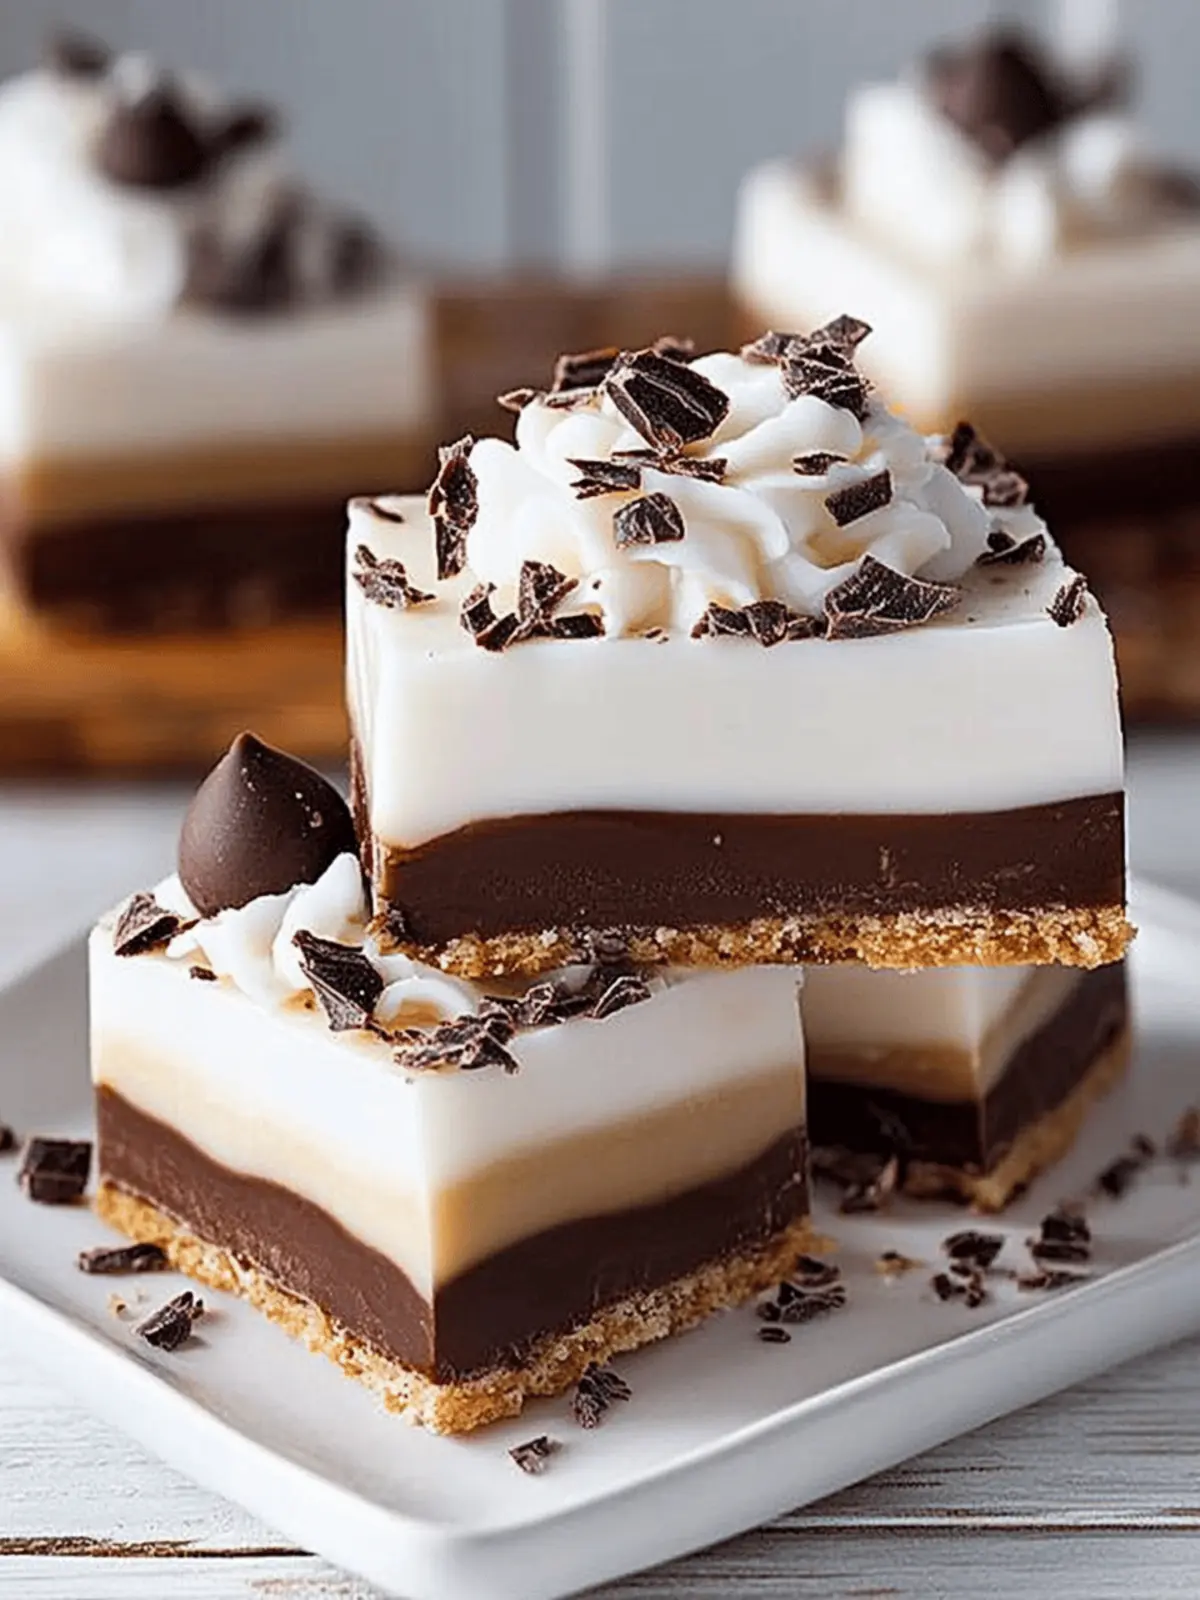
Lift the bars from the pan using the parchment overhang, then slice into desired sizes. Top with whipped cream or cool whip and a sprinkle of shaved chocolate for an elegant touch!
Optional: Drizzle with extra coconut milk for added flavor.
Exact quantities are listed in the recipe card below.
Make Ahead Options
These Chocolate Haupia Bars are perfect for meal prep, allowing you to savor delightful moments without a frantic last-minute rush! You can prepare the crust and the haupia filling up to 24 hours ahead of time. To do this, cool the baked crust completely, then store it tightly wrapped at room temperature. The haupia can be made and refrigerated in an airtight container for up to 3 days. When you’re ready to serve, simply layer the chocolate haupia over the crust and let it set in the fridge for about 5 to 10 minutes. This way, your bars will taste just as delicious as when freshly made, while keeping your kitchen stress-free!
How to Store and Freeze Chocolate Haupia Bars
Fridge: Store your Chocolate Haupia Bars in an airtight container in the refrigerator for up to 5 days to maintain their creamy texture and rich flavors.
Freezer: For longer storage, wrap individual bars tightly in plastic wrap and then place them in a freezer-safe bag. They can be frozen for up to 3 months.
Thawing: When ready to enjoy, transfer the bars from the freezer to the fridge for several hours or overnight to thaw slowly, preserving the creamy haupia layer.
Serving: After thawing, top with fresh whipped cream or cool whip just before serving for the best flavor and presentation.
What to Serve with Chocolate Haupia Bars?
Indulging in these creamy, tropical bars is just the beginning of your dessert experience!
-
Tropical Fruit Salad: A refreshing mix of pineapple, mango, and kiwi perfectly balances the rich flavors of the bars and adds a vibrant touch.
-
Whipped Cream Delight: Fluffy whipped cream enhances the creamy texture and complements the sweet layers of the bars beautifully.
-
Toasted Coconut Flakes: Sprinkling toasted coconut on top adds an extra crunch and deepens the tropical coconut experience. It’s an irresistible flavor enhancer!
-
Dark Chocolate Drizzle: For a chocolate lover’s dream, drizzle melted dark chocolate over the bars before serving to elevate the dessert’s richness.
-
Macadamia Nut Cake: Pairing with a moist macadamia nut cake creates a delightful harmony of flavors, enhancing the tropical vibe of your dessert table.
-
Iced Coconut Coffee: A chilled coffee drink with a hint of coconut brings an energizing contrast to the sweetness, making for an ideal afternoon treat.
-
Pineapple Sorbet: A scoop of citrusy pineapple sorbet will cleanse your palate and provide a refreshing end to your meal. It’s a tropical experience on its own!
-
Mango Sticky Rice: This classic dessert offers a comforting chewiness that beautifully complements the smooth haupia bars. Together, they form a delectable Asian-inspired fusion.
-
Sparkling Water with Lime: Stay refreshed and cleanse your palate with a fizzy drink that cuts through creaminess while perfectly complementing the bar’s flavors.
Chocolate Haupia Variations
Feel free to explore these delightful variations to make your Chocolate Haupia Bars even more special, all while tantalizing your taste buds!
- Dairy-Free: Substitute regular milk and butter with almond milk and coconut oil for a luscious, dairy-free treat.
- Nut-Free: Replace macadamia nuts with sunflower seeds for the crust to keep those crunchy elements without the nuts. You won’t lose any flavor or texture!
- Extra Chocolate: Add chocolate chips to the haupia filling for an even richer chocolate experience that melts in your mouth. The more, the merrier!
- Minty Fresh: Stir in a few drops of peppermint extract into the haupia for a refreshing twist that makes each bite feel festive.
- Tropical Twist: Incorporate crushed pineapple into the haupia for an added layer of tropical flavor; pair it with toasted coconut for a delightful crunch.
- Spicy Kick: Add a pinch of cayenne pepper to the chocolate layer for a surprising, spicy finish that elevates this sweet dessert to a new level.
- Crunchy Layer: Sprinkle crushed cookies or graham crackers over the haupia before the final chill for an extra layer of texture. It’s a delightful surprise!
- Fruit Topping: Top with fresh strawberries or mango slices just before serving for a refreshing, fruity accent that complements the rich flavors.
Expert Tips for Making Chocolate Haupia Bars
• Chill Properly: Always refrigerate the layers adequately to allow them to set; this helps achieve the perfect texture for your Chocolate Haupia Bars.
• Mind the Crust: Avoid over-baking the crust. It should be just lightly browned to maintain its buttery texture while providing a firm base.
• Whisk Continuously: While thickening the haupia, whisk continuously to prevent lumps and achieve that velvety consistency you desire.
• Quality Chocolate: Use high-quality semi-sweet chocolate for melting; it elevates the chocolate layer’s flavor and ensures smooth melting.
• Layer Smoothly: Pour the haupia layer gently over the chocolate to avoid disturbing it; a smooth hand creates beautiful, distinct layers.
Chocolate Haupia Bars Recipe FAQs
What type of macadamia nuts should I use?
I recommend using raw or roasted macadamia nuts for this recipe. Raw nuts provide a subtle flavor that complements the haupia, while roasted nuts add a delightful crunch and enhance the nutty aroma. Ensure they are finely chopped to integrate well into the crust.
How long can I store Chocolate Haupia Bars in the fridge?
You can store them in an airtight container in the refrigerator for up to 5 days. This keeps them fresh and helps maintain their creamy texture. If you notice any dark spots, it’s time to toss them!
Can I freeze Chocolate Haupia Bars?
Absolutely! Wrap individual bars tightly in plastic wrap, then place them in a freezer-safe bag for optimal storage. They can be frozen for up to 3 months. When you’re ready to enjoy a bar, simply transfer it to the fridge for a few hours or overnight to thaw, preserving that luscious haupia layer.
What should I do if my haupia doesn’t thicken properly?
If you find that your haupia isn’t thickening as expected, ensure you have whisked continuously while cooking for the full 15 minutes. If it’s still too runny, mix a bit more cornstarch with water to create a slurry, then gradually add that to the haupia while whisking until thickened to your desired consistency.
Are there any dietary considerations for pets or allergies?
Yes! These Chocolate Haupia Bars contain ingredients like chocolate and milk, which should not be fed to pets. For allergies, note that this recipe contains nuts, dairy, and gluten. If you’re cooking for someone with dietary restrictions, consider nut-free or gluten-free alternatives and adjust the recipe accordingly.
How can I make the Chocolate Haupia Bars dairy-free?
To create a dairy-free version, substitute regular milk with almond, soy, or oat milk, and use coconut cream instead of regular cream in your haupia filling. Ensure the chocolate you select is dairy-free as well! This way, everyone can enjoy these delicious bars!
Irresistible Chocolate Haupia Bars That Wow Every Bite
Ingredients
Equipment
Method
- Preheat the oven to 350°F.
- Line a 9x13-inch pan with parchment paper.
- Mix together the sugar, flour, and chopped macadamia nuts in a medium bowl. Stir in the melted butter until evenly moistened.
- Press the crust mixture into the bottom of your prepared pan evenly.
- Bake for 15 to 20 minutes or until edges are lightly browned.
- Cool the crust while preparing the haupia.
- Chop the baker's chocolate into small pieces and set aside.
- Combine cornstarch and water in a separate bowl, stirring until smooth.
- Heat milk, coconut milk, salt, and sugar in a medium saucepan until just before boiling, stirring frequently.
- Remove from heat and whisk in the cornstarch mixture. Return to stovetop on medium-low heat.
- Whisk continually for about 15 minutes until thickened.
- Stir in the coconut extract and let cool slightly before adding chocolate.
- Melt the chopped chocolate in a microwave-safe bowl in 15-20 second intervals until smooth.
- Mix 3 cups of haupia into the melted chocolate until completely combined, then pour over the cooled crust.
- Chill in the refrigerator for 5 to 10 minutes.
- Whisk the remaining haupia, then pour it over the chocolate layer.
- Cover tightly with foil and refrigerate for at least 4 hours, preferably overnight.
- Lift the bars from the pan using the parchment overhang, then slice and top with whipped cream or cool whip and shaved chocolate.

