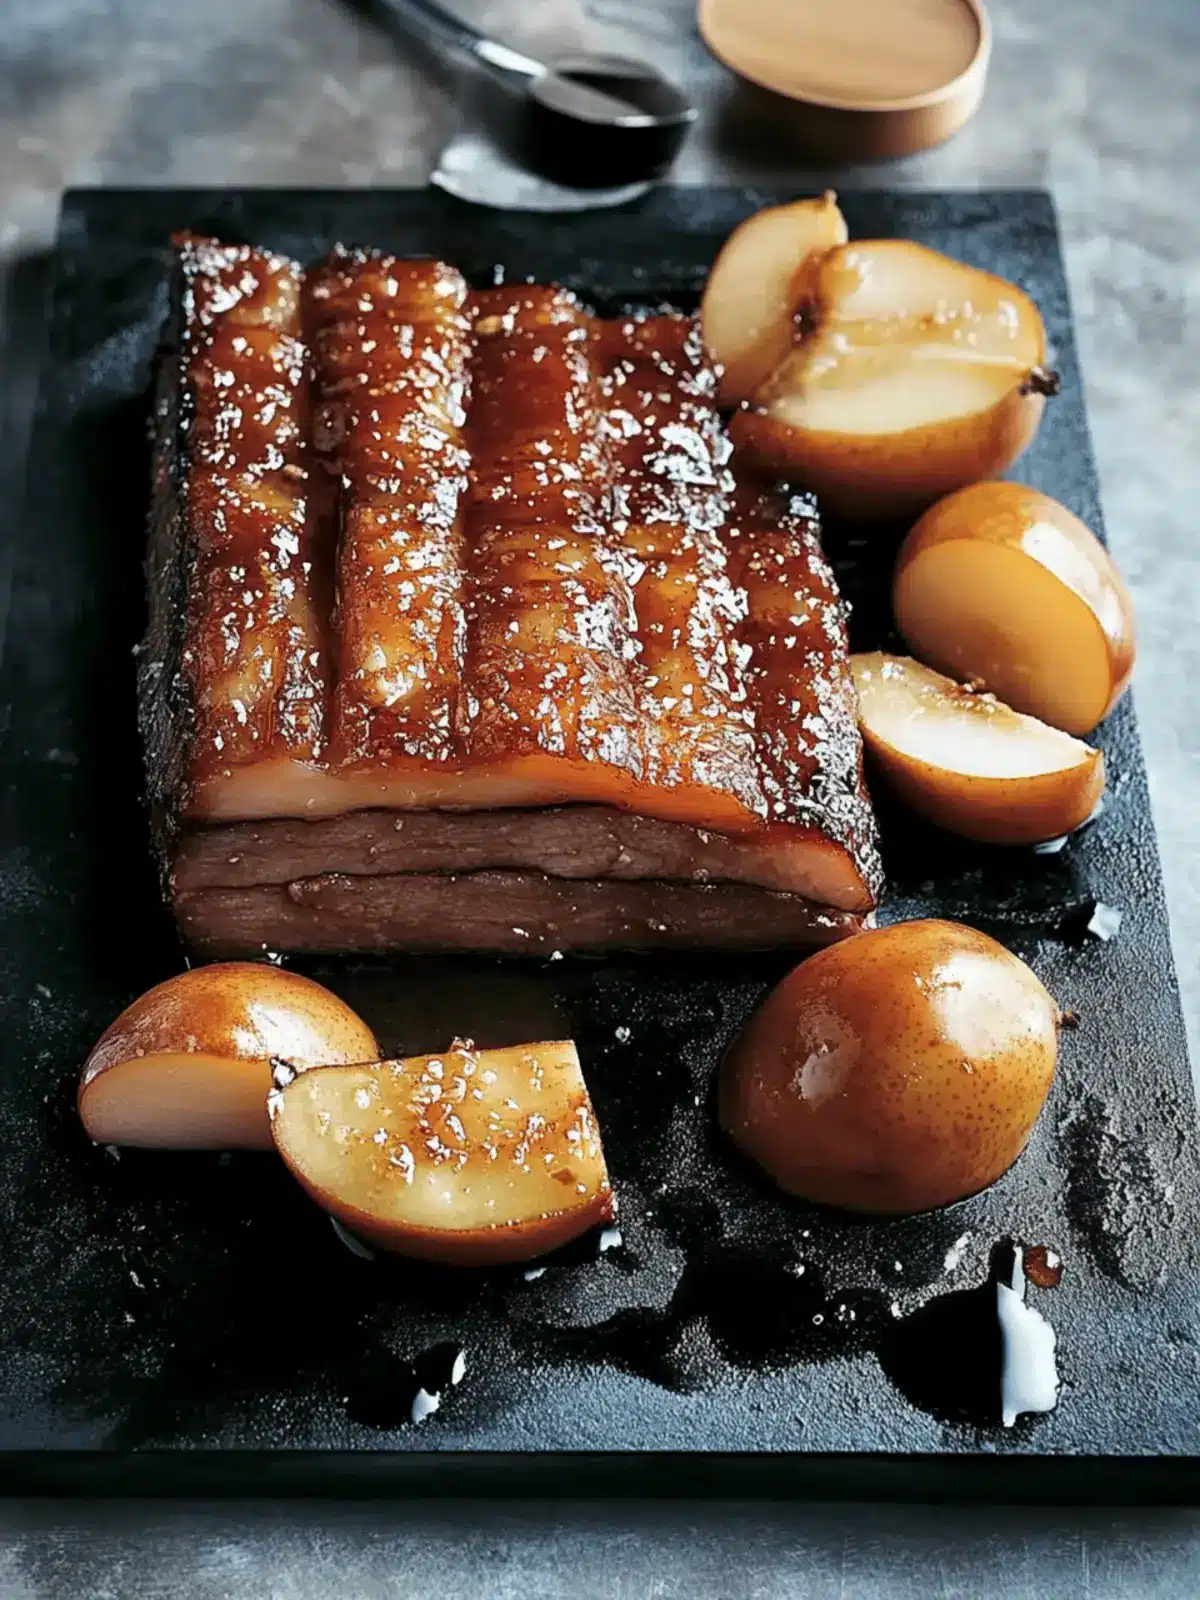
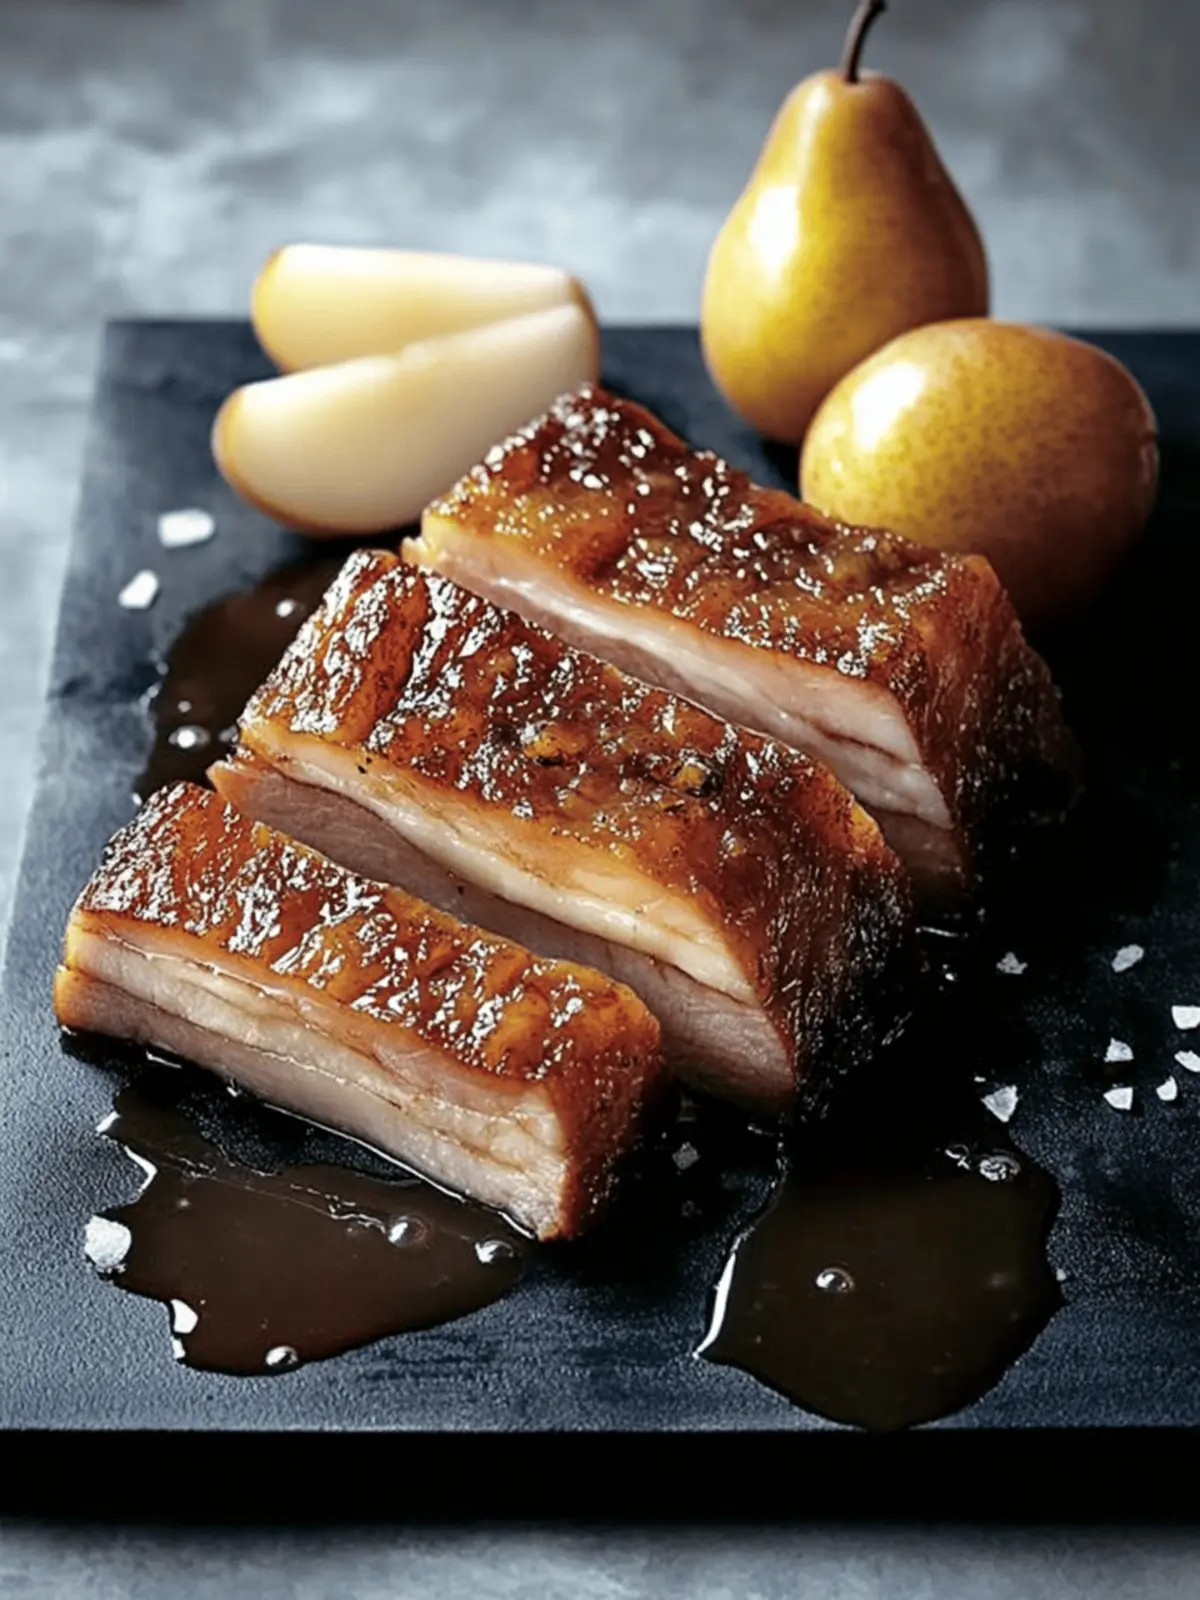
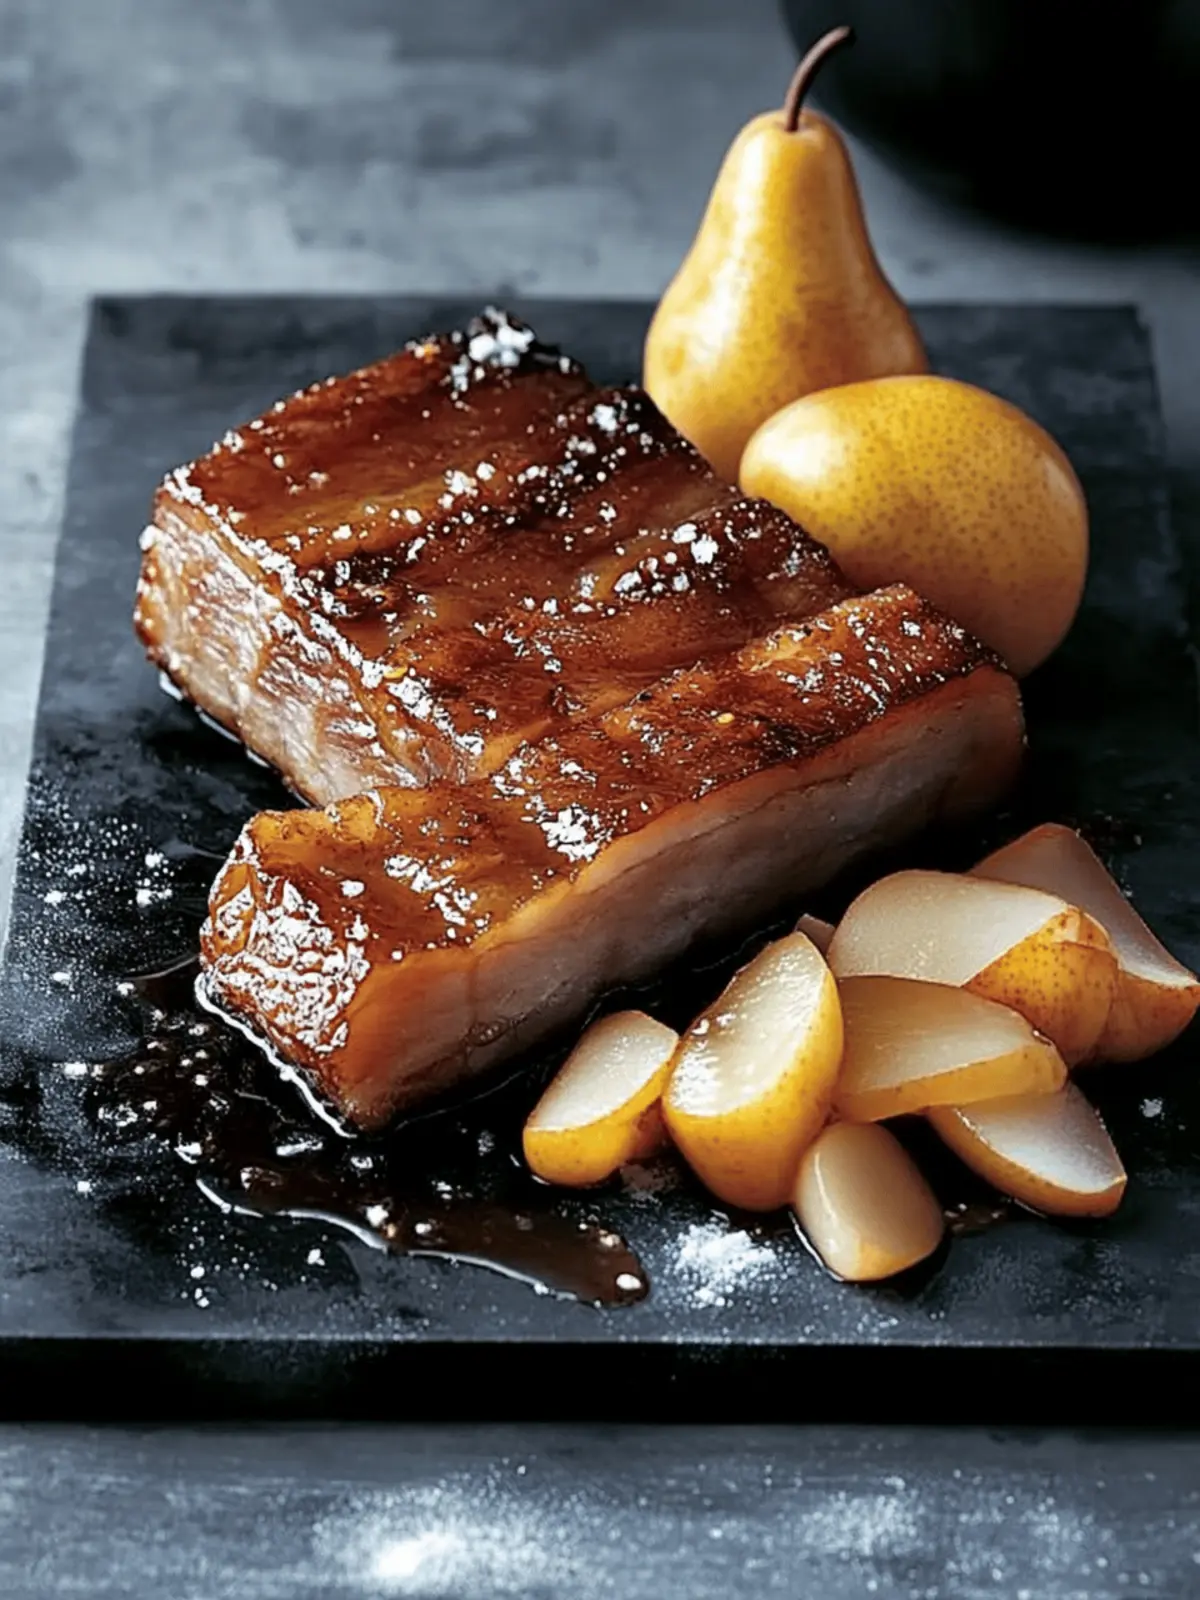
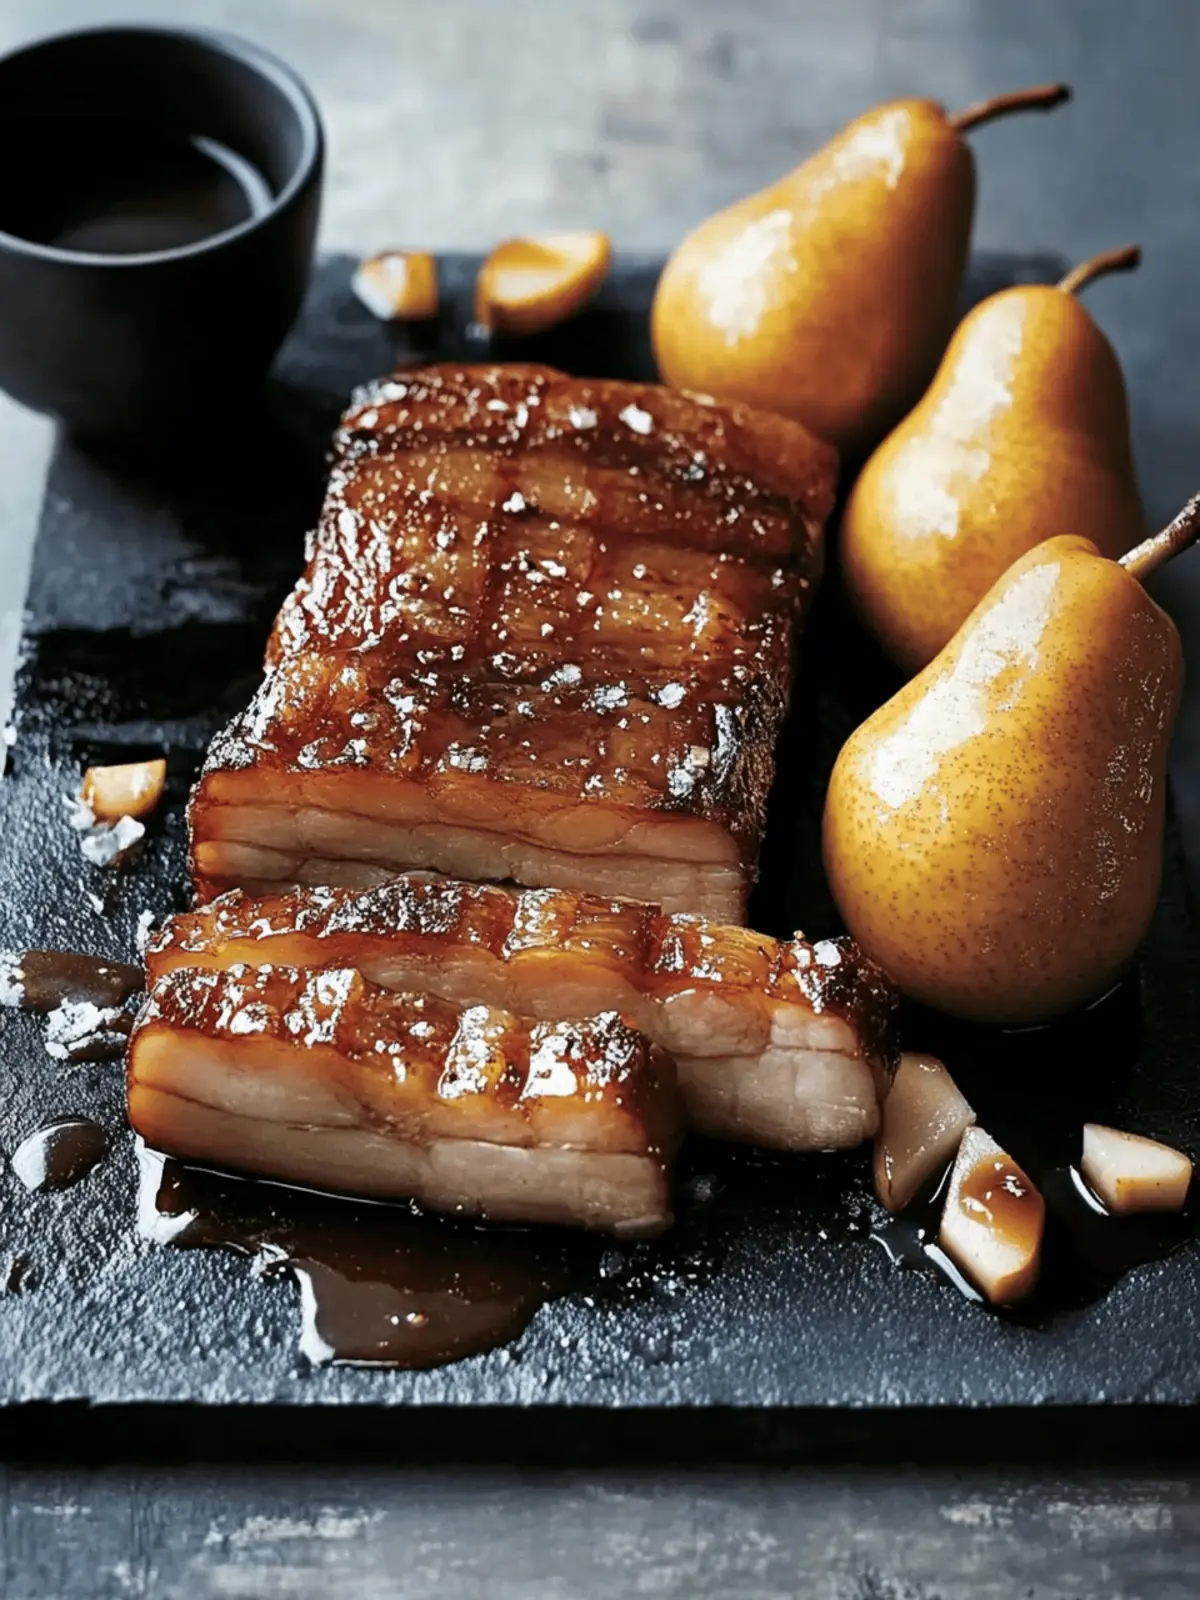
There’s something undeniably exciting about serving a dish that offers both crunch and tenderness, and my Crispy Pork Belly With Cider Pickled Pears does just that. The first time I prepared this meal, the kitchen filled with the rich scent of roasting pork mingling with fragrant thyme and sweet apple cider—an aromatic promise of the feast to come.
As I removed the pork from the oven, its skin glistened a perfect golden brown, crackling under my fingers like a satisfying call to the senses. The addition of poached pears, tangy and subtly sweet from their pickling bath, provided a refreshing contrast that elevated the dish from good to unforgettable.
Whether you’re hosting a dinner party or simply looking to spice up your weeknight dinners, this recipe is a delightful way to showcase your culinary skills without hours in the kitchen. Let’s dive into creating a dish that’s sure to impress while also making your taste buds dance with delight!
Why is Crispy Pork Belly With Cider Pickled Pears so special?
Irresistible Crunch: The perfectly roasted pork belly skin delivers that ultimate satisfying crunch that everyone craves.
Sweet & Tangy Harmony: The cider pickled pears add a delightful sweetness which perfectly balances the savory richness of the pork.
Impressive Presentation: Serve this dish confidently at your next gathering; it looks stunning on any table and will impress your guests.
Easy Yet Elegant: You don’t need to be a chef to master this recipe, making it a perfect addition to your home cooking repertoire.
Time-Friendly Feast: In just two hours, you can create a meal that’s as comforting as it is gourmet—making it ideal for both busy weeknights and special occasions.
Crispy Pork Belly With Cider Pickled Pears Ingredients
For the Pork
- Sea salt flakes – Helps to achieve that perfect crunchy skin while enhancing flavor.
- Boneless pork belly – Choose a piece with good fat content for juicy meat and crispy skin.
- Vegetable oil – Aids in roasting and crisping the skin beautifully.
For the Pickled Pears
- Dry apple cider – Provides a fragrant base for pickling while complementing the pork.
- Apple cider vinegar – The acidity balances the sweetness and adds a zing to the pears.
- Fresh thyme sprigs – Infuse the pickling liquid with aromatic warmth.
- Fresh bay leaves – Contributes a subtle earthy flavor to the pickling process.
- Caster sugar – Enhances sweetness and aids in the pickling process; can be substituted with brown sugar for a deeper flavor.
- Water – Necessary to create the pickling brine for the pears.
- Beurre bosc pears – Select firm, ripe pears that will hold up well during poaching.
To Serve
- Vincotto or balsamic glaze – Adds a final touch of sweetness and richness that complements the dish beautifully.
Prepare yourself for a flavor explosion—this Crispy Pork Belly With Cider Pickled Pears will become a go-to for any special occasion!
How to Make Crispy Pork Belly With Cider Pickled Pears
-
Preheat your oven to 180ºC (350ºF). Start by rubbing the sea salt flakes generously into the scored skin of the pork belly, followed by drizzling the vegetable oil to ensure a crispy finish.
-
Roast the pork, skin-side down, on a baking tray for 1 hour. This initial roasting will kickstart the cooking process, allowing the meat to become tender while developing deep flavors.
-
Flip and increase the oven temperature to 200ºC (400ºF). Turn the pork belly over and continue roasting for an additional hour until the skin is golden brown and crunchy. Keep an eye on it—this is the magic moment!
-
Prepare the pickled pears while the pork is roasting. In a medium saucepan, combine the dry apple cider, apple cider vinegar, thyme sprigs, bay leaves, caster sugar, and water over high heat.
-
Submerge the pears in the boiling mixture. Cover with a round of non-stick baking paper and place a small lid on top to ensure they stay submerged. This helps the pears soak up all those delicious flavors.
-
Poach the pears for about 20 minutes or until they are tender. Once ready, remove them from the heat and let them sit in the pickling liquid to absorb more of that tangy sweetness.
-
Slice and serve the pork belly after resting for a few minutes. Divide it onto plates alongside the pickled pears, then drizzle with vincotto or balsamic glaze to enhance the flavors further.
Optional: Garnish with a sprinkle of fresh thyme leaves for an added pop of color and flavor.
Exact quantities are listed in the recipe card below.

Tips for the Best Crispy Pork Belly With Cider Pickled Pears
-
Perfect Scoring: Ensure your pork skin is scored evenly at 1cm intervals. This helps the fat render properly, leading to a crispier result.
-
Rest the Meat: Allow the pork to rest for a few minutes after cooking before slicing. This prevents juices from running out, keeping the meat tender and flavorful.
-
Watch the Cook Time: Keep an eye on the skin as it roasts. If it starts to burn, tent with foil to protect it while the meat continues cooking to perfection.
-
Use Firm Pears: Choose small, firm beurre bosc pears that won’t turn mushy during poaching. This way, they’ll maintain their shape and texture, wonderfully complementing the pork.
-
Vincotto as a Secret Weapon: Drizzling vincotto or balsamic glaze liberally over the dish enhances the flavor profile of your Crispy Pork Belly With Cider Pickled Pears, adding depth and sweetness.
What to Serve with Crispy Pork Belly With Cider Pickled Pears?
Elevate your meal by pairing this savory delight with these complementary sides that enhance its rich flavors and textures.
-
Creamy Mashed Potatoes: The silky smoothness of mashed potatoes perfectly complements the crispy pork, creating a dreamy mouthfeel. Think of it as a velvety canvas for flavors!
-
Garlic Green Beans: Sautéed green beans with a hint of garlic provide a fresh crunch, balancing the richness of the pork belly. Their bright color also adds visual appeal to your plate.
-
Apple and Walnut Salad: A vibrant salad tossed with tart apples and crunchy walnuts offers a refreshing tang and texture contrast, aligning beautifully with the sweetness of the pickled pears.
-
Savory Roasted Brussels Sprouts: Roasted Brussels sprouts bring an earthy depth to the meal. Their slight caramelization adds an irresistible nutty flavor that echoes the savory notes of the pork.
-
Honey-Glazed Carrots: Sweet and tender carrots drizzled with honey create a gorgeous glaze that pairs perfectly with the cider notes in the pickled pears.
-
Crisp White Wine: A chilled glass of Sauvignon Blanc or crisp Chardonnay will refresh your palate and complement the entire meal’s flavors harmoniously.
-
Decadent Chocolate Cake: Finish off your feast with a rich chocolate cake. Its fudgy texture and sweetness create a delightful contrast that rounds out your dining experience perfectly.
Make Ahead Options
These Crispy Pork Belly With Cider Pickled Pears are perfect for meal prep, allowing you to savor this flavorful dish without the last-minute rush. You can season the pork belly and let it marinate in the refrigerator for up to 24 hours to enhance its flavor. The pickled pears can also be made ahead and stored in the refrigerator for up to 3 days; simply ensure they are fully submerged in their pickling liquid to maintain their texture and taste. When it’s time to serve, roast the pork belly according to the recipe, and finish by poaching the pears for a quick 20 minutes. This way, you’ll have a stunning meal ready to impress with minimal effort!
Storage Tips for Crispy Pork Belly With Cider Pickled Pears
Room Temperature: Allow the pork belly to cool completely before storing. It can be kept at room temperature for up to 2 hours after cooking.
Fridge: Store leftover crispy pork belly in an airtight container in the fridge for up to 3 days. For optimal freshness, wrap the pork in foil before placing it in the container.
Freezer: If you want to store your crispy pork belly for longer, freeze it in an airtight container for up to 3 months. Thaw in the fridge overnight before reheating.
Reheating: To regain that delightful crunch, reheat the pork belly in the oven at 180ºC (350ºF) for about 20 minutes. Serve with the pickled pears you’ve saved, and enjoy your tasty creation again!
Variations & Substitutions for Crispy Pork Belly With Cider Pickled Pears
Feel free to get creative and give this dish your own twist, turning it into a unique masterpiece!
-
Herb Infusion: Swap thyme for rosemary or sage to bring a new herbal note to the pickling liquid. Both herbs offer a delightful complexity to the dish.
-
Spice It Up: Add a pinch of cayenne pepper or red pepper flakes to the pickling brine for a gentle kick of spice, elevating the flavor profile beautifully.
-
Maple Glaze: Use maple syrup instead of vincotto or balsamic glaze for a sweet and rich alternative that complements the pork’s savory notes perfectly.
-
Pork Alternatives: Replace pork belly with a well-marbled pork shoulder for a change in texture while still keeping that satisfying taste. Slow-cooked, it becomes wonderfully tender.
-
Cider Variations: Experiment with different types of cider (like spiced or pear cider) to enhance the flavor depth of your pickled pears with a twist on your usual apple taste.
-
Sourdough Croutons: Add crispy sourdough croutons as a topping to introduce an additional crunch and a tangy flavor that beautifully contrasts with the sweetness of the pears.
-
Vegan Option: For a plant-based alternative, grill marinated tofu instead of pork belly and pair it with the cider-pickled pears for a refreshing, unexpected dish.
-
Fruit Variation: Use other fruits like peaches or apples instead of pears to create different flavor combinations that still hold that sweetness and brightness everyone loves.

Crispy Pork Belly With Cider Pickled Pears Recipe FAQs
How do I choose the right pork belly?
When selecting pork belly, look for a piece with an even layer of fat and meat, about 1.5 kg. The more fat, the better the crispy skin you’ll achieve. Opt for something that has been scored at 1cm intervals to help with rendering.
How should I store leftovers of crispy pork belly?
Absolutely! Once your crispy pork belly has cooled completely, store it in an airtight container in the fridge for up to 3 days. If you want to keep it for a longer time, wrap the pork tightly in foil and freeze it in an airtight container for up to 3 months.
Can I freeze the pickled pears?
Yes, you can freeze pickled pears! However, they may lose some of their texture. To do so, allow the pickled pears to cool, then place them in a freezer-safe container along with some pickling liquid to help preserve their flavor. They can be frozen for up to 3 months. Thaw them in the refrigerator when you’re ready to use.
What should I do if my pork belly skin doesn’t crisp up?
Very! If the skin doesn’t crisp up, it could be due to excess moisture. Ensure the skin is dry before rubbings with salt and oil. If it still isn’t crisping during cooking, finish it under the broiler for a few minutes, keeping a close watch to prevent burning.
Are there any dietary considerations for crispy pork belly with cider pickled pears?
Of course! Those with pork allergies should avoid this dish entirely. Also, since the pickled pears contain sugar, anyone on a low-sugar diet might want to cut back or substitute the sugar with a sugar alternative. For a gluten-free version, make sure the cider and any other ingredients are labeled gluten-free.
How long should I poach the pears?
For perfect tender pears, poach them for about 20 minutes in the pickling liquid you prepared. Just ensure they’re submerged well; sometimes I add a weight or lid to keep them in the liquid. After cooking, let them sit in the pickling liquid for even more flavor infusion!
Crispy Pork Belly With Cider Pickled Pears Recipe FAQs

Crispy Pork Belly With Cider Pickled Pears for a Flavor Surprise
Ingredients
Equipment
Method
- Preheat your oven to 180ºC (350ºF). Rub the sea salt flakes generously into the scored skin of the pork belly, then drizzle with vegetable oil.
- Roast the pork, skin-side down, on a baking tray for 1 hour.
- Flip the pork belly, increase the oven temperature to 200ºC (400ºF) and continue roasting for an additional hour until the skin is golden brown and crunchy.
- While the pork is roasting, combine the dry apple cider, apple cider vinegar, thyme sprigs, bay leaves, caster sugar, and water in a medium saucepan over high heat.
- Submerge the pears in the boiling mixture and cover with a round of non-stick baking paper and a small lid to ensure they stay submerged.
- Poach the pears for about 20 minutes or until they are tender, then remove from heat and let sit in the pickling liquid.
- After resting the pork belly for a few minutes, slice and serve it alongside the pickled pears, drizzled with vincotto or balsamic glaze.


