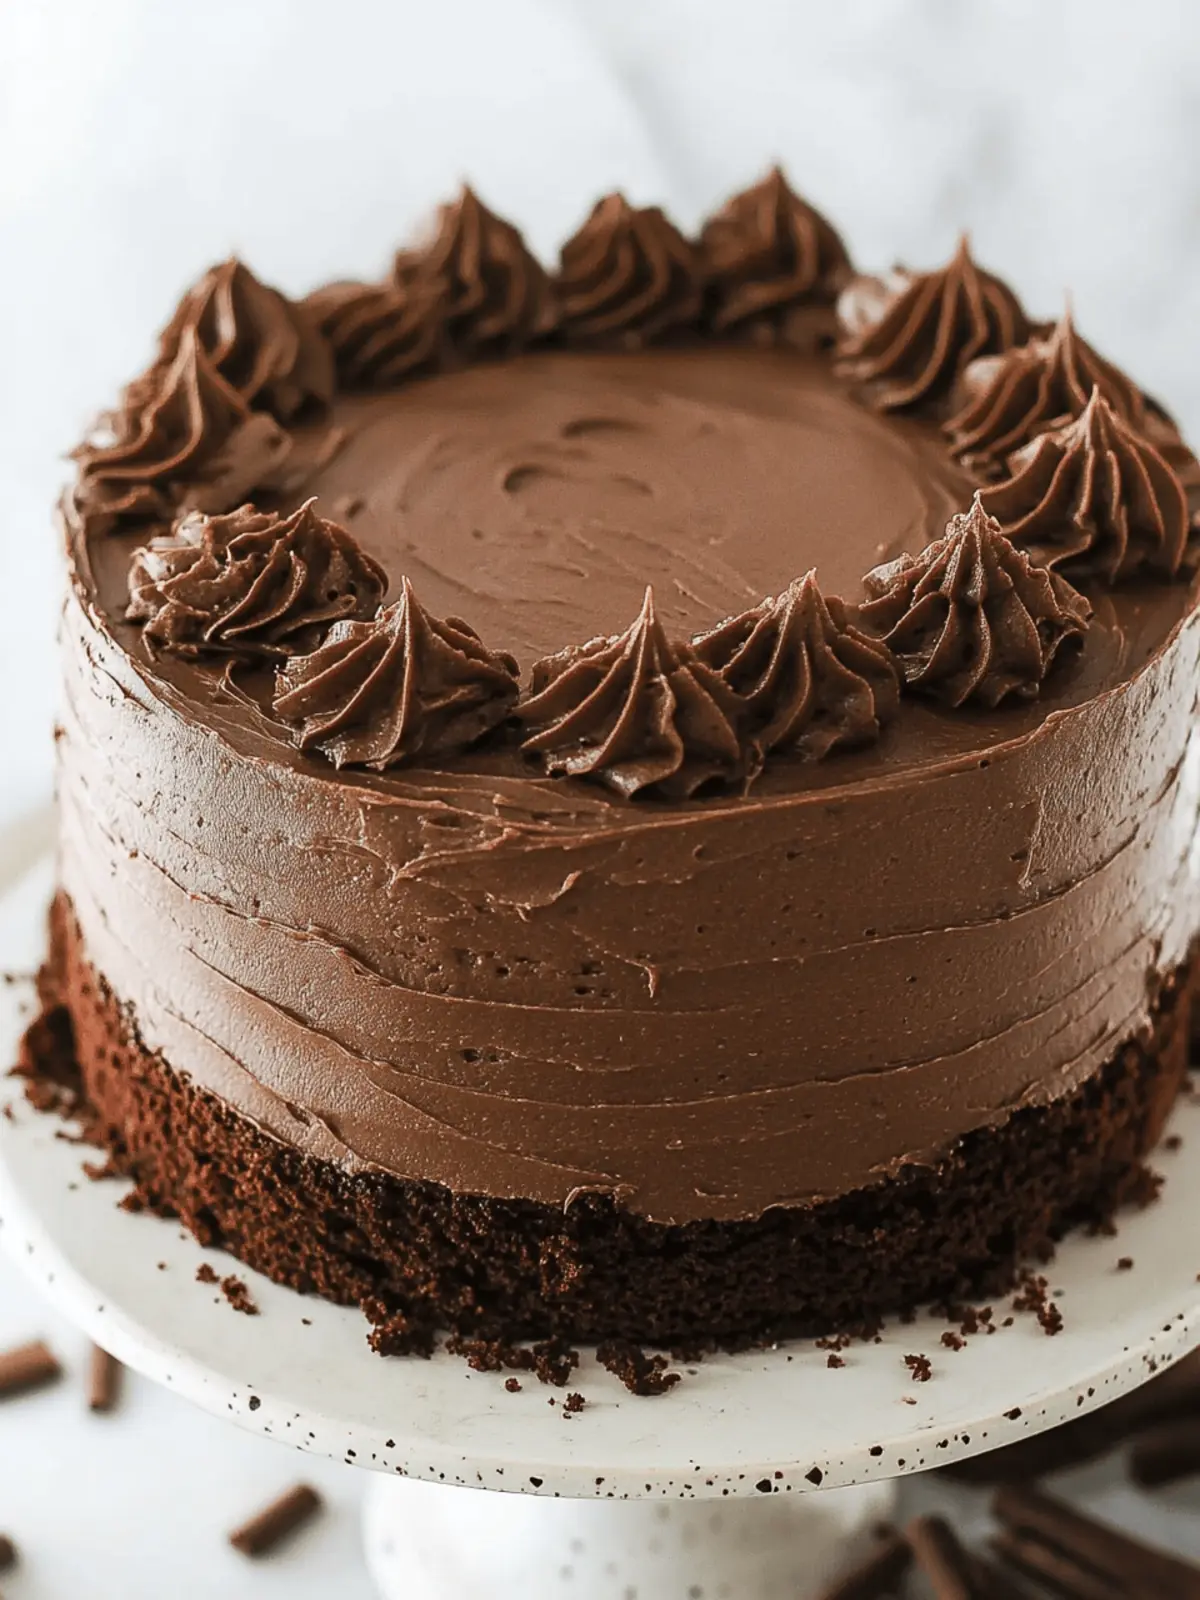
There’s nothing quite like the rich, intoxicating aroma of chocolate wafting through the kitchen, especially when preparing a slice of moist Devil’s Food Cake. This indulgent dessert is a chocolate lover’s dream come true, bursting with an intensity that can turn any ordinary day into a special occasion. I discovered this recipe during a particularly rainy afternoon when I needed a pick-me-up; the results were nothing short of magical.
With its dense, fudgy texture and deep, dark color, this cake not only elevates the classic chocolate experience but also makes an impressive centerpiece for gatherings or a simple family dinner. The beauty of this Devil’s Food Cake lies in its versatility—serve it alongside a scoop of vanilla ice cream for a delightful contrast, or garnish with fresh berries for a fresh twist. Once you take that first bite, I promise you’ll be hooked, and it might just become your go-to dessert for every occasion!
Why is this Devil’s Food Cake a must-try?
Irresistible Flavor: This cake is a true chocolate lover’s paradise, offering an intense, rich flavor that elevates any dessert table.
Decadent Texture: Enjoy a moist and fudgy cake, striking the perfect balance of softness and density that’s simply irresistible.
Quick and Easy: With straightforward instructions, you’ll be whipping up this beauty in no time, even on a busy weeknight!
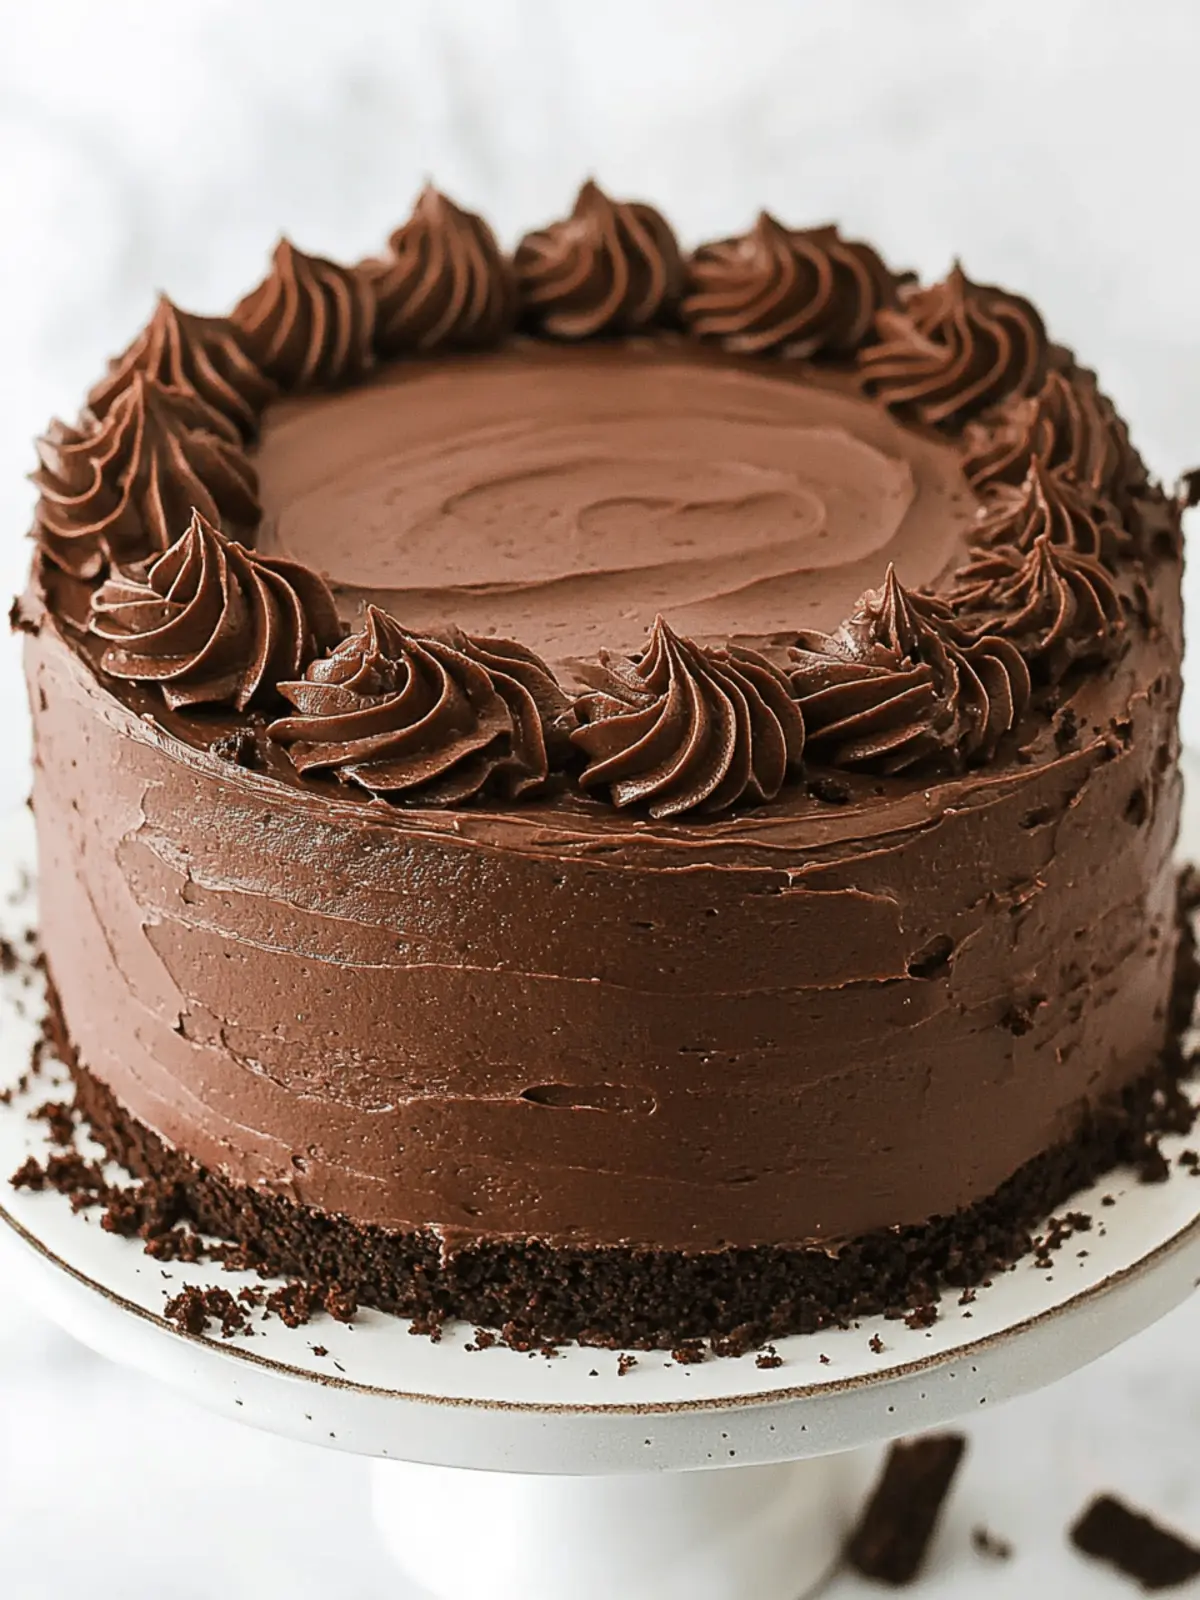
Impressive Presentation: Layered and frosted with dark chocolate ganache, it’s a stunning creation that’s sure to wow your guests.
Versatile Serving Options: Whether topped with ice cream, fresh fruit, or simply dusted with powdered sugar, this cake can adapt to any occasion.
Satisfying and Indulgent: It’s the ultimate comfort food that delivers immediate satisfaction in every slice!
Devil’s Food Cake Ingredients
For the Cake
- All-Purpose Flour – Adds structure and stability; use gluten-free flour for a gluten-free option.
- Dutch-Processed Cocoa Powder – Gives deep chocolate flavor and dark color; avoid substituting with regular cocoa without adjusting acidity.
- Baking Soda – Acts as a leavening agent for rise; always ensure it’s fresh for optimal results.
- Salt – Enhances the overall flavor of the cake.
- Unsalted Butter – Infuses moisture and richness; can be replaced with vegan butter for a dairy-free option.
- Vegetable Oil – Provides moisture and tenderness to the cake.
- Brown Sugar – Contributes sweetness and moisture; no direct substitutions yield the same flavor.
- Vanilla Extract – Enhances flavor; vanilla bean paste can be used as an alternative.
- Eggs – Add structure and moisture; not easily substituted, but aquafaba can be experimented with for an egg-free option.
- Sour Cream – Offers acidity for leavening and creaminess; Greek yogurt is a possible substitute, although results may vary.
- Whole Milk – Adds moisture and richness; buttermilk can be used as a substitute with caution regarding acidity.
- Brewed Coffee – Intensifies chocolate flavor; hot water can replace it, though it may dull the taste.
For the Frosting
- Powdered Sugar – Provides sweetness for the frosting and ensures a smooth consistency.
- Heavy Cream – Adds richness and smoothness; half-and-half can work in a pinch.
- Dark Chocolate – Enhances the frosting’s flavor and provides a creamy texture; using high-quality chocolate is recommended for the best result.
Whether you’re making a cherished family recipe or trying your hand at this Devil’s Food Cake for the first time, these ingredients come together to create a dessert that’s pure bliss. Happy baking!
How to Make Devil’s Food Cake
-
Prepare Pans and Preheat Oven: Preheat your oven to 350°F (176°C). Prepare three 8-inch cake pans by lining them with parchment paper and greasing the sides to ensure easy release.
-
Mix Dry Ingredients: In a medium bowl, whisk together the all-purpose flour, Dutch-processed cocoa powder, baking soda, and salt. Set this mixture aside as your dry ingredients blend to create a stable base for your cake.
-
Cream Wet Ingredients: In a large mixing bowl, beat the unsalted butter, vegetable oil, brown sugar, and vanilla extract together until light and fluffy, about 2-3 minutes. This creamy texture adds moisture and richness to your cake!
-
Incorporate Eggs: Add the eggs one at a time, mixing thoroughly after each addition. Make sure to scrape the sides of the bowl to catch any stray bits; this ensures a well-mixed batter that’s smooth and cohesive.
-
Add Dairy: Mix in the sour cream until fully combined, then pour in the whole milk and blend until smooth. This mixture adds creaminess and moisture to your cake.
-
Combine with Dry Mix: Gradually add half of the dry ingredients you mixed earlier, alternating it with half of the brewed coffee until everything is fully incorporated. This method helps maintain the cake’s rich, fudgy texture while preventing overmixing.
-
Bake: Divide the batter evenly among the prepared cake pans. Bake for 23-27 minutes, or until a toothpick inserted into the center comes out with a few moist crumbs. Monitoring closely will help you achieve that perfect, fudgy finish!
-
Cool: Allow the cakes to cool in the pans for about 10 minutes before transferring them to a wire rack to cool completely. This is crucial to prevent them from becoming soggy.
-
Make Frosting: In a clean bowl, beat the unsalted butter until smooth. Gradually mix in the melted dark chocolate, followed by the cocoa powder, powdered sugar, and heavy cream until you reach your desired consistency for a creamy frosting.
-
Assemble and Decorate: Level the cooled cakes if necessary. Layer them with frosting in between, and then cover the entire cake with the remaining frosting. Optional: Add chocolate shavings or sprinkles for a beautiful finish!
Optional: Pair your slice with a scoop of vanilla ice cream for a heavenly dessert experience.
Exact quantities are listed in the recipe card below.
Make Ahead Options
Preparing your Devil’s Food Cake ahead of time is a fantastic way to save yourself stress on the big day! You can bake the cake layers up to 3 days in advance. Simply let them cool completely, wrap each layer tightly in plastic wrap, and store them in the refrigerator. This helps maintain their moisture and flavor. The frosting can also be made up to 24 hours ahead if stored in an airtight container at room temperature. When you’re ready to serve, allow the cake layers to come to room temperature, and simply frost and assemble for a delicious centerpiece that tastes just as fresh as if you made it that day. Enjoy the time-saving benefits while still impressing your guests!
Storage Tips for Devil’s Food Cake
-
Room Temperature: Keep the cake in an airtight container at room temperature for up to 3-4 days, preserving its moist, fudgy texture.
-
Fridge: If you prefer a chilled dessert or live in a warmer climate, you can refrigerate the cake. Just remember to wrap it tightly; it will stay fresh for about a week.
-
Freezer: For longer storage, freeze un-frosted layers wrapped tightly in plastic wrap and then foil for up to 3 months. Thaw overnight in the fridge before frosting and serving.
-
Reheating: If you want to enjoy a warm slice, pop it in the microwave for about 10-15 seconds; this revitalizes your Devil’s Food Cake’s fudgy goodness!
What to Serve with Devil’s Food Cake?
Indulging in a slice of rich cake is an experience best complemented by delightful accompaniments that elevate your dessert game.
-
Whipped Cream: A classic pairing, the fluffy texture and light sweetness of whipped cream enhance the fudgy richness of the cake.
-
Vanilla Ice Cream: The cool creaminess of vanilla ice cream contrasts beautifully with the warmth of the cake, creating a harmonious balance.
-
Fresh Berries: Juicy strawberries, raspberries, or blueberries add a refreshing burst of flavor, cutting through the richness and bringing a touch of brightness.
-
Chocolate Ganache: For true chocolate lovers, a drizzle of chocolate ganache intensifies the decadent taste, adding a silky layer of bliss on every bite.
-
Coffee: A rich cup of coffee complements the chocolate flavor, enhancing the overall experience and making for a perfect after-dinner treat. The warmth and bitterness of coffee accentuate the cake’s sweetness.
-
Mint Leaves: A sprinkle of fresh mint leaves brings a surprising freshness, providing a lovely visual contrast and a hint of coolness that pairs excellently with chocolate.
-
Chocolate Sauce: Drizzling warm chocolate sauce over your slice adds an indulgent touch and creates a gooey texture that chocolate enthusiasts will adore.
-
Almond Milkshake: A creamy almond milkshake can create a delightful pairing, allowing the nutty undertones to complement the deep chocolate flavor of the cake, making each bite more enjoyable.
-
Zesty Citrus Salad: A citrus salad with oranges and grapefruits offers a tangy brightness that serves as a refreshing counterpart to the dense cake. The acidity helps cleanse the palate.
-
Caramel Sauce: A drizzle of homemade or store-bought caramel adds a sweet, buttery richness, making each bite of Devil’s Food Cake even more decadent and satisfying.
Expert Tips for Devil’s Food Cake
-
Cream Butter Well: Make sure the butter is at room temperature and well-creamed to achieve a lighter, fluffier texture in your cake.
-
Avoid Over-Mixing: After adding the flour mixture, mix just until combined. Over-mixing can lead to a tough texture, diminishing the cake’s fudgy quality.
-
Check Baking Soda Freshness: Always check the expiration date on your baking soda to ensure it’s still effective for optimal rise—there’s nothing worse than a dense cake!
-
Gradual Chocolate Addition: When making frosting, add the melted chocolate slowly to the butter to prevent lumps from forming, ensuring a smooth, rich finish.
-
Cooling Matters: Let the cakes cool completely before frosting to avoid a melting mishap; this keeps your layers intact and beautifully presented.
-
Use Quality Ingredients: For a truly indulgent experience, choose high-quality cocoa powder and dark chocolate. It makes a noticeable difference in the flavor of your Devil’s Food Cake!
Devil’s Food Cake Variations
Feel free to make this delightful dessert your own with these fun and delicious twists!
- Gluten-Free: Substitute all-purpose flour with a gluten-free baking blend for a cake everyone can enjoy.
- Vegan Delight: Swap butter and eggs for plant-based alternatives, using vegan butter and flax eggs for a compassionate choice.
- Coffee Lover: Boost the flavor by adding espresso powder to the batter, enhancing the rich chocolate taste. A little goes a long way!
- Nutty Addition: Fold in chopped walnuts or pecans for added crunch and a delightful contrast to the fudgy cake. It’s like a surprise in every bite!
- Minty Freshness: Add a few drops of peppermint extract to the frosting for a refreshing twist that’s perfect for the holidays.
- Fruit Fusion: Layer fresh raspberries or strawberries between the cake layers for a fruity burst that brightens the chocolate flavor beautifully.
- Spicy Kick: Incorporate a pinch of cayenne pepper to the batter for a surprising heat that pairs wonderfully with rich chocolate.
- Creamy Filling: Use a whipped cream cheese frosting between layers for a tangy contrast to the sweetness of the cake, making every slice unforgettable!
Devil’s Food Cake Recipe FAQs
What type of cocoa powder should I use for the best flavor?
Absolutely! Dutch-processed cocoa powder is key for achieving the deep chocolate flavor and dark color that makes Devil’s Food Cake so delightful. If you must use regular cocoa powder, be mindful to slightly adjust the acidity in your recipe, perhaps by adding a pinch of baking powder along with the baking soda.
How should I store leftover Devil’s Food Cake?
It’s best to store this cake in an airtight container at room temperature for up to 3-4 days, keeping it moist and fudgy. If your home is particularly warm, you may choose to refrigerate it, although it can last about a week in the fridge if tightly wrapped to avoid drying out.
Can I freeze Devil’s Food Cake?
Yes, you can! If you want to preserve your cake, wrap the un-frosted layers tightly in plastic wrap and then foil. It can be frozen for up to 3 months. When you’re ready to enjoy it, just thaw in the fridge overnight before frosting and serving. This method keeps the cake’s delicious texture intact!
What should I do if my cake is too dense or heavy after baking?
Very! If you find that your cake has turned out denser than expected, it’s essential to check a few key areas. First, ensure your baking soda is fresh; expired leaveners can lead to denser textures. Secondly, avoid over-mixing the batter after adding the flour, as this can develop the gluten too much, resulting in a tough cake. Lastly, ensure that your ingredients are measured accurately, as using too much flour can also contribute to a dense outcome.
Can I modify the recipe for allergies or dietary preferences?
Absolutely! If you’re looking for a dairy-free option, you can substitute unsalted butter with vegan butter and replace sour cream with dairy-free yogurt. Additionally, aquafaba can serve as a great egg substitute for an egg-free version, with about 3 tablespoons equivalent to one egg. Just remember, these adjustments might slightly change the texture and flavor, but many have found success in these swaps!
What toppings go well with Devil’s Food Cake?
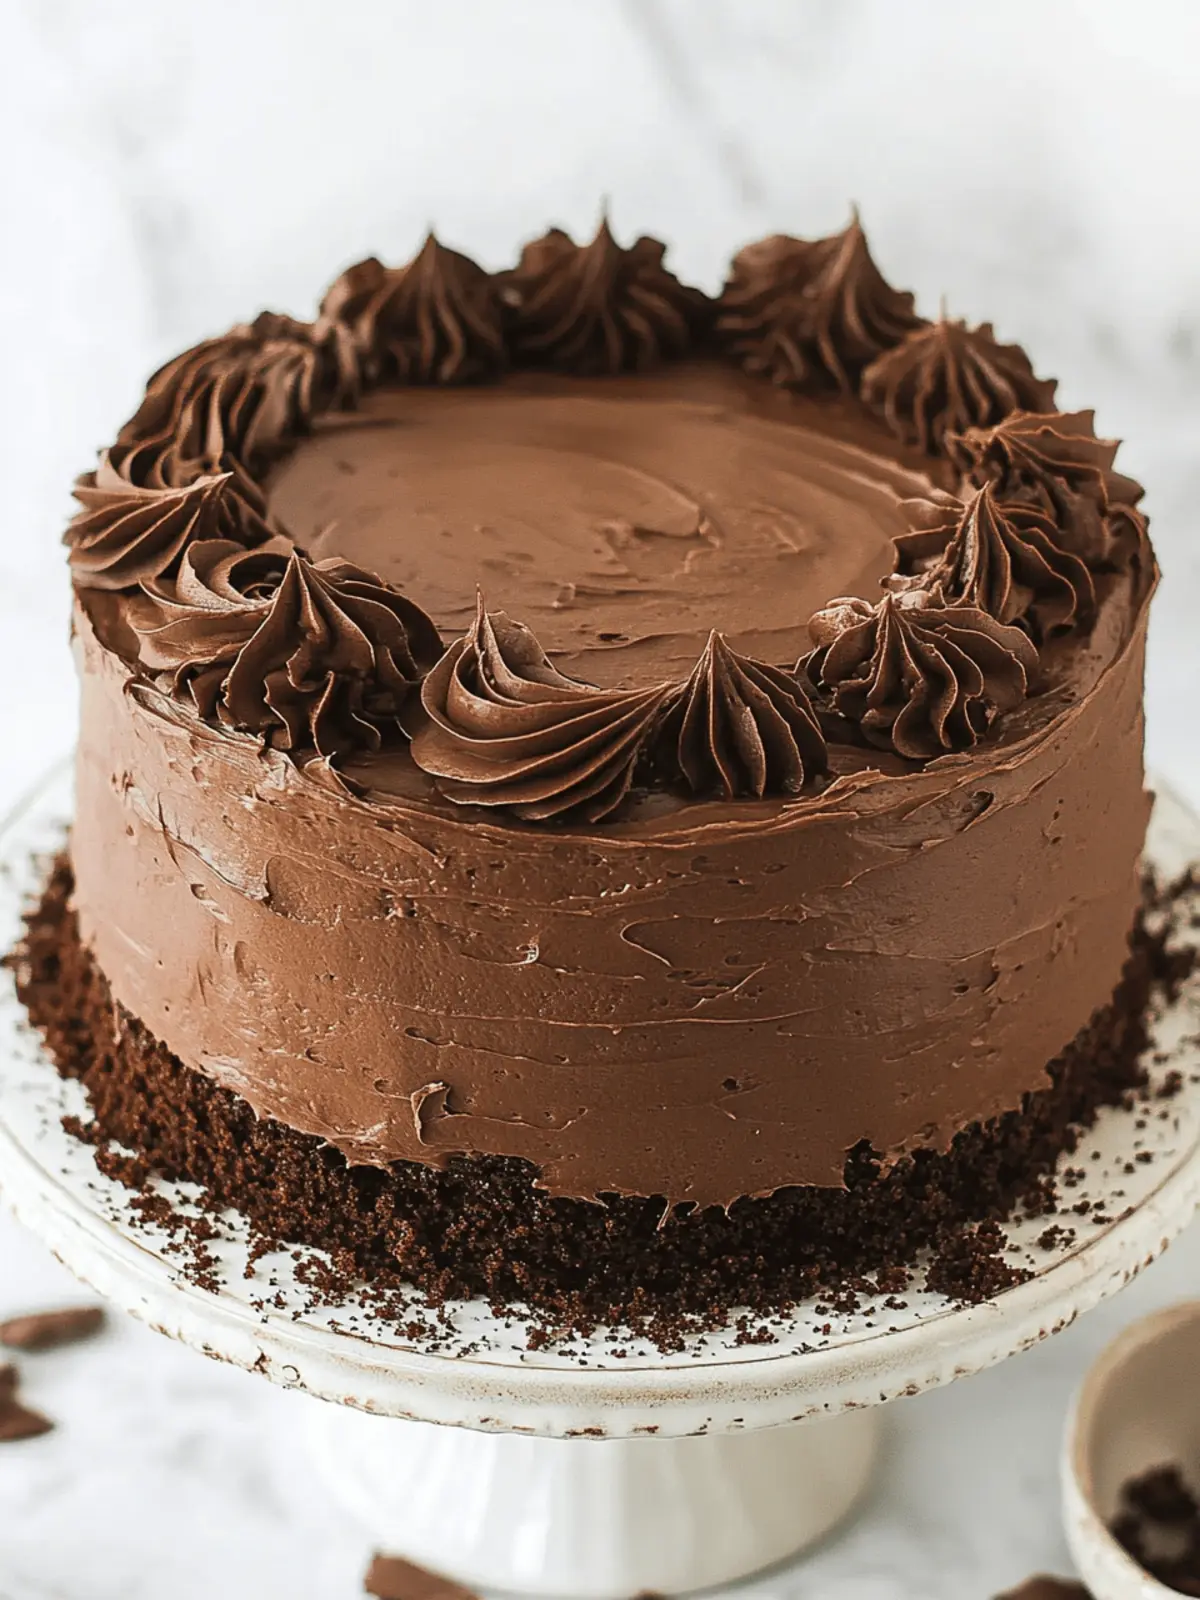
The more the merrier! Classic toppings include a dollop of whipped cream or a scoop of vanilla ice cream to provide a delightful contrast. Alternatively, fresh berries can brighten up the dish, while chocolate shavings add an extra touch of elegance! Feel free to get creative with your favorite toppings!
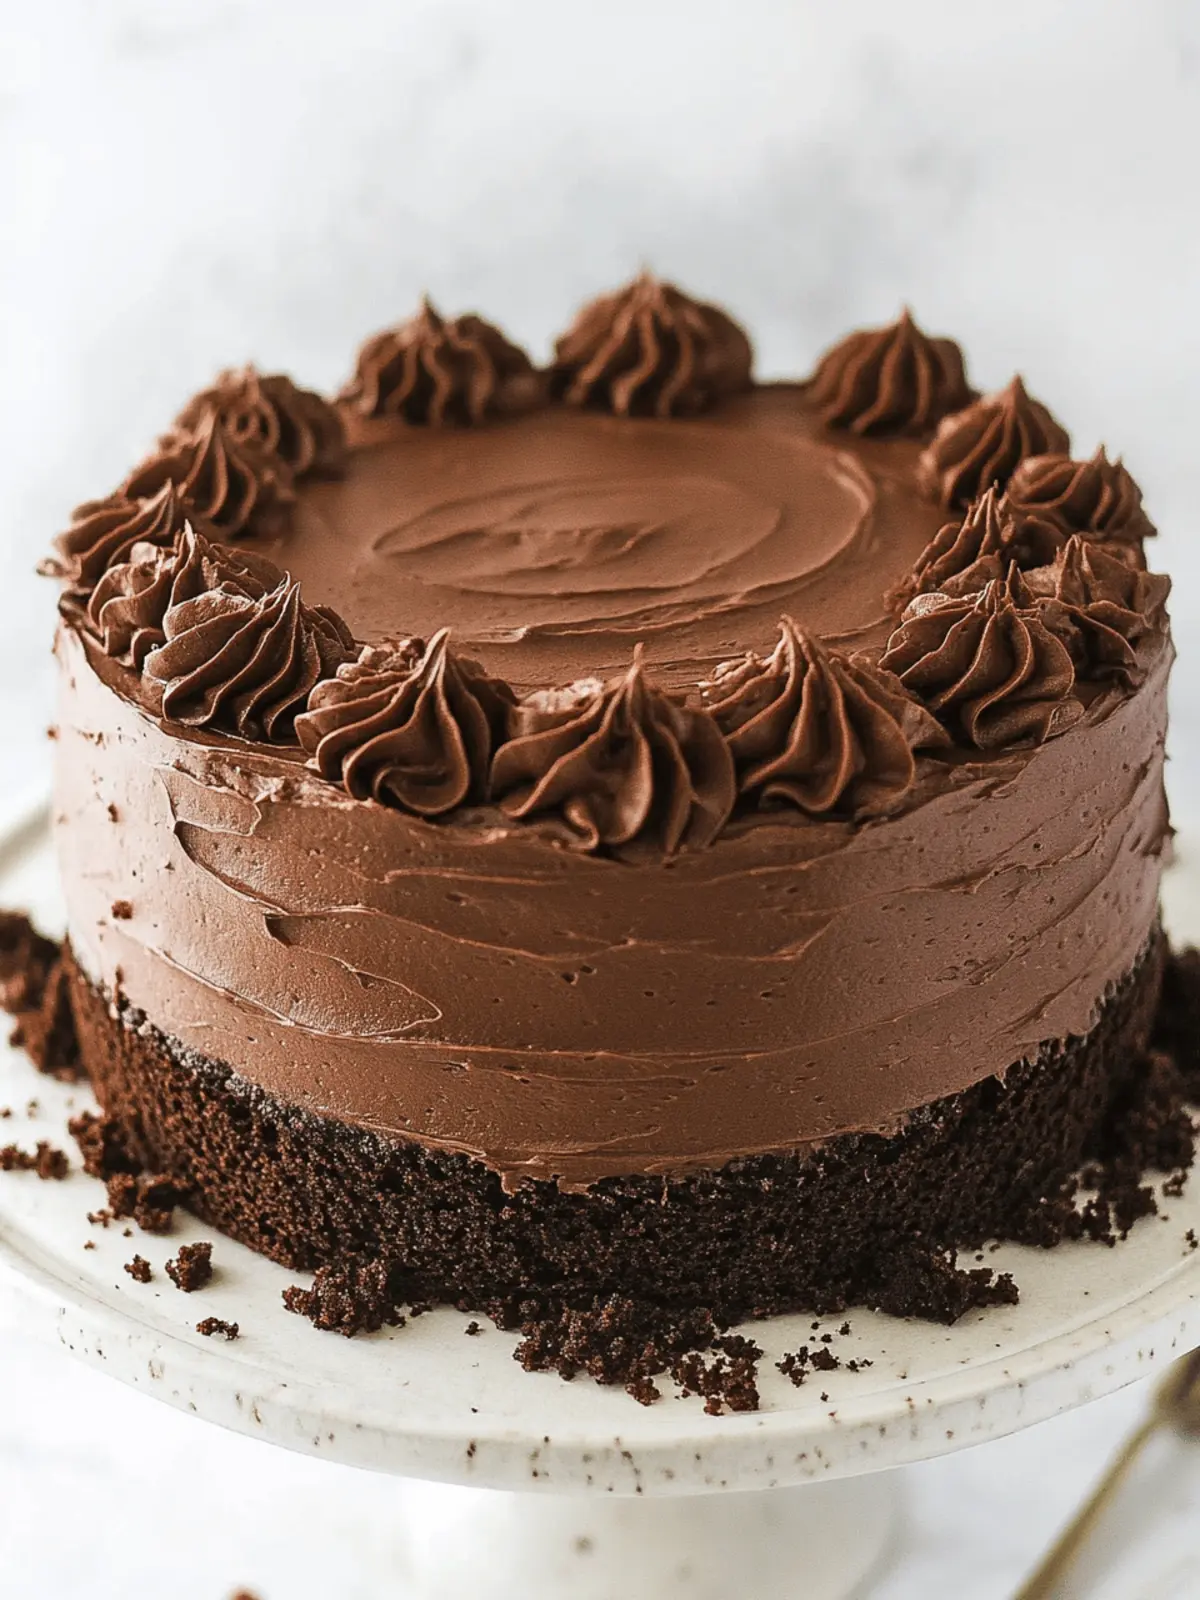
Decadent Devil's Food Cake: A Chocoholic's Dream Recipe
Ingredients
Equipment
Method
- Preheat your oven to 350°F (176°C). Prepare three 8-inch cake pans by lining them with parchment paper and greasing the sides.
- In a medium bowl, whisk together the all-purpose flour, Dutch-processed cocoa powder, baking soda, and salt. Set aside.
- In a large mixing bowl, beat the unsalted butter, vegetable oil, brown sugar, and vanilla extract together until light and fluffy, about 2-3 minutes.
- Add the eggs one at a time, mixing thoroughly after each addition. Scrape the sides of the bowl.
- Mix in the sour cream until fully combined, then pour in the whole milk and blend until smooth.
- Gradually add half of the dry ingredients, alternating it with half of the brewed coffee until fully incorporated.
- Divide the batter evenly among the prepared cake pans. Bake for 23-27 minutes, or until a toothpick comes out with moist crumbs.
- Allow the cakes to cool in the pans for about 10 minutes before transferring them to a wire rack to cool completely.
- In a clean bowl, beat the unsalted butter until smooth. Gradually mix in the melted dark chocolate, cocoa powder, powdered sugar, and heavy cream until creamy.
- Level the cooled cakes if necessary. Layer with frosting in between and cover the entire cake with the remaining frosting.

