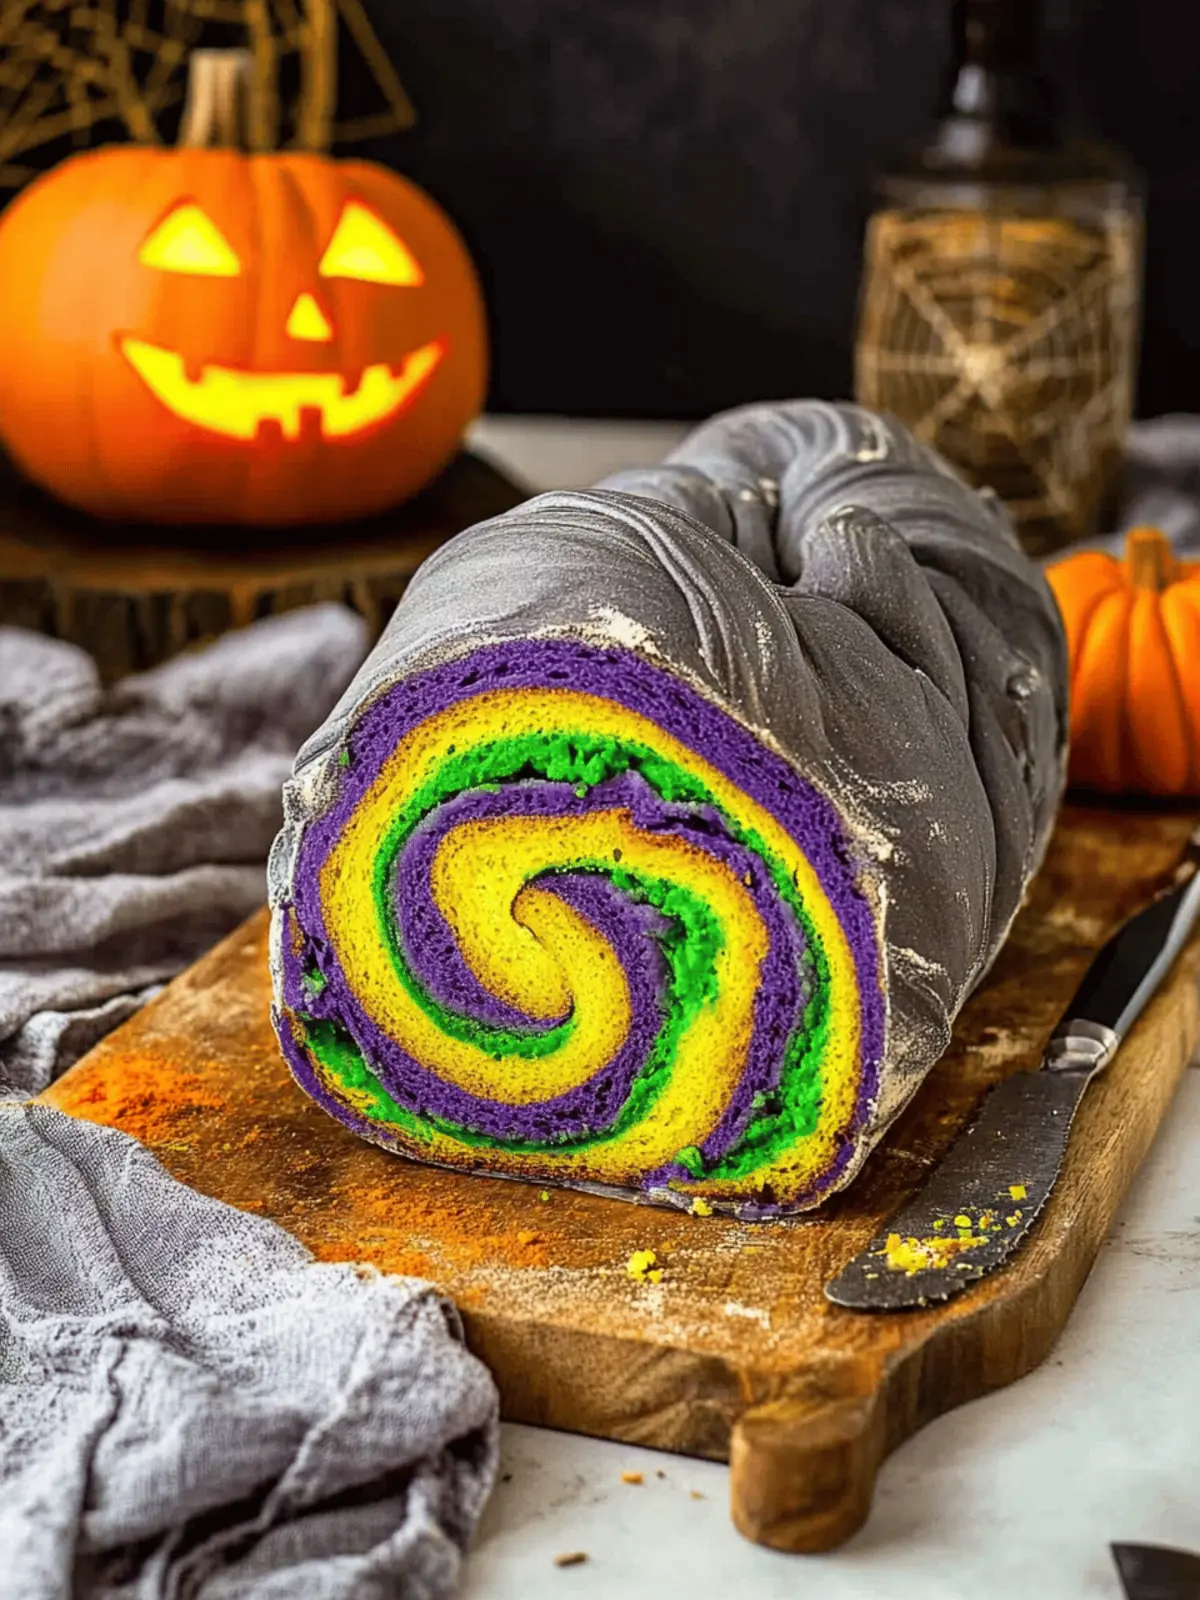
As the crisp air of October settles in and pumpkins adorn every porch, there’s no better time to bring a splash of color to your kitchen with this delightful Halloween Bread. Picture this: just when you think the season is all about scary costumes and spooky decorations, this fun, vibrant bread surprises everyone, transforming a simple meal into a festive occasion.
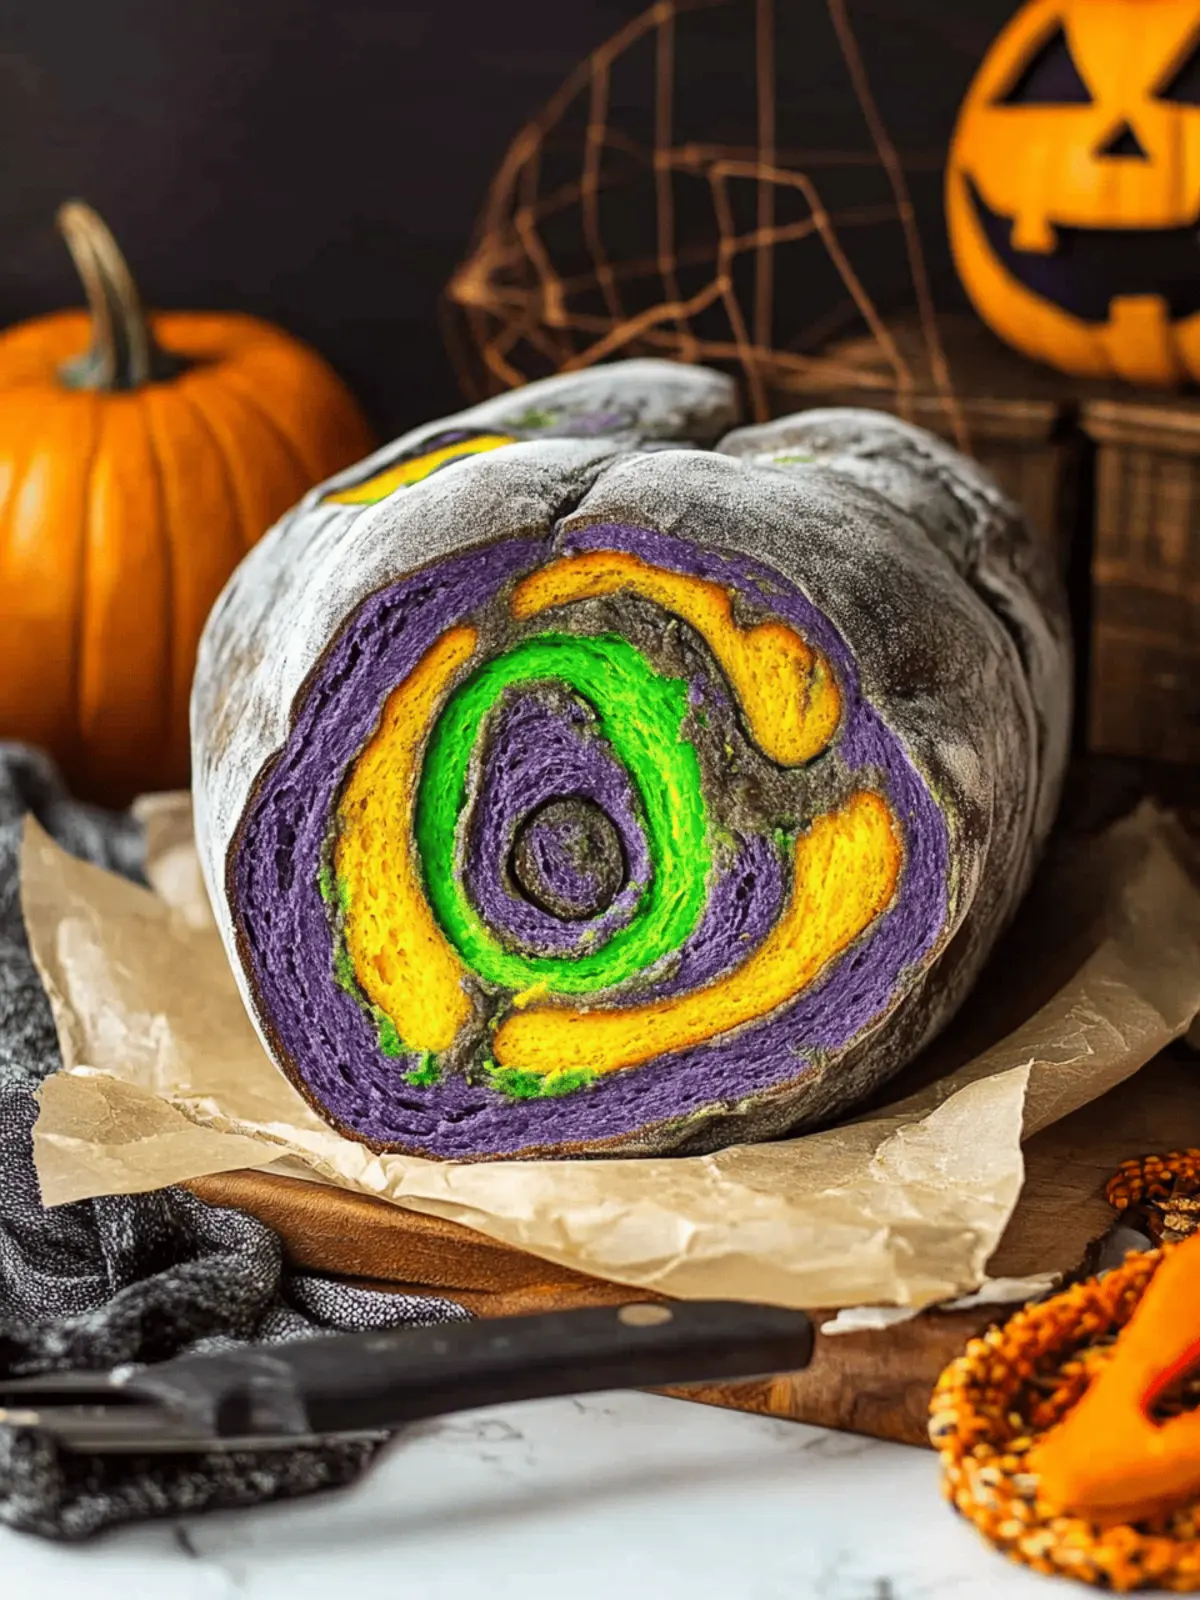
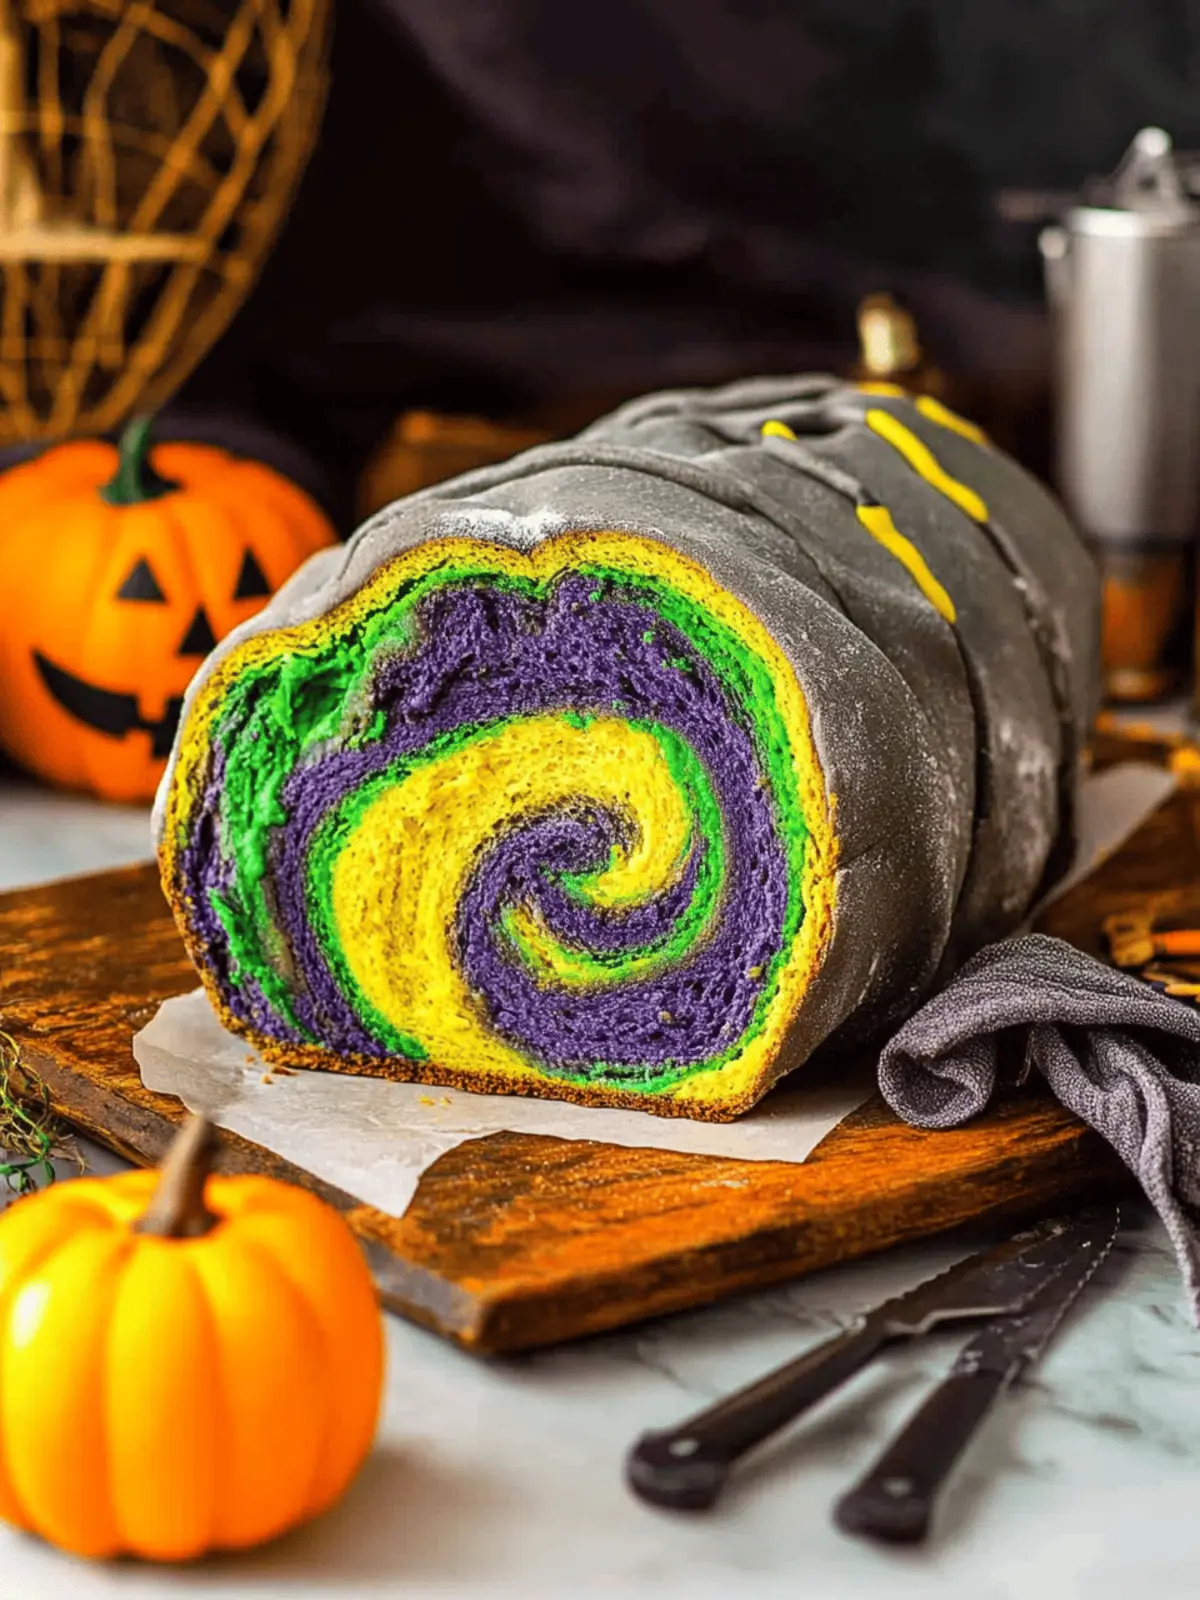
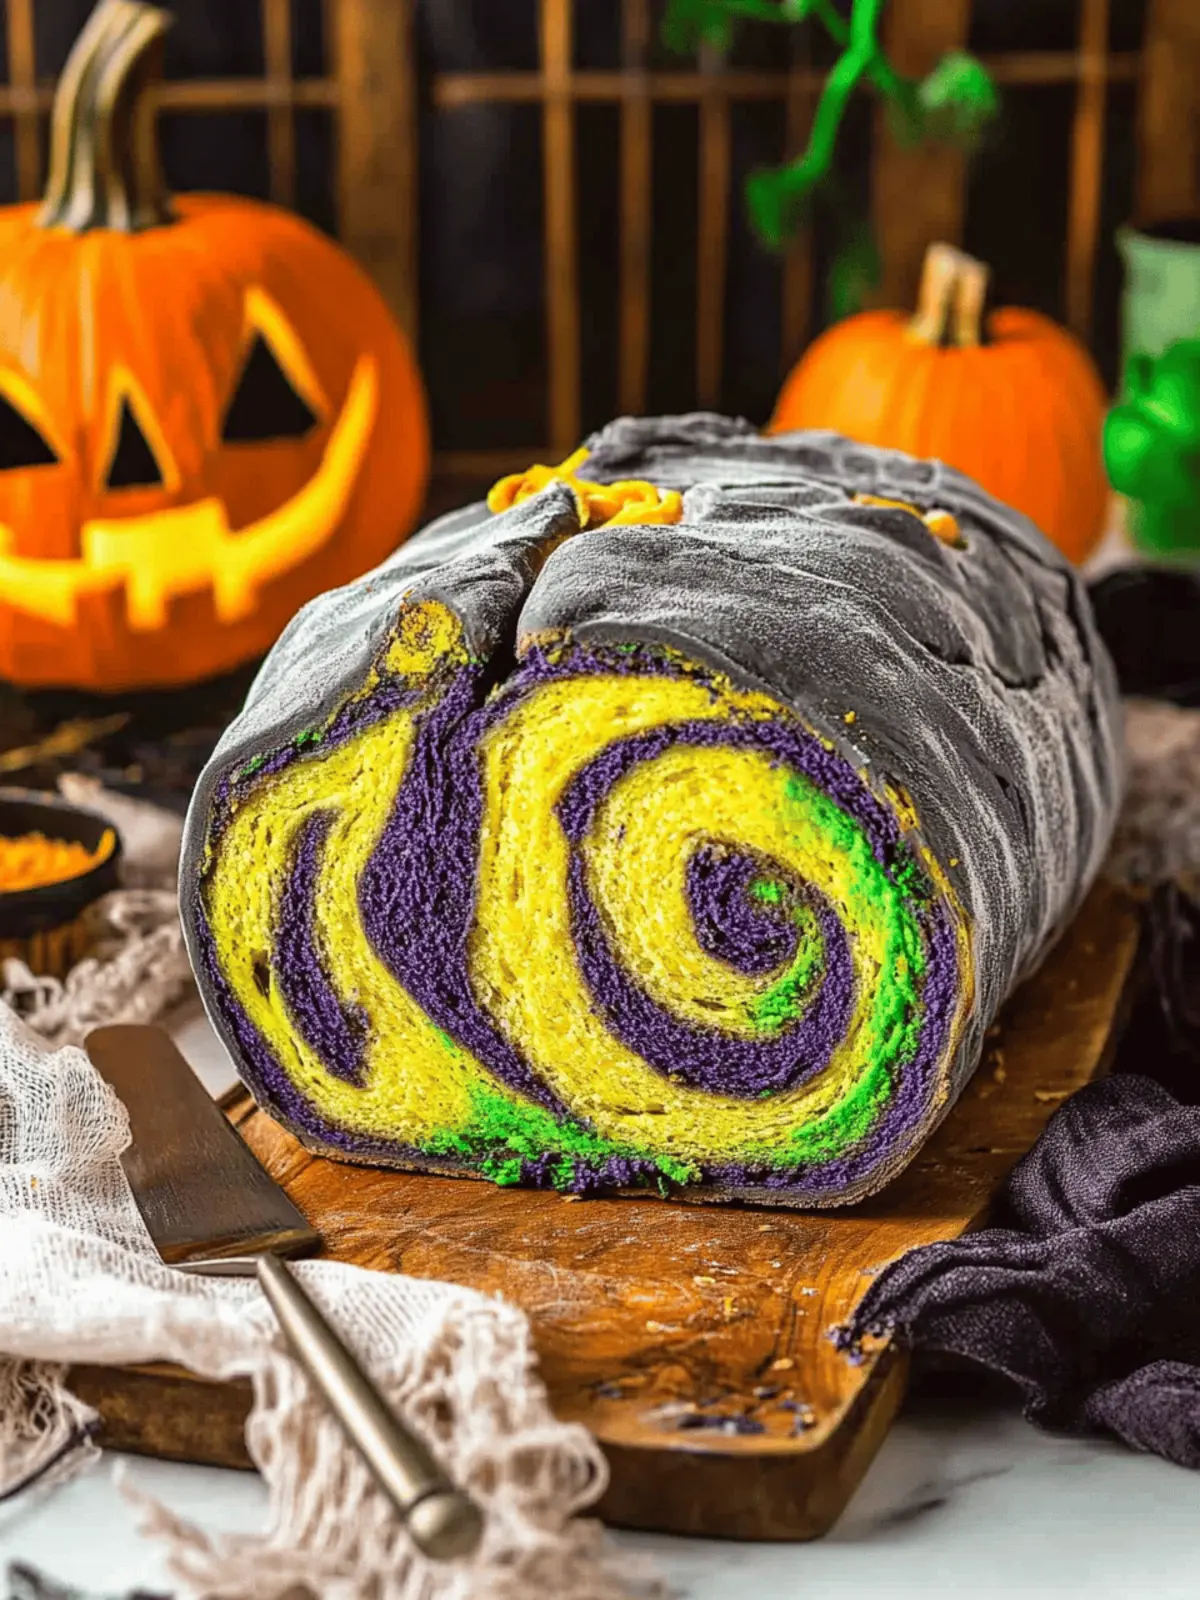
I found myself experimenting with food coloring one afternoon, and what began as a playful idea evolved into a showstopper. The moment you pry the loaf apart, you’re greeted with swirls of yellow, green, purple, and black—each slice offering a light sweetness that pairs perfectly with your favorite spreads. Whether you’re hosting a haunted gathering or just looking to inject a little whimsy into your weeknight dinners, this recipe is a true game changer.
Let’s dive into how easy it is to make your own colorful Halloween Bread, turning dough into a fun, family-friendly activity that will have everyone raving about your creativity (not to mention the delicious aroma that will fill your home)!
Why will you love Halloween Bread?
Visual Delight: This bread is a feast for the eyes, showcasing swirls of bright colors that are sure to wow your family and friends.
Easy to Make: With simple ingredients and straightforward steps, even novice bakers can create this stunning loaf with confidence.
Fun Family Activity: Get everyone involved in the coloring process; it’s a creative kitchen project that brings joy to all ages.
Versatile Flavor: Its light sweetness makes it a perfect complement to butter, jams, or even as a side to your favorite soups.
Perfect for Celebrations: Elevate your holiday gatherings with this festive treat, making every meal feel special and fun!
Time-efficient: With minimal rising time and quick baking, this recipe allows you to whip up a show-stopping bread without hours in the kitchen.
Halloween Bread Ingredients
• Get ready to create your own colorful masterpiece!
For the Dough
- Milk – 1⅔ cups, lukewarm (110°F); it activates the yeast, giving your dough a lovely rise.
- Granulated Sugar – 3 tablespoons; this sweetness nourishes the yeast for a better rise.
- Instant Yeast – 2½ teaspoons (1 envelope); the magic ingredient that helps your dough rise beautifully.
- All-Purpose Flour – 4 cups; it creates the ideal texture for this playful Halloween Bread.
- Kosher Salt – 1½ teaspoons; enhances flavor while balancing out the sweetness.
- Unsalted Butter – 3 tablespoons, melted; adds richness and moisture to the dough.
- Unsulphured Molasses – 2 tablespoons; provides depth and a brown hue, perfect for Halloween-themed baking.
For the Color
- Food Coloring – yellow, green, purple, and black; use these to transform your dough into a festive treat that’s visually stunning and perfect for Halloween Bread.
Roll up your sleeves and get ready to bring a splash of color and creativity into your kitchen!
How to Make Halloween Bread
-
Bloom the Yeast: In a mixing bowl, whisk together the warm milk, sugar, and yeast. Let this mixture stand for 5 minutes—this step activates the yeast, ensuring your bread rises beautifully!
-
Combine Dry Ingredients: In a large bowl, whisk together the flour and kosher salt. This mix forms the backbone of your dough, ensuring the final loaf has the right texture and flavor.
-
Mix Ingredients: Once your yeast has bloomed, add it along with the melted butter and molasses into the flour mixture. Whisk gently initially, just enough to bring it together, then knead until the dough is smooth and elastic.
-
Divide the Dough: Once the dough is perfectly smooth, divide it into four equal balls. This gives you the base for your colorful Halloween Bread!
-
Add Color: One at a time, knead a different food coloring into each dough ball until fully incorporated. Get creative with colors—yellow, green, purple, and black will bring your bread to life!
-
Let it Rise: Place the colored dough balls on a baking sheet with at least 6 inches of space between them. Cover with a damp towel and allow to rise for about 30-45 minutes, or until doubled in size.
-
Prepare for Rolling: Spray a 9×5-inch loaf pan with nonstick spray and set it aside, making sure your pan is ready for this colorful creation!
-
Roll Each Color: Start with the yellow dough on a well-floured surface, rolling it out into a rough 9×9-inch square. Repeat this with the green, purple, and black doughs, layering them on top of each other.
-
Shape the Dough: Carefully flip the layered dough over, ensuring the yellow is on top, and roll it out into a rectangle about 9 inches wide and 13 inches long.
-
Form into a Log: From the short side, tightly roll the dough into a log, just like you would with cinnamon rolls. This creates those stunning color swirls that hide inside!
-
Second Rise: Place the rolled dough into the prepared loaf pan. Cover again with a damp towel and let rise for another 30-45 minutes or until doubled in size. Preheat your oven to 350°F during this time.
-
Bake the Bread: Once risen, place the dough in the oven and bake for 35 minutes. The bread is done when a toothpick inserted comes out clean. Let it cool on a rack, then slice and enjoy!
Optional: Serve warm with butter or your favorite jam for a delicious treat.
Exact quantities are listed in the recipe card below.
Make Ahead Options
These colorful Halloween Bread doughs are perfect for meal prep, allowing you to enjoy this festive treat any day of the week! You can mix and color the dough up to 24 hours in advance. After dividing the dough and kneading in the food coloring, simply wrap each colored ball tightly in plastic wrap and refrigerate to keep them fresh. On baking day, let the dough sit at room temperature for about 30 minutes before proceeding with the rising and baking steps. This way, you maintain the dough’s elasticity and ensure your Halloween Bread is just as delicious, saving you precious time during your busy week!
What to Serve with Halloween Bread?
Halloween is the perfect time for vibrant, delightful meals that celebrate the spirit of the season.
-
Pumpkin Soup: The creamy, spiced warmth of pumpkin soup pairs beautifully with the slightly sweet bread, bringing comfort to your gatherings.
-
Spooky Cheese Platter: Serve an assortment of sharp cheeses, crackers, and seasonal fruits. The vibrant colors will echo the bread’s fun hues, making a stunning centerpiece.
-
Cranberry Sauce: The tartness of cranberry sauce provides a lovely contrast to the bread’s sweetness, balancing flavors in every delightful bite.
-
Chili: A robust chili offers a hearty option, complementing the soft texture of the bread. Use it to dunk or scoop, adding layers of flavor.
-
Apple Cider: A warm apple cider, spiced just right, will enhance the fall vibes and makes for a cozy drink alongside your festive bread.
-
Halloween-Themed Desserts: Consider serving pumpkin spice cookies or ghost-shaped meringues for a complete treat table that keeps the fun rolling.
-
Roasted Vegetables: Bright, caramelized veggies add a crunchy texture and earthy flavor that pairs wonderfully with the lightness of Halloween bread.
Bring your colorful Halloween Bread to life with these delightful pairings and watch your table transform into a festive feast!
Expert Tips for Halloween Bread
- Perfect Temperature: Ensure your milk is lukewarm (about 110°F) for blooming the yeast properly; too hot can kill the yeast.
- Color Mixing: When kneading in the food coloring, use gloves to avoid staining your hands! Mix thoroughly for even color throughout.
- Spacing is Key: When letting the colored dough balls rise, leave ample space between them; they will expand significantly.
- Rolling Technique: Roll the layers gently but firmly to avoid breaking the dough; a smooth, even surface helps the slices look gorgeous.
- Look for Readiness: For the second rise, watch for dough that has doubled in size before baking to ensure a fluffy Halloween Bread.
- Test for Doneness: Always check with a toothpick; if it comes out clean, your bread is ready to delight your family!
Halloween Bread Variations
Feel free to mix it up and let your creativity shine with these fun options!
- Gluten-Free: Substitute all-purpose flour with a gluten-free blend to accommodate dietary restrictions while keeping the fun colors intact.
- Dairy-Free: Replace milk with almond or soy milk for a light and creamy alternative, perfect for those sensitive to dairy.
- Flavor Twist: Add a teaspoon of vanilla extract for a subtly sweet flavor that complements the vibrant colors beautifully.
- Festive Sprinkles: Before baking, add Halloween-themed sprinkles on top to create a crunchy, colorful finish that’s simply delightful!
- Cinnamon Swirl: Mix in a tablespoon of cinnamon into one of the colored dough balls for a warm, cozy spiced bread option.
- Savory Surprise: Incorporate herbs like rosemary or thyme into the dough for a savory version that pairs perfectly with soups or stews.
- Bold Colors: Experiment with different food coloring brands or natural colorants to create unique pastel shades or deeper hues.
- Extra Crunch: Add a layer of crushed nuts or seeds inside the rolled dough for an exciting crunchy texture that contrasts wonderfully with the soft bread.
Enjoy the artistry of baking as you explore these delightful variations!
How to Store and Freeze Halloween Bread
Room Temperature: Store cooled Halloween Bread in an airtight container or wrap tightly in plastic wrap for up to 3 days to maintain freshness.
Fridge: For longer storage, place the bread in the fridge, where it can last up to a week. Make sure it’s well-wrapped to avoid drying out.
Freezer: Freeze slices of Halloween Bread by wrapping them individually in plastic wrap and placing them in a freezer bag. They’ll stay fresh for up to 3 months.
Reheating: To enjoy your Halloween Bread, thaw in the fridge overnight, then warm slices in the oven at 350°F for about 10 minutes, restoring that fresh-baked taste.
Colored Bread Dough Recipe FAQs
What is the best way to select the ingredients for my Halloween Bread?
Absolutely! To ensure the best results, choose milk that’s lukewarm (around 110°F) for optimal yeast activation. Look for fresh granulated sugar and high-quality all-purpose flour, as these will support the texture and rise of your bread. When selecting food coloring, opt for gel-based options for vibrant hues that won’t dilute the dough’s consistency!
How should I store leftover Halloween Bread?
Very! Allow your bread to cool completely before storing. Place your Halloween Bread in an airtight container or wrap it tightly in plastic wrap. It can sit at room temperature for up to 3 days. If you’d like to keep it fresh longer, store it in the refrigerator for up to a week, making sure it’s well-wrapped to prevent drying out.
Can I freeze the Halloween Bread?
Absolutely! Freezing is a fantastic option to enjoy your colorful creation later. Wrap each slice individually in plastic wrap, then place them in a freezer bag. Your Halloween Bread will remain delicious in the freezer for up to 3 months. When you’re ready to enjoy, simply thaw the slices in the refrigerator overnight and reheat gently in the oven at 350°F for about 10 minutes to refresh that delightful texture and warmth.
What if my dough doesn’t rise properly?
Oh no! If your dough hasn’t risen, don’t fret! Make sure that your yeast is fresh and activated properly by blooming it in lukewarm milk mixed with sugar. If it still doesn’t rise, check that your environment is warm enough—try placing it in an oven turned off but slightly warmed, or a sunny spot in your kitchen. Avoid drafts and ensure those damp towels are covering the dough as it rises!
Is this recipe suitable for kids or anyone with allergies?
Very! This Halloween Bread is a fun baking project for kids. However, do keep an eye on any allergies; the main ingredients are common, but if there are specific dietary restrictions (like gluten or dairy allergies), consider substituting with appropriate alternatives, such as gluten-free flour or dairy-free milk. Always check your food coloring to ensure it’s allergy-safe, as some brands may contain allergens.
What’s the best way to incorporate the food coloring into the dough?
I recommend using gloves to avoid staining your hands! Knead each ball of dough individually with the food coloring until completely incorporated. Start with a small amount, and gradually add more to reach your desired shade. Be patient and knead thoroughly, as this leads to beautiful, uniform colors that will impress everyone when sliced!
Colorful Halloween Bread: Fun for the Whole Family!
Ingredients
Equipment
Method
- In a mixing bowl, whisk together the warm milk, sugar, and yeast. Let this mixture stand for 5 minutes.
- In a large bowl, whisk together the flour and kosher salt.
- Once your yeast has bloomed, add it along with the melted butter and molasses into the flour mixture. Whisk gently initially, then knead until the dough is smooth and elastic.
- Once the dough is smooth, divide it into four equal balls.
- One at a time, knead a different food coloring into each dough ball until fully incorporated.
- Place the colored dough balls on a baking sheet with at least 6 inches of space between them. Cover with a damp towel and allow to rise for about 30-45 minutes.
- Spray a 9x5-inch loaf pan with nonstick spray and set it aside.
- Start with the yellow dough on a floured surface, rolling it out into a rough 9x9-inch square. Repeat with the other colors, layering them on top of each other.
- Flip the layered dough over ensuring the yellow is on top, and roll it out into a rectangle about 9 inches wide and 13 inches long.
- From the short side, tightly roll the dough into a log.
- Place the rolled dough into the prepared loaf pan. Cover again and let rise for another 30-45 minutes. Preheat your oven to 350°F during this time.
- Once risen, place the dough in the oven and bake for 35 minutes until a toothpick inserted comes out clean. Let cool, then slice and enjoy!
