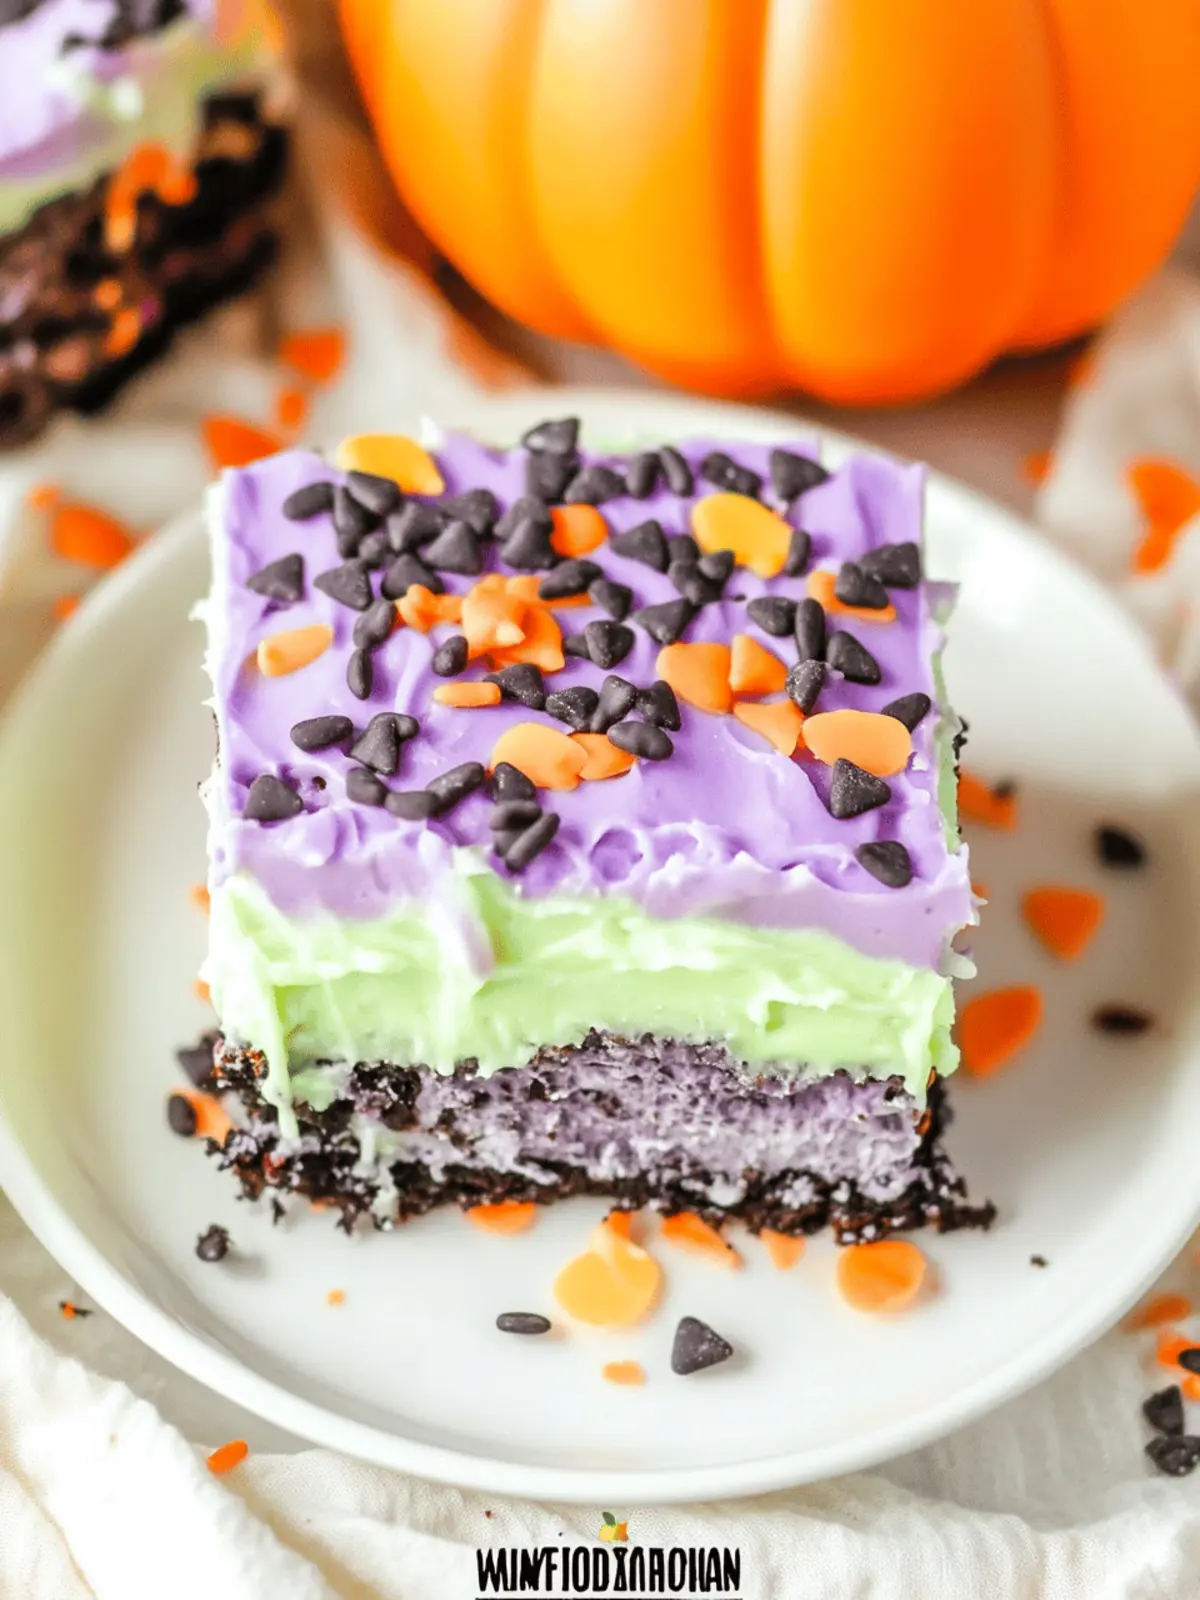
As the leaves begin to change and the air turns crisp, I’m reminded of the sweet excitement that Halloween brings. One year, amidst the rush of planning costumes and decorating pumpkins, I stumbled upon a delightful no-bake dessert that transformed my typical October gathering into a vibrant celebration of flavor. This No-Bake Halloween Lush Dessert, with its layers of creamy cheesecake, colorful pudding, and crispy chocolate cookie crust, is not just a treat; it’s a festive showstopper.
Imagine presenting a dessert that not only looks inviting with its bright colors but also brings joy with every spoonful. The best part? It requires no baking! Perfect for those busy evenings or last-minute get-togethers, this dessert promises to impress both young and old with its playful presentation and delicious taste. So, let’s dive into making this easy yet alluring Halloween treat that will have everyone coming back for more.
Why is this Halloween Lush a must-try?
Easy to Make: This no-bake dessert simplifies your holiday preparations, allowing you to create a stunning treat without the oven.
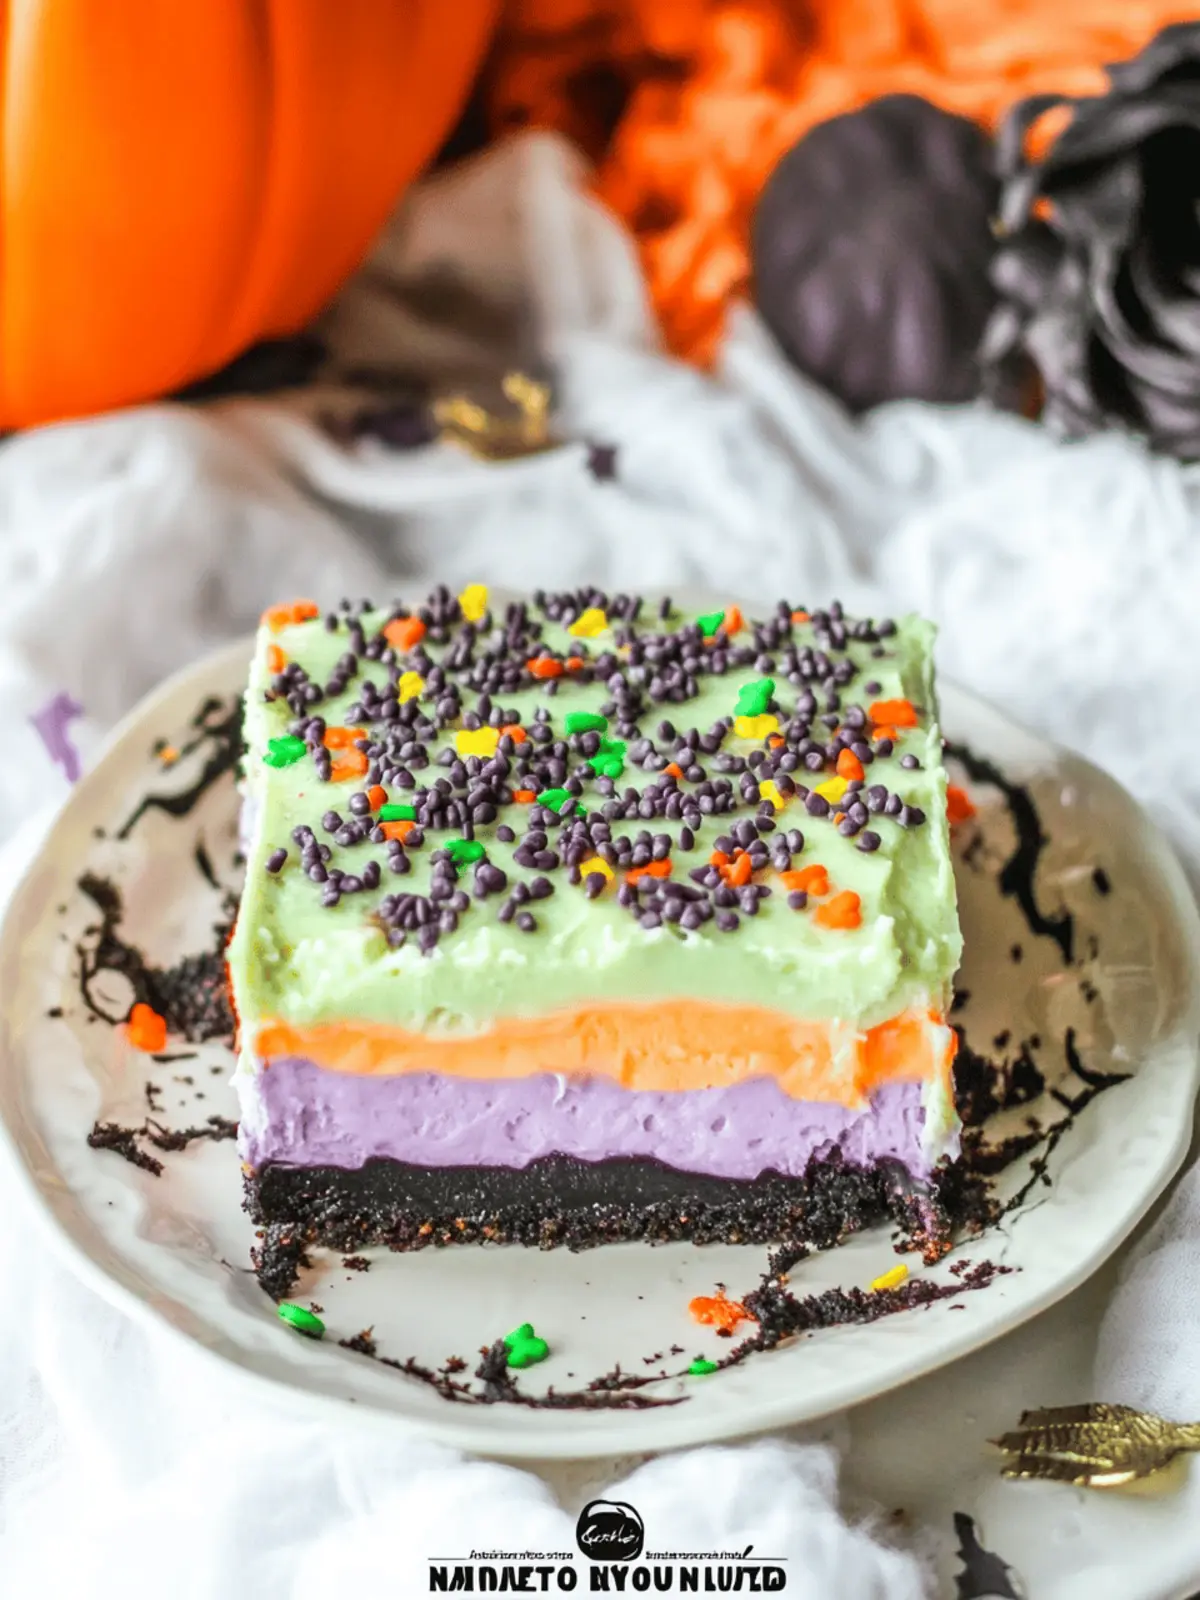
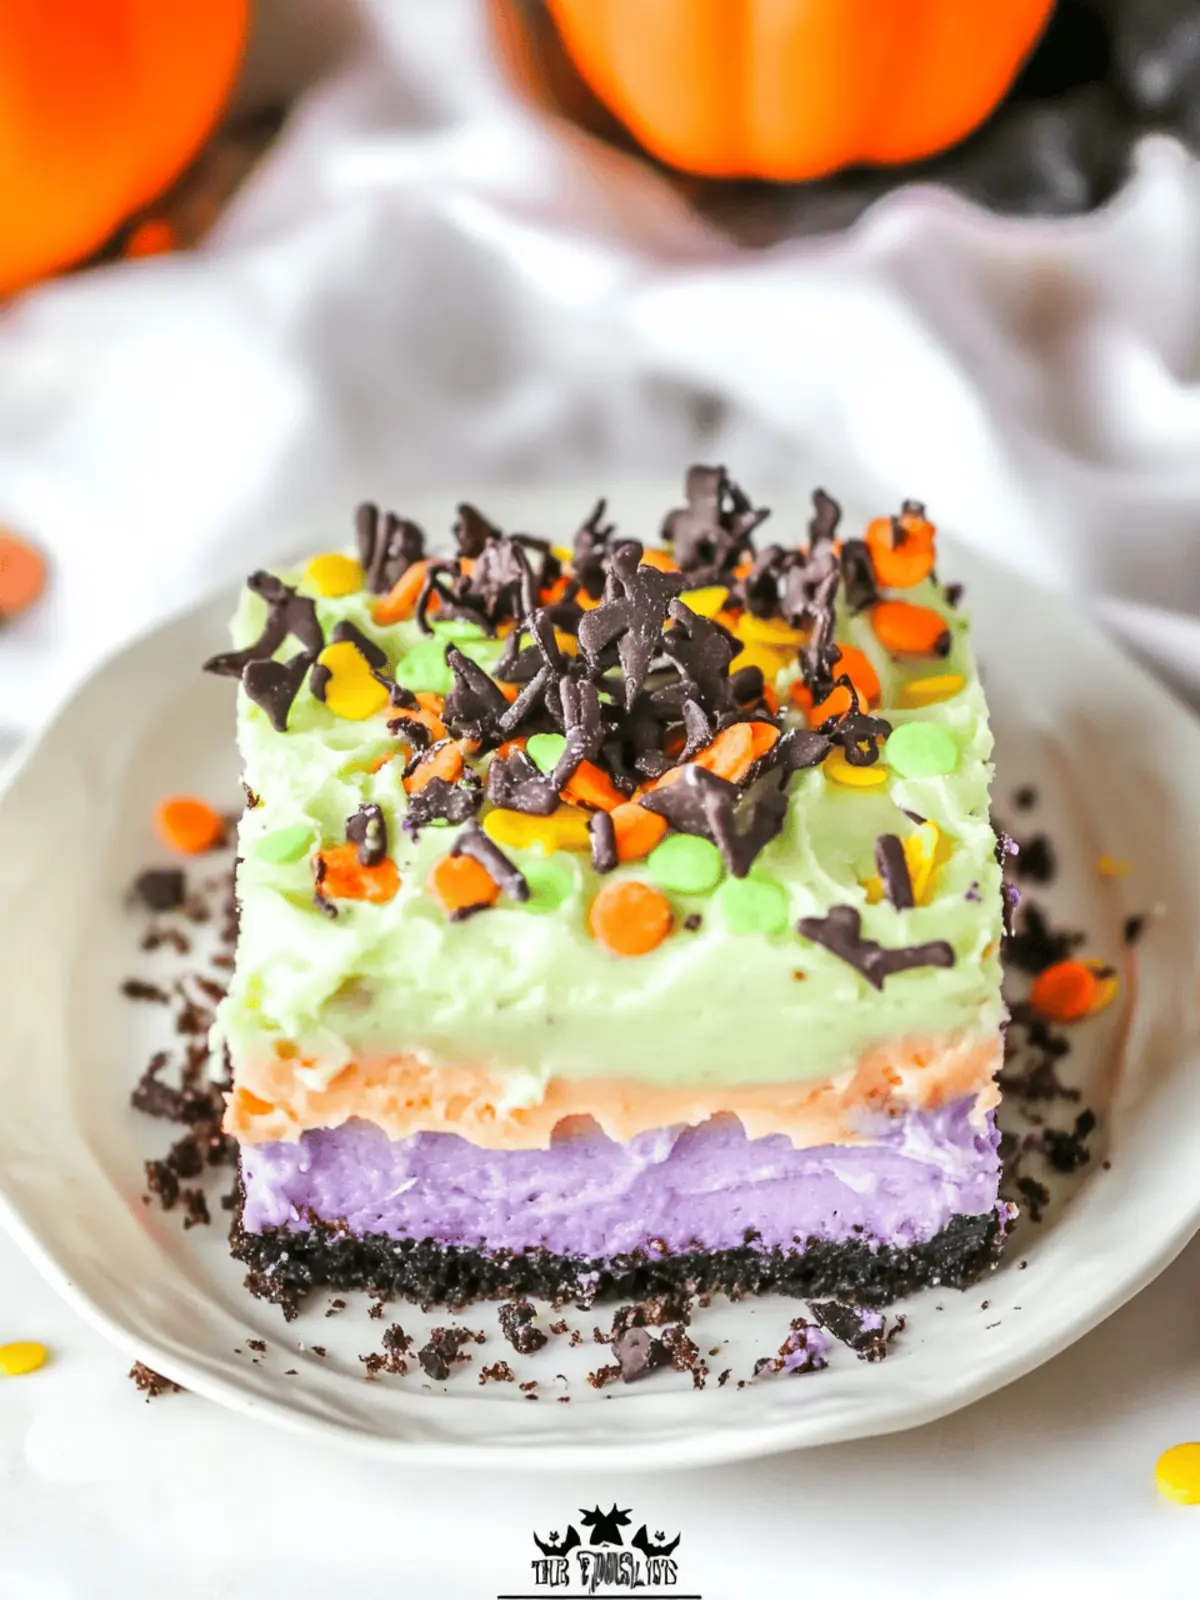
Colorful Layers: With vibrant hues and textures, the layers of cheesecake, pudding, and cookie crust create an eye-catching centerpiece for your Halloween table.
Deliciously Fun: Kids and adults alike will adore the playful presentation and rich flavors, making it a crowd favorite!
Versatile Options: You can easily customize it with different gelatin or pudding flavors to fit your taste.
Perfect for Any Event: Whether it’s a Halloween party or a fall gathering, this dessert elevates any occasion effortlessly.
Ready to explore more treats? Check out our layered desserts for additional inspiration!
Halloween Lush Ingredients
• Transform your celebration with this stunning dessert!
For the Crust
- Chocolate Sandwich Cookies – Perfectly sweet and crunchy, forming a delightful base; consider using graham crackers or gingersnaps for a different flavor profile.
- Butter (6 tablespoons, melted) – Unites cookie crumbs for a sturdy crust, ensuring everything holds together beautifully.
For the Gelatin Layer
- Orange Gelatin (6 ounces) – Infuses a vibrant color and fruity flavor; essential for achieving the signature Halloween look. No direct substitution recommended for visual effect.
- Boiling Water (⅓ cup) – Allows the gelatin to dissolve completely, ensuring a smooth texture.
For the Pudding Layer
- Vanilla Instant Pudding (6.8 ounces) – Creates a rich and creamy layer; feel free to switch to chocolate for a delicious twist!
- Cold Milk (2½ cups) – Hydrates the pudding mix, resulting in a rich, smooth texture.
For the Cream Cheese Layer
- Cream Cheese (8 ounces, softened) – Adds a wonderful creaminess and depth of flavor; make sure it’s softened for easy blending.
- Powdered Sugar (1 cup) – Sweetens the cream cheese layer, making it wonderfully smooth and irresistible.
- Whipped Topping (16 ounces) – Lightens the cream cheese mixture, resulting in a fluffy, delightful texture.
For the Decoration
- Green and Purple Food Coloring – Allows you to bring Halloween hues to the whipped topping, making the dessert visually engaging.
- Halloween Sprinkles – Add a festive touch that brings the whole dessert to life!
Indulge in the magic of this Halloween Lush dessert, perfect for creating memorable moments this spooky season!
How to Make Halloween Lush
-
Prepare the Crust: Start by crushing the chocolate sandwich cookies in a food processor until fine crumbs form. Combine these crumbs with melted butter and press the mixture into a 9×13 glass baking dish, forming an even and sturdy crust.
-
Make Gelatin Layer: In a small bowl, whisk together the orange gelatin with ⅓ cup of boiling water until completely dissolved. Set this vibrant mixture aside to cool slightly.
-
Prepare Pudding Layer: In a medium bowl, whisk the vanilla pudding mix with 2½ cups of cold milk. Mix until the pudding thickens, then incorporate the cooled orange gelatin carefully, ensuring an even blend.
-
Cream Cheese Mixture: In a large bowl, beat the softened cream cheese with 1 cup of powdered sugar until it becomes smooth and creamy. Fold in 2 cups of whipped topping gently, and add purple food coloring to your desired shade before spreading this layer over the cookie crust.
-
Layer Gelatin Mixture: Pour the orange jello and pudding mix over the cream cheese layer, smoothing it out with a spatula for an even finish.
-
Finish with Whipped Topping: Take the remaining whipped topping and tint it green using the green food coloring. Spread this over the gelatin layer and generously decorate with Halloween sprinkles for that perfect festive touch.
-
Chill: Allow your creation to refrigerate for at least 4 hours before serving. This wait ensures that all layers set properly, making each scoop a delightful experience.
Optional: For a festive twist, consider adding gummy worms on top!
Exact quantities are listed in the recipe card below.
Halloween Lush Variations
Feel free to explore these fun modifications and make this dessert your own!
- Chocolate Twist: Swap vanilla pudding for chocolate pudding for a richer flavor that pairs perfectly with the cookie crust.
- Colorful Gelatin: Use flavored gelatins like grape or lime to create a rainbow of Halloween colors; the fruity tastes will be a delightful surprise.
- Nutty Addition: For extra crunch, add chopped nuts or crushed candy bars between layers, creating a satisfying texture contrast.
- Pumpkin Spice: Mix in a pinch of pumpkin pie spice to the cream cheese layer for a seasonal twist that brings comforting warmth.
- Dairy-Free Delight: Substitute cream cheese with dairy-free cream cheese and use coconut whipped topping for a lactose-free version that everyone can enjoy.
- Gummy Worms: Top the dessert with gummy worms for a playful touch that makes this dessert perfect for Halloween parties.
- Lemon Zing: Replace orange gelatin with lemon flavor for a tart twist; it adds brightness that complements the sweetness beautifully.
- Spooky Marshmallows: Layer in some mini marshmallows for an added chewiness and fun visual effect, enhancing the festive theme!
What to Serve with Halloween Lush?
As you prepare to delight your guests with this colorful and creamy dessert, consider these delicious accompaniments that will enhance your Halloween gathering.
-
Spooky Fruit Salad: A mix of seasonal fruits like oranges, grapes, and apples, cut into fun shapes for a playful contrast to the sweet layers of Halloween Lush. The freshness balances the richness of the dessert.
-
Mummy Hot Dogs: These fun finger foods are perfect for young guests! Wrap hot dogs in crescent dough, bake until golden, and add little mustard eyes for a spooky touch that complements the sweet dessert perfectly.
-
Witch’s Brew Punch: A vibrant green punch made with lime sherbet, lemonade, and club soda will refresh your guests. Serve it in a cauldron for that extra Halloween flair, creating a delightful pairing with the dessert.
-
Caramel Apple Slices: Tart apple slices drizzled with warm caramel create a crunchy texture that contrasts beautifully with the creamy layers of the Halloween Lush. It’s a nostalgic treat that resonates with the fall season.
-
Chocolate-Dipped Pretzels: The salty crunch of these pretzels, coated in colorful chocolate, adds an inviting textural element and a playful note that elevates the experience of your dessert table.
-
Pumpkin Spice Cookies: Soft, chewy, and infused with warm spices, these cookies offer a cozy touch to your Halloween spread. Their comforting flavors fit seamlessly with the festive theme of the evening.
Elevate your Halloween gathering with these delightful pairings, ensuring each bite is as exciting as the last!
Expert Tips for Halloween Lush
-
Softened Cream Cheese: Ensure your cream cheese is fully softened to enhance blending and create a smooth consistency in the mixture—this is key for the best Halloween Lush!
-
Thickened Pudding: Whisk the pudding mix and cold milk thoroughly until it achieves a thickened texture; a stable pudding layer helps keep your dessert beautifully layered.
-
Layering Technique: Pour the gelatin layer gently over the cream cheese mixture. Use a spatula to spread it evenly, preventing any mixing for a striking visual appeal.
-
Chilling Time: Don’t rush the chilling process! Refrigerate the dessert for a minimum of 4 hours to ensure all layers set properly for the ultimate taste and texture.
-
Storage Tips: Avoid freezing the Halloween Lush, as it alters the texture. Store any leftovers in an airtight container – they can last up to 3-4 days, though it’s so good it may not last that long!
Make Ahead Options
These Halloween Lush layers are perfect for meal prep enthusiasts! You can prepare the crust and the cream cheese layer up to 24 hours in advance. Simply crush the chocolate cookies and mix with melted butter for the crust, pressing it into a 9×13 dish; then beat the cream cheese with powdered sugar and fold in whipped topping for the creamy layer. To maintain quality, cover the prepared layers tightly with plastic wrap in the refrigerator. When you’re ready to serve, simply add the gelatin layer (which can also be made up to 3 days ahead) and finish with the green whipped topping and sprinkles. This way, you’ll have a stunning dessert ready with minimal last-minute effort!
How to Store and Freeze Halloween Lush
Fridge: Store leftover Halloween Lush in an airtight container in the fridge for up to 3-4 days to maintain its fresh taste and beautiful layers.
Freezer: Freezing is not recommended, as it will affect the creamy texture of the dessert once thawed.
Reheating: This dessert is best served chilled; simply slice and enjoy directly from the fridge without reheating.
Serving Tips: For a festive touch, consider adding extra Halloween sprinkles right before serving to refresh its appearance!
Halloween Lush Recipe FAQs
How do I choose the right chocolate sandwich cookies for the crust?
Absolutely! Look for cookies that are rich in cocoa flavor and have a good crunch, as they will form the perfect base for your crust. Generic brands are often great and budget-friendly, but Oreos tend to have a superior flavor that many love. You can even try variations like peanut butter-filled cookies for a unique twist!
What’s the best way to store leftover Halloween Lush?
Very! Store your leftover Halloween Lush in an airtight container in the refrigerator. It should stay fresh for up to 3-4 days. Just be cautious not to cover it tightly with plastic wrap when you first place it in the fridge – you don’t want any condensation dripping onto your beautiful layers!
Can I freeze Halloween Lush?
I often discourage freezing this dessert, as the creamy layers can become grainy and lose their delightful texture once thawed. If you must freeze it, cut it into portion sizes, place each piece in an airtight container with wax paper in between layers, and freeze for up to 3 months. Just remember to thaw it in the fridge overnight before serving!
What do I do if my gelatin layer isn’t setting properly?
If you find that your gelatin layer isn’t setting as expected, make sure the boiling water you used was truly boiling and that it combined well with the gelatin powder. If it’s still not thickening, you can reheat it gently, add a touch more gelatin, and whisk until smooth. If it has set, just chill the whole dessert longer to ensure everything binds well.
Is this Halloween Lush dessert suitable for those with certain allergies?
Very! While it contains common allergens such as dairy (cream cheese and whipped topping) and gluten (cookies), you can modify it to accommodate dietary restrictions. Use gluten-free cookies, coconut cream instead of whipped topping, and ensure your pudding mix is allergy-friendly. As always, read labels carefully if you’re serving someone with allergies!
Can I make this dessert in advance for a party?
Absolutely! Making the Halloween Lush the day before your event is a fantastic idea. This allows all the flavors to meld beautifully and ensures the layers are well-set. Just make sure to cover it well in the fridge to maintain freshness, and add your sprinkles on top just before serving for that stunning visual appeal!
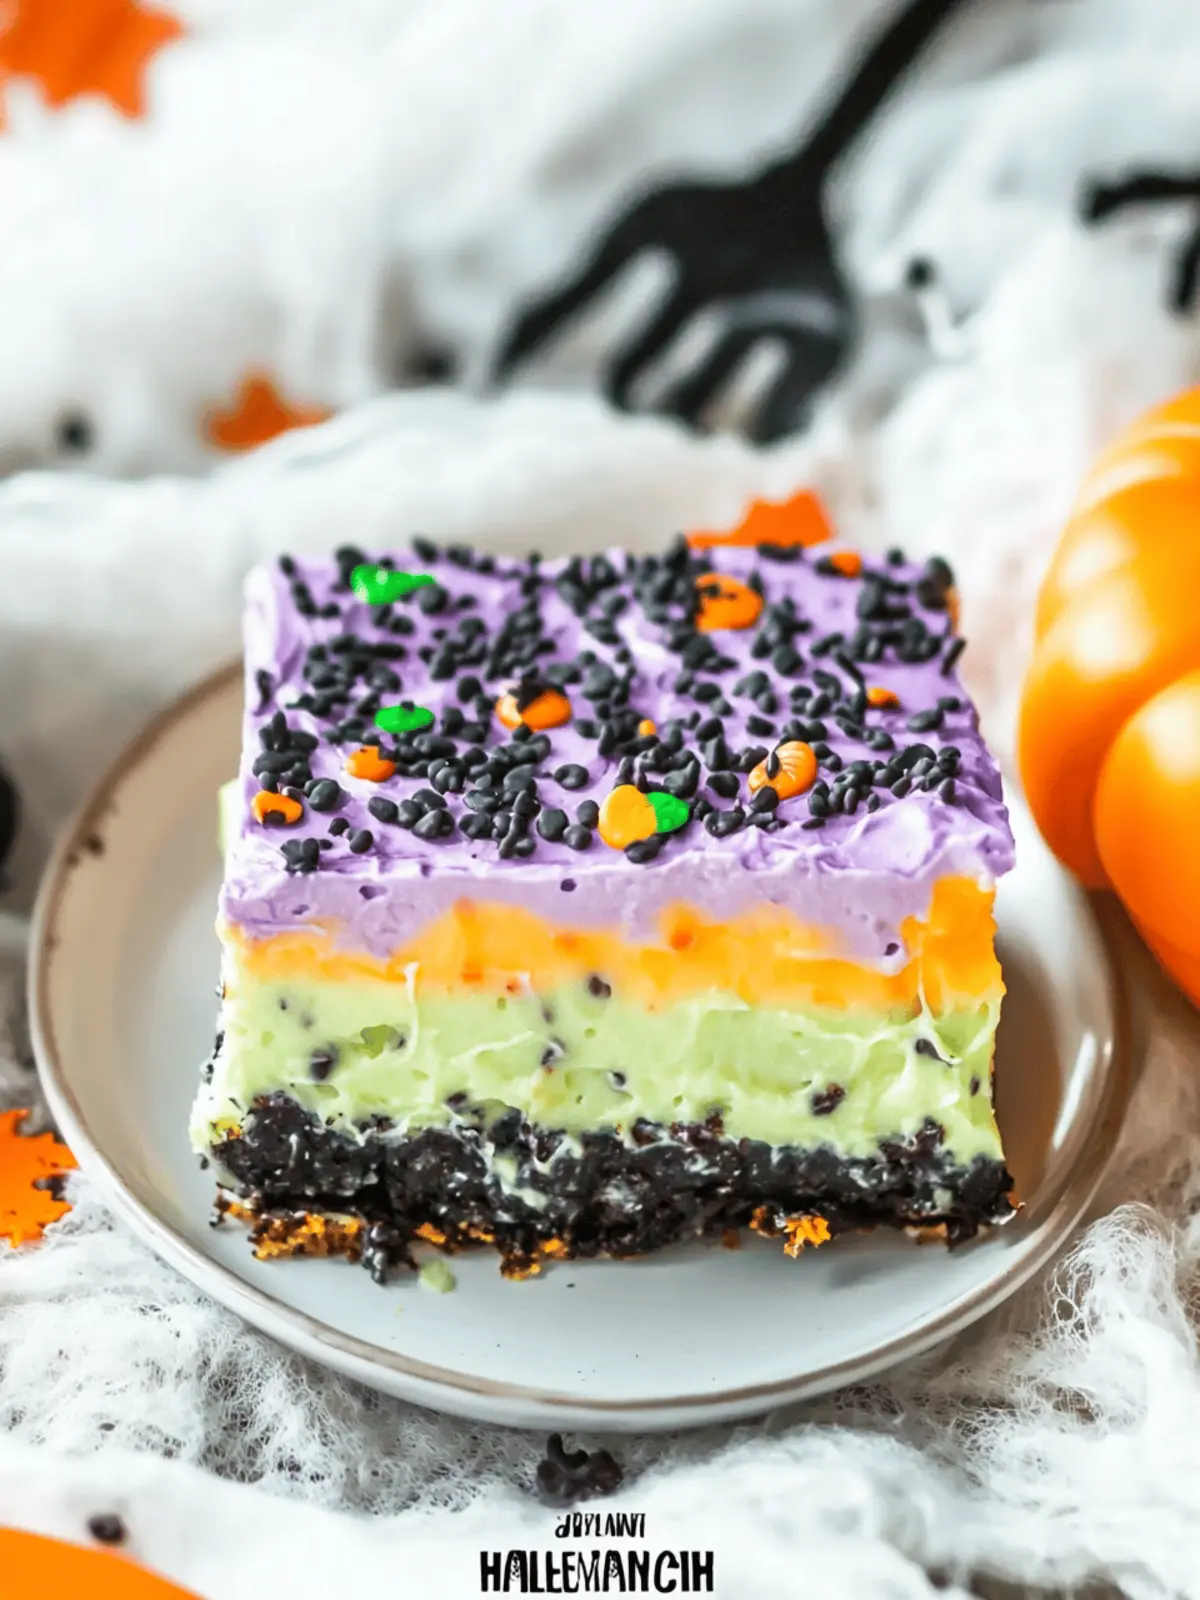
Delicious No-Bake Halloween Lush That Wows Every Guest
Ingredients
Equipment
Method
- Crush the chocolate sandwich cookies in a food processor until fine crumbs form. Combine these crumbs with melted butter and press into a 9x13 glass baking dish, forming a crust.
- In a small bowl, whisk together the orange gelatin with ⅓ cup of boiling water until completely dissolved. Set aside to cool slightly.
- In a medium bowl, whisk the vanilla pudding mix with 2½ cups of cold milk until it thickens, then incorporate the cooled orange gelatin carefully.
- In a large bowl, beat the softened cream cheese with 1 cup of powdered sugar until smooth. Fold in 2 cups of whipped topping gently and add purple food coloring to desired shade before spreading over the crust.
- Pour the orange jello and pudding mix over the cream cheese layer, smoothing out with a spatula.
- Tint the remaining whipped topping green using green food coloring. Spread it over the gelatin layer and decorate with Halloween sprinkles.
- Refrigerate for at least 4 hours before serving to ensure all layers set properly.
