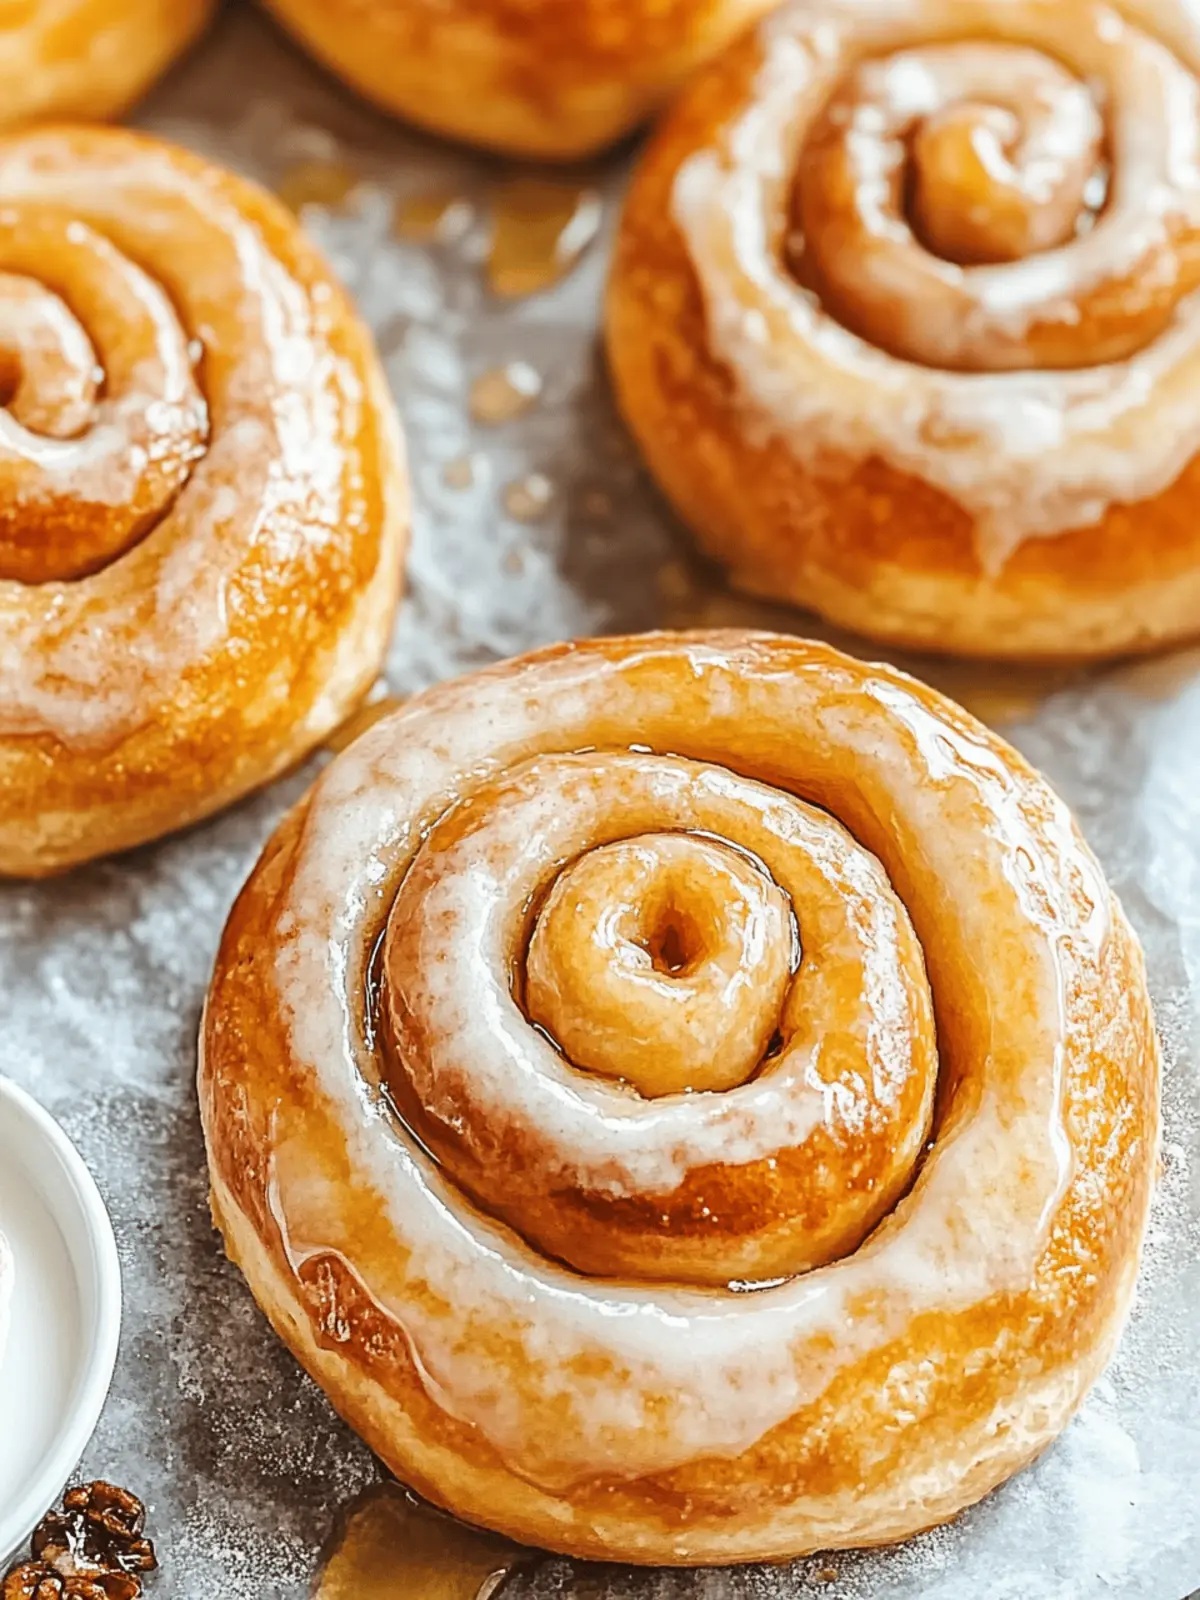
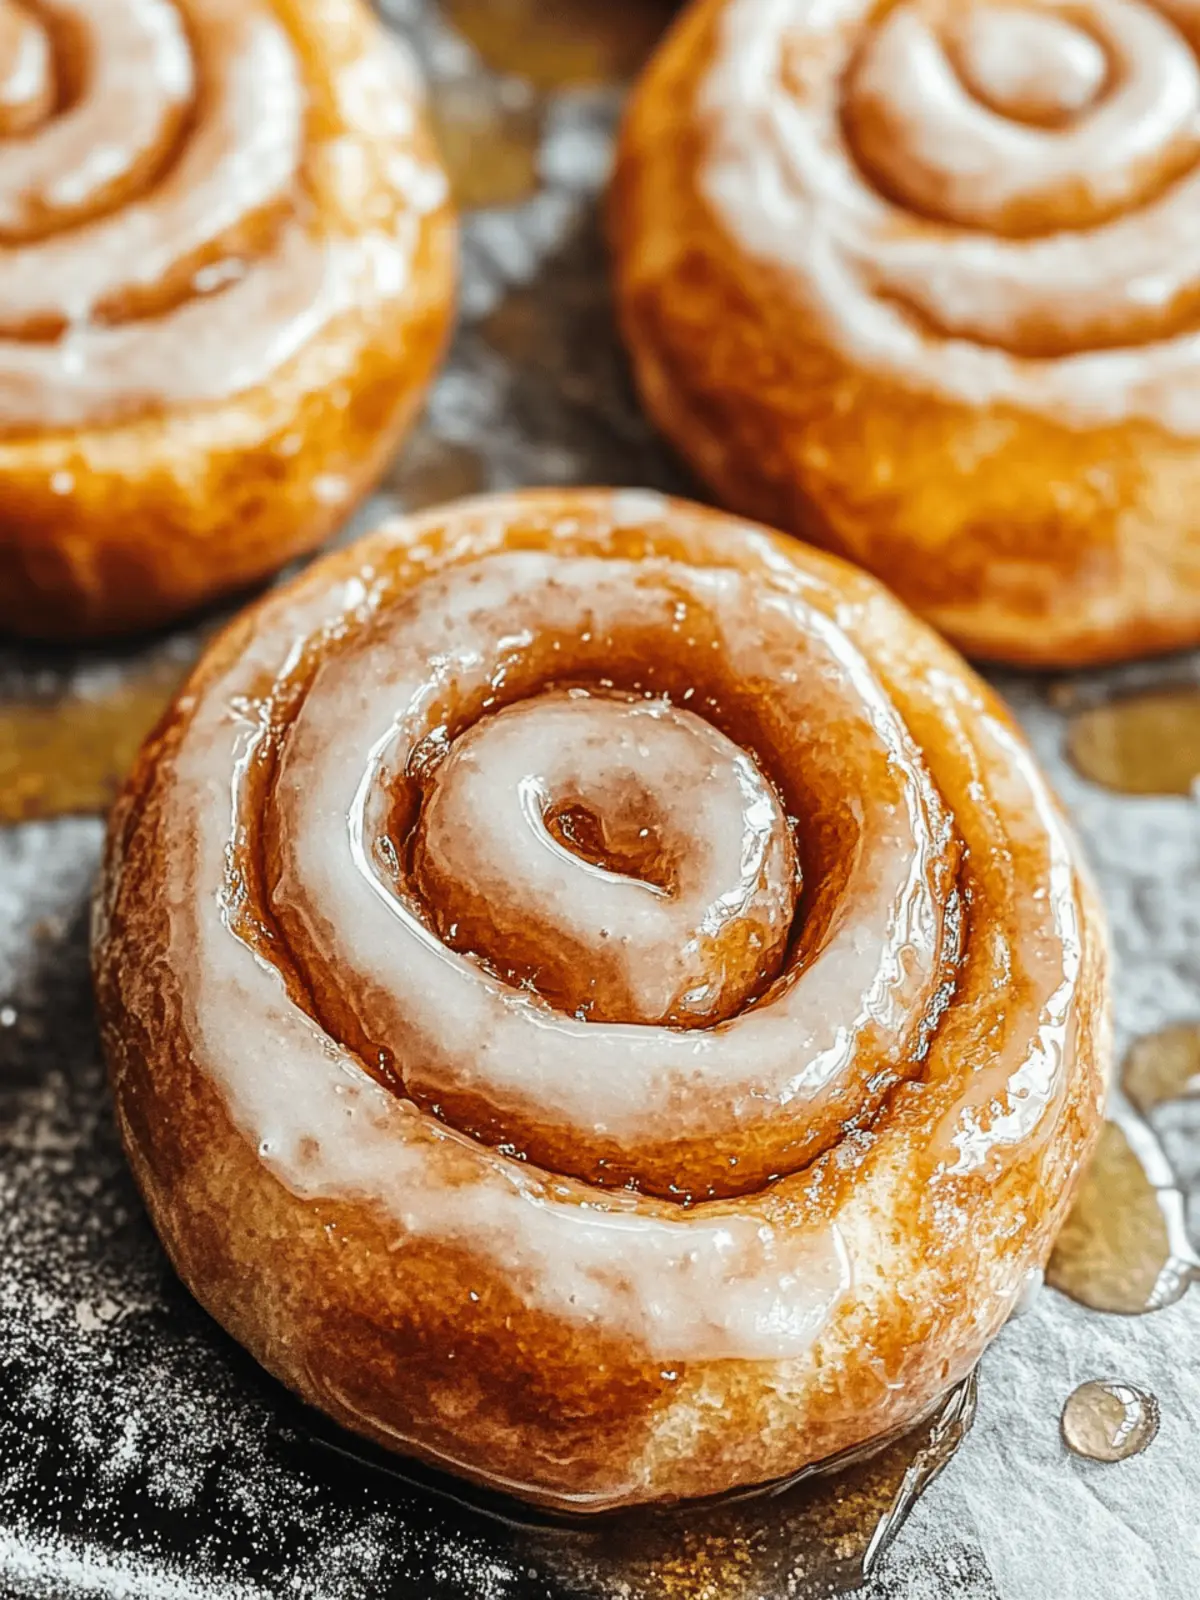
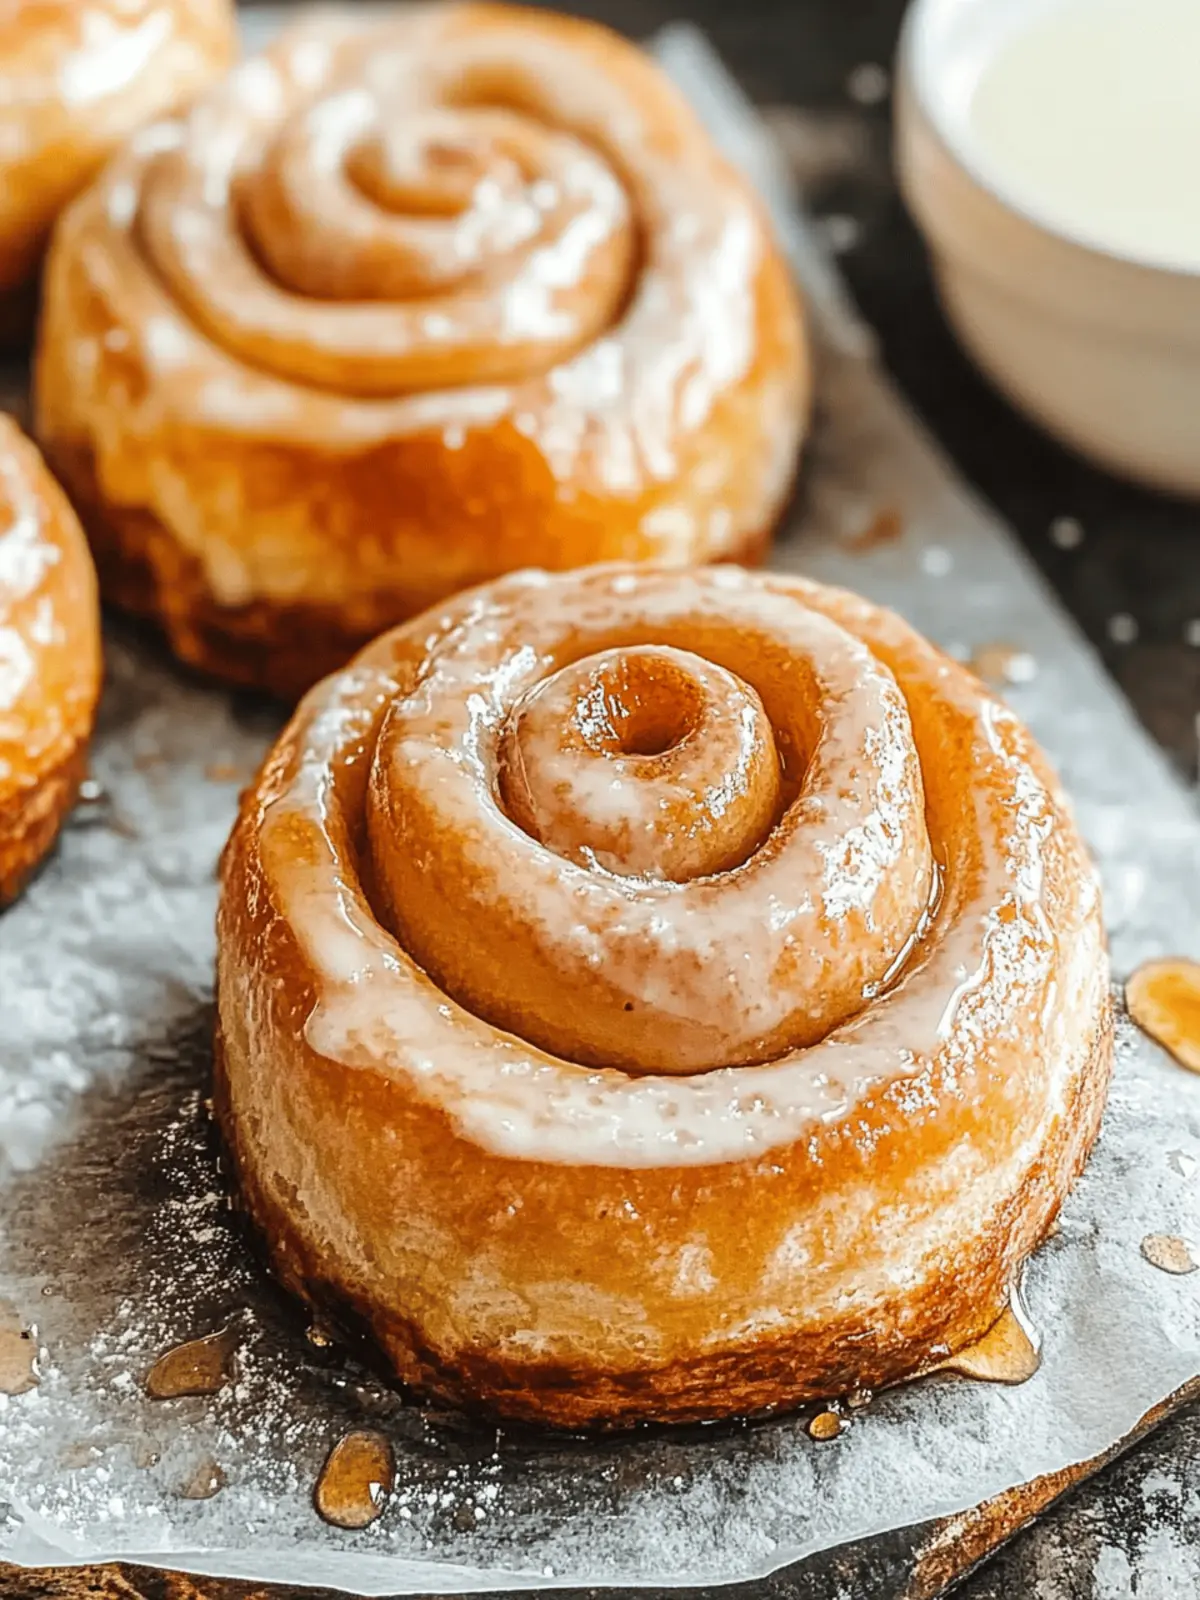
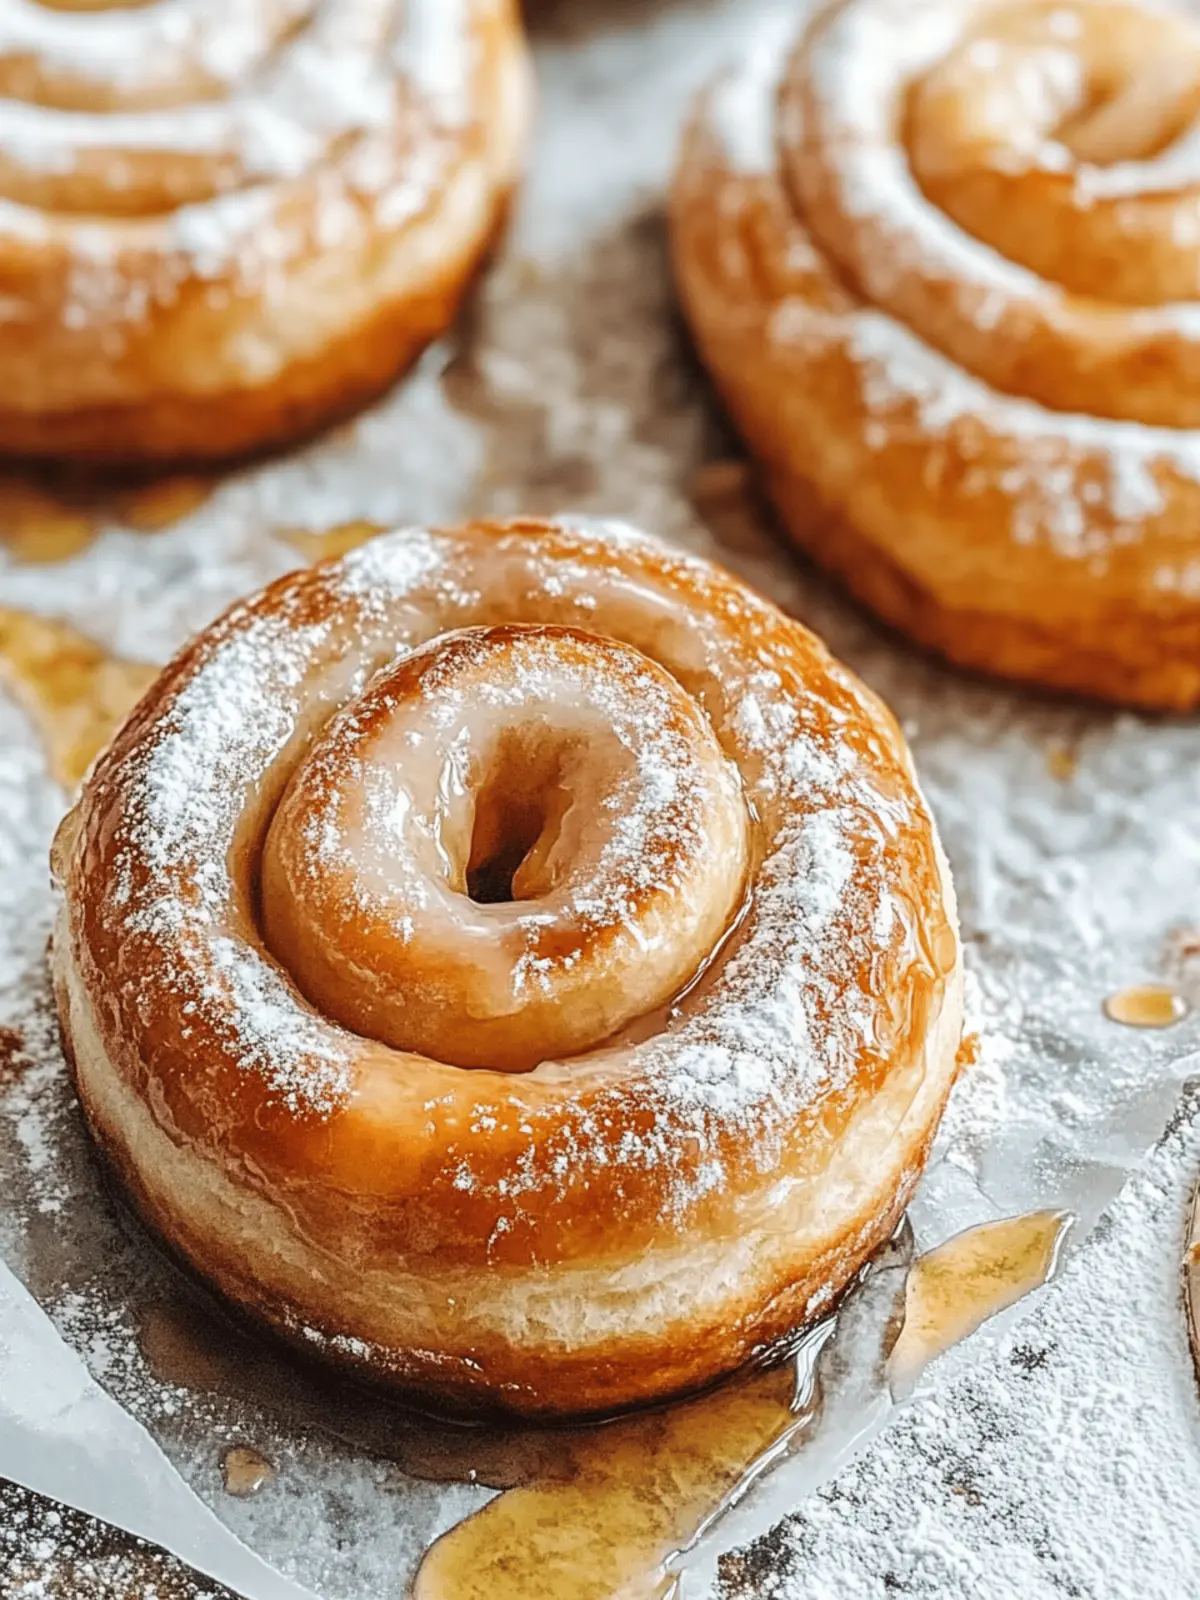
There’s an undeniable joy in the process of creating something from scratch, and these Homemade Honey Buns are a perfect reminder of that simple pleasure. Picture this: the moment you open the oven door, a warm, sweet aroma envelops your kitchen, making it impossible to resist sneaking a bite before they cool down. It’s like a hug for your senses!
I happened upon this recipe during a lazy weekend, feeling a bit bored with my usual breakfast routine. I wanted something that would bring that nostalgic comfort of freshly baked goodies. With just a handful of pantry staples, I was able to produce these fluffy, honey-drizzled delights that somehow blend the softness of a bun with the sugary spiral of a cinnamon roll.
What makes these buns truly versatile is their ability to shine at any occasion—be it breakfast, brunch, or as a delightful afternoon snack. They’re not just a treat for the taste buds; they’re proof that homemade goodness can easily outshine the fast-food monotony we often fall into. So, let’s dive into this delightful recipe that will rekindle your passion for homemade baking!
Why will you love Homemade Honey Buns?
Unmatched Flavor: These Homemade Honey Buns are bursting with sweet, warm honey and a comforting cinnamon swirl that brings back memories of bakery delights.
Easy to Make: With just a few simple steps, even novice bakers can whip these up, making them an ideal choice for anyone looking to master homemade treats.
Perfect for Any Occasion: Whether it’s breakfast, brunch, or a snack, these buns are versatile enough to steal the show at any gathering.
Crowd Pleasers: Friends and family alike will be delighted by their fluffy texture and sweet glaze, making them a guaranteed hit!
Make-Ahead Option: Prepare the dough ahead of time and let it rise, saving you time when you want to impress your guests or indulge yourself—check out our make-ahead cinnamon rolls for more ideas!
Homemade Honey Buns Ingredients
Get ready to bake these sweet, fluffy delights!
For the Dough
- ½ cup warm water – This activates the yeast, giving your buns their delightful rise.
- 3 tablespoons granulated sugar – A touch of sweetness that helps the yeast to bloom.
- 1 tablespoon active yeast – Essential for that airy, fluffy texture of your Homemade Honey Buns.
- 2 ⅔ cups all-purpose flour – Provides the perfect foundation for your dough.
- ⅓ cup honey – Adds natural sweetness and a beautiful flavor.
- ¼ cup shortening (melted) – Ensures a tender crumb and moist texture.
- 3 large egg yolks – Imparts richness and color to the dough.
- 1 teaspoon vanilla extract – Enhances the overall flavor of the buns.
- ½ teaspoon salt – Balances the sweetness and strengthens the dough.
For the Filling
- ¼ cup granulated sugar – Sweetens the filling, making every bite irresistible.
- 1 ½ teaspoons cinnamon – Provides a warm, comforting spice that complements the honey perfectly.
For the Glaze
- 4 ⅔ cups powdered sugar – Creates a dreamy, sweet finish.
- 2 ½ tablespoons honey – Adds a sticky, delightful drizzle to your buns.
- 1 tablespoon melted butter – Gives shine and richness to the glaze.
- ½ teaspoon vanilla extract – Boosts the flavor of the glaze.
- ¼ teaspoon salt – Enhances the sweetness and balances the glaze.
- Warm water (as needed for glaze) – Adjusts the consistency to your preference.
With these carefully selected ingredients, you’re well on your way to creating the perfect Homemade Honey Buns that will make any moment feel special!
How to Make Homemade Honey Buns
-
Activate the Yeast: In the bowl of a stand mixer fitted with a whisk attachment, combine warm water, 2 teaspoons of sugar, and yeast. Whisk together until just combined, then let it sit for 5 minutes until frothy.
-
Combine Ingredients: Swap the whisk attachment for a dough hook. Add remaining sugar, flour, honey, melted shortening, egg yolks, vanilla, and salt. Knead on medium speed for about 8 minutes until the dough is sticky but smooth.
-
Let it Rise: Transfer the dough to a clean, lightly greased bowl. Cover with a cloth and let rise for 1 hour, or until doubled in size—watch for that lovely puff!
-
Prepare the Filling: While the dough is rising, whisk together cinnamon and granulated sugar in a small bowl. This aromatic pairing will give your buns that perfect sweet kick!
-
Shape the Dough: Once the dough has risen, turn it out onto a lightly floured surface. Roll it into a 12-inch by 8-inch rectangle. Sprinkle the cinnamon sugar over the surface and press it into the dough for even distribution.
-
Form and Cut: Roll the dough tightly from the long side to form a log. Cut into 8 equal pieces and arrange on a parchment-lined baking sheet, leaving at least 2 inches of space between each bun. Lightly press them down to keep their shape.
Optional: Drizzle with extra honey for an added touch of sweetness!
Exact quantities are listed in the recipe card below.

Make Ahead Options
These Homemade Honey Buns are perfect for busy weeknights or last-minute gatherings! You can prepare the dough up to 24 hours in advance; simply follow the steps until the dough has risen, then cover it securely and refrigerate. This way, it will develop even more flavor while resting. When you’re ready to enjoy, take the dough out, allow it to come to room temperature for about 30 minutes, and then proceed with rolling, filling, and cutting. To maintain quality, avoid over-proofing the buns, and bake them fresh for that wonderfully fluffy texture. You’ll have delightful, homemade treats with minimal effort and stress!
Expert Tips for Homemade Honey Buns
Perfect Dough Texture: Ensure your dough is sticky but smooth when kneading. If too dry, add a touch more warm water, as this affects the final Homemade Honey Buns texture.
Measuring Flour: Use the spoon-and-level method for measuring flour to avoid dense buns. Too much flour can result in a tough dough that won’t rise well.
Proper Rising: Let the dough rise in a warm place, away from drafts. If it’s cold in your kitchen, you can place the bowl in a slightly warm oven (turned off).
Cutting Even Buns: Use a sharp knife or bench scraper to cut the dough log evenly. This helps ensure uniform baking and allows for even rising in the oven.
Glaze Consistency: Adjust the glaze consistency with warm water until it’s smooth but still thick enough to coat your buns. A well-glazed bun will shine with sweetness!
Don’t Overbake: Keep an eye on your buns as they bake; they should be golden brown and sound hollow when tapped. Overbaking can dry them out.
Homemade Honey Buns Variations
Feel free to get creative and make these Homemade Honey Buns uniquely yours!
- Dairy-Free: Substitute melted shortening with coconut oil for a rich, dairy-free alternative that retains the buttery flavor.
- Gluten-Free: Use a gluten-free all-purpose flour blend, ensuring it has xanthan gum to help with structure and texture.
- Spicy Kick: Add ½ teaspoon of nutmeg or allspice to the cinnamon filling for an extra layer of warmth and flavor that will surprise your palate.
- Nutty Addition: Mix in ½ cup of chopped nuts, like walnuts or pecans, into the filling for a delightful crunch that contrasts beautifully with the soft bun.
- Citrus Zest: Add the zest of one orange or lemon to the dough for a subtle citrus aroma that brightens these sweet treats.
- Berry Bliss: Incorporate fresh or dried blueberries into the filling to create a delightful fruity twist that pairs nicely with the honey.
- Maple Glaze: Swap honey in the glaze for maple syrup for a rich, earthy flavor that enhances the sweetness of your buns beautifully.
- Savory Version: Create a savory bun by omitting the cinnamon-sugar filling and instead using herbs and cheese for a delightful, unexpected twist.
With these simple substitutions and variations, you can take your Homemade Honey Buns to innovative heights!
What to Serve with Homemade Honey Buns?
To create a delightful spread that enhances the enjoyment of your freshly baked honey buns, consider these scrumptious pairings.
-
Fresh Berries: Juicy strawberries or blueberries bring brightness and a burst of tart flavor, perfectly balancing the sweetness of the buns.
-
Coffee or Tea: A warm cup of coffee or your favorite herbal tea elevates the experience, making every bite feel like a cozy moment.
-
Creamy Yogurt: Swirl in a delightful vanilla yogurt, providing a creamy contrast alongside the fluffy honey buns for a refreshing twist.
-
Maple Syrup: Add an extra drizzle of rich maple syrup for those who love an indulgent, sweet touch that pairs beautifully with the honey.
-
Whipped Cream: Light and airy whipped cream makes a lovely topping, adding a cloud-like texture that complements the warm, sticky buns.
-
Pecan Crumble: A sprinkle of crunchy pecans brings a delicious nutty flavor and a delightful texture that enhances each bite.
The options are endless, inviting your family and friends to experiment with combinations that make every occasion special!
How to Store and Freeze Homemade Honey Buns
Room Temperature: Store your Homemade Honey Buns in an airtight container at room temperature for up to 2 days to keep them soft and fresh.
Fridge: If you need to keep them longer, place them in the refrigerator for up to a week. Be sure to wrap them tightly to avoid drying out.
Freezer: For longer storage, freeze the buns individually wrapped in plastic wrap and then in aluminum foil for up to 2 months. Thaw at room temperature when ready to enjoy!
Reheating: To restore their fluffy texture, reheat in a warm oven for about 5 minutes or microwave for 15 seconds. Enjoy them warm and delicious!

Homemade Honey Buns Recipe FAQs
What is the best way to select ripe ingredients?
Absolutely! For the best results, choose fresh ingredients: for the honey, select a good quality that’s free from additives. When it comes to fresh eggs, look for ones with clean, uncracked shells and buy organic if possible for better flavor.
How should I store my Homemade Honey Buns?
Store your Homemade Honey Buns in an airtight container at room temperature for up to 2 days. If you want to prolong their freshness, you can keep them in the refrigerator for up to a week, but be sure to wrap them tightly to prevent drying out.
Can I freeze the buns?
Yes! You can absolutely freeze your Homemade Honey Buns. Wrap each bun individually in plastic wrap and then place them in an airtight container or freezer bag. They can be frozen for up to 3 months. To enjoy them later, simply thaw at room temperature or reheat in the oven at 350°F for about 5 minutes.
What should I do if my dough doesn’t rise properly?
If you find your dough isn’t rising well, check the yeast. Make sure it’s active; add a bit of sugar to the warm water, and let it sit for about 5 minutes—if it’s frothy, it’s good to go! Another tip is to find a warm, draft-free spot for the dough to rise, as cooler temperatures can hinder the process.
Are there any dietary considerations for this recipe?
Very much so! If you have allergies to eggs or gluten, you could experiment with egg substitutes like flaxseed mixed with water, or gluten-free flour blends. However, the texture and flavor may vary slightly. It’s always a good idea to check for potential allergens if you’re sharing them with family or friends!
How can I modify the glaze for different tastes?
You can easily customize the glaze! For a different flavor, consider adding a hint of orange or lemon zest to the glaze for a citrusy twist. Alternatively, you could infuse your glaze with spices like nutmeg or ginger for a unique flair.

Sweet and Sticky Homemade Honey Buns to Delight Your Day
Ingredients
Equipment
Method
- Activate the Yeast: In the bowl of a stand mixer fitted with a whisk attachment, combine warm water, granulated sugar, and yeast. Whisk together until just combined, then let it sit for 5 minutes until frothy.
- Combine Ingredients: Swap the whisk attachment for a dough hook. Add remaining sugar, flour, honey, melted shortening, egg yolks, vanilla, and salt. Knead on medium speed for about 8 minutes until the dough is sticky but smooth.
- Let it Rise: Transfer the dough to a clean, lightly greased bowl. Cover with a cloth and let rise for 1 hour, or until doubled in size.
- Prepare the Filling: While the dough is rising, whisk together cinnamon and granulated sugar in a small bowl.
- Shape the Dough: Once the dough has risen, turn it out onto a lightly floured surface. Roll it into a 12-inch by 8-inch rectangle. Sprinkle the cinnamon sugar over the surface and press it into the dough.
- Form and Cut: Roll the dough tightly from the long side to form a log. Cut into 8 equal pieces and arrange on a parchment-lined baking sheet, leaving at least 2 inches of space between each bun.


