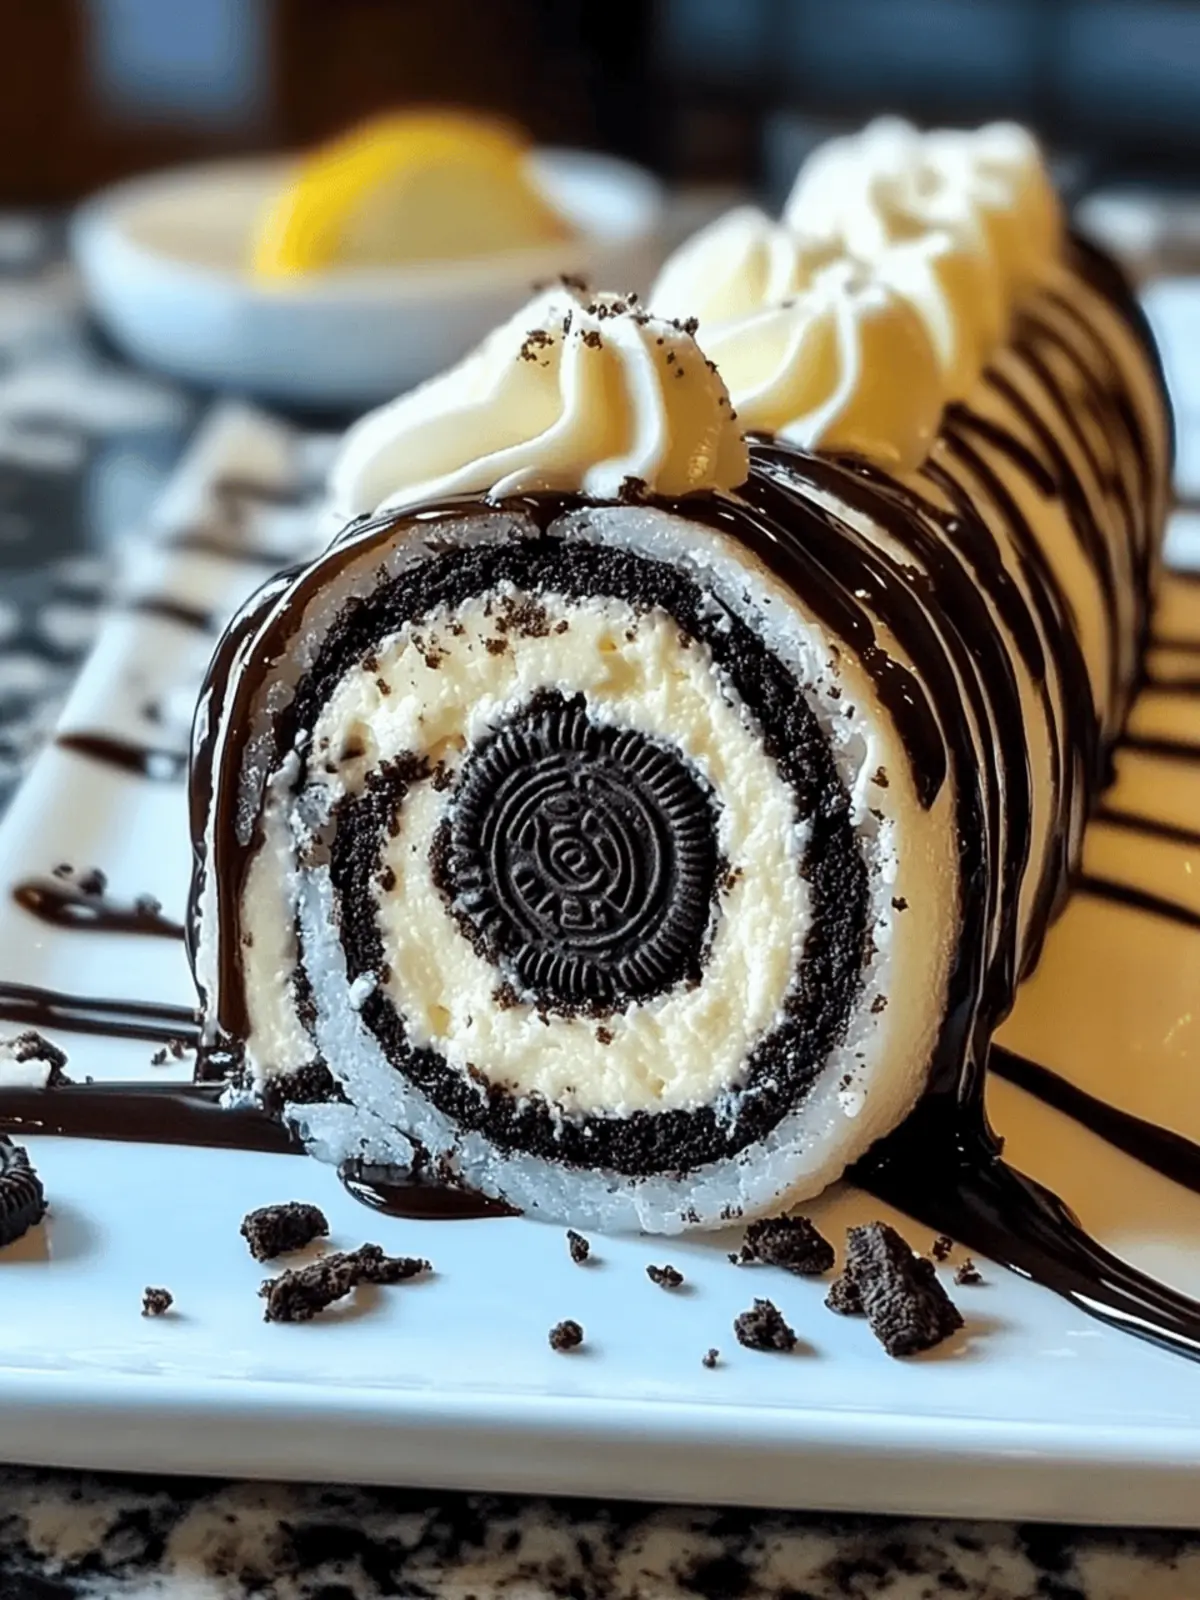
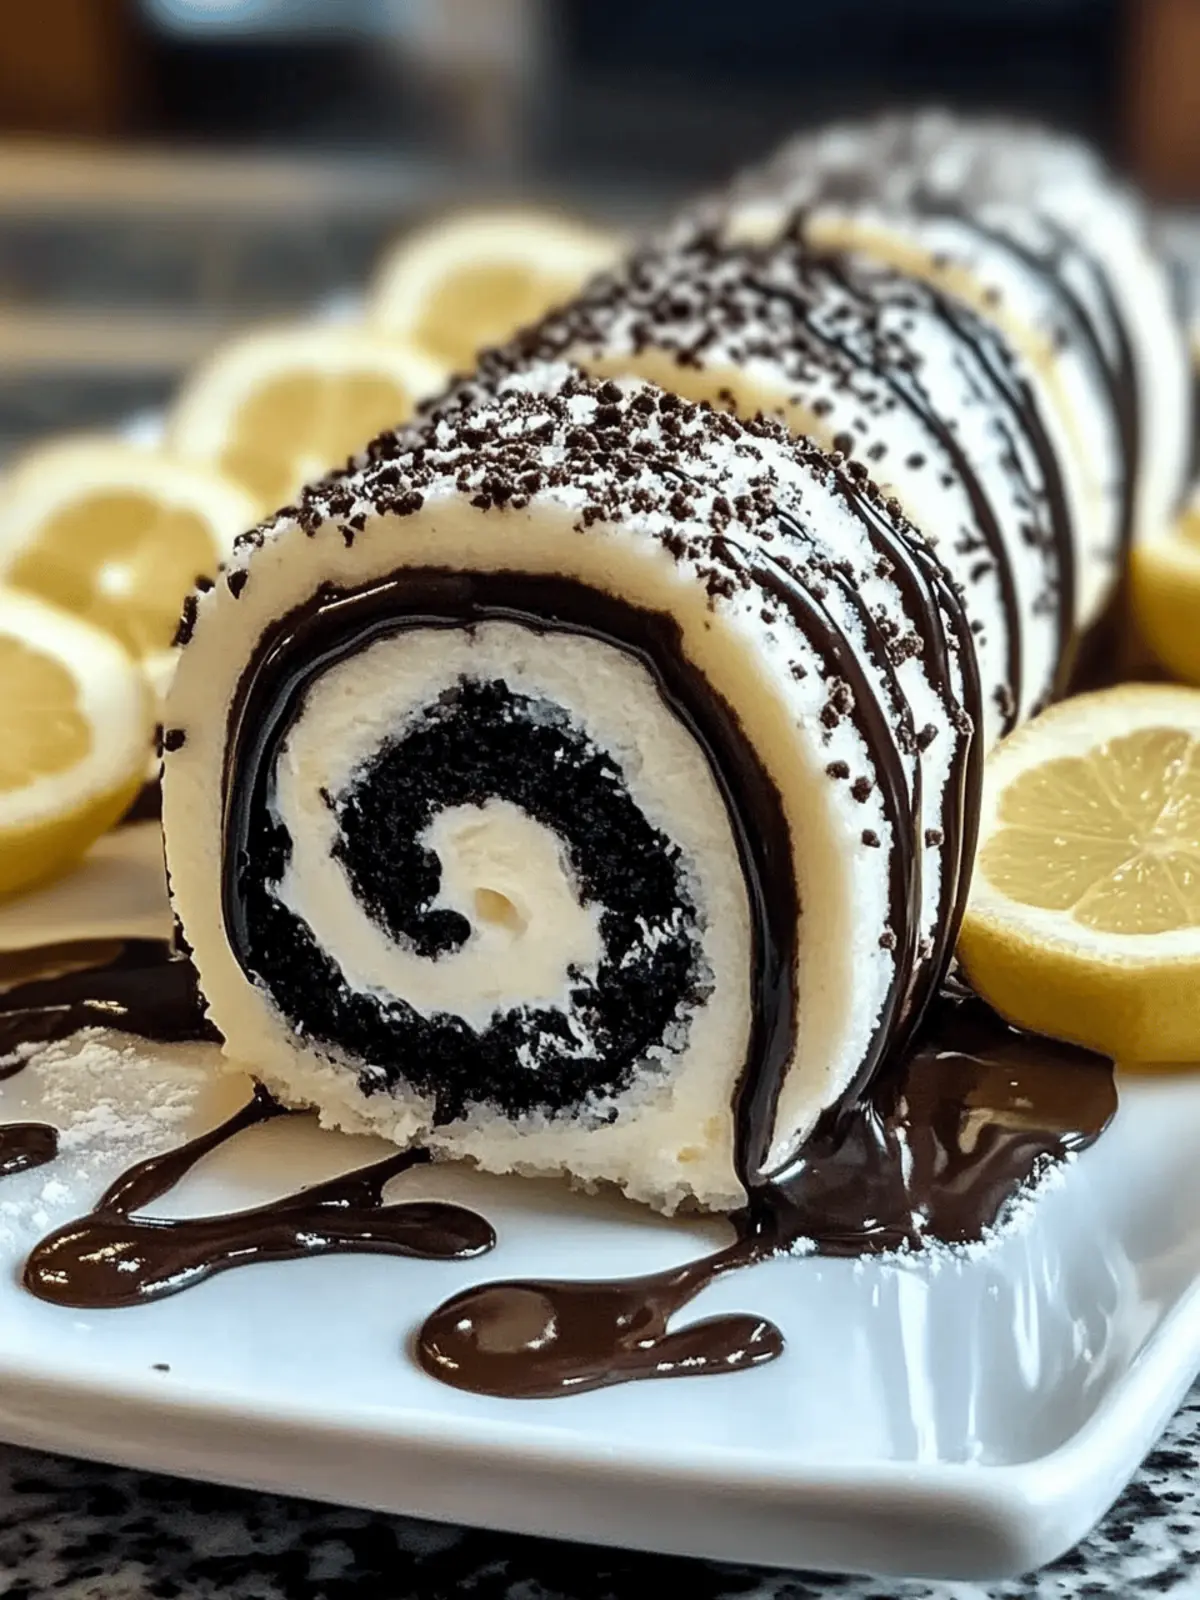
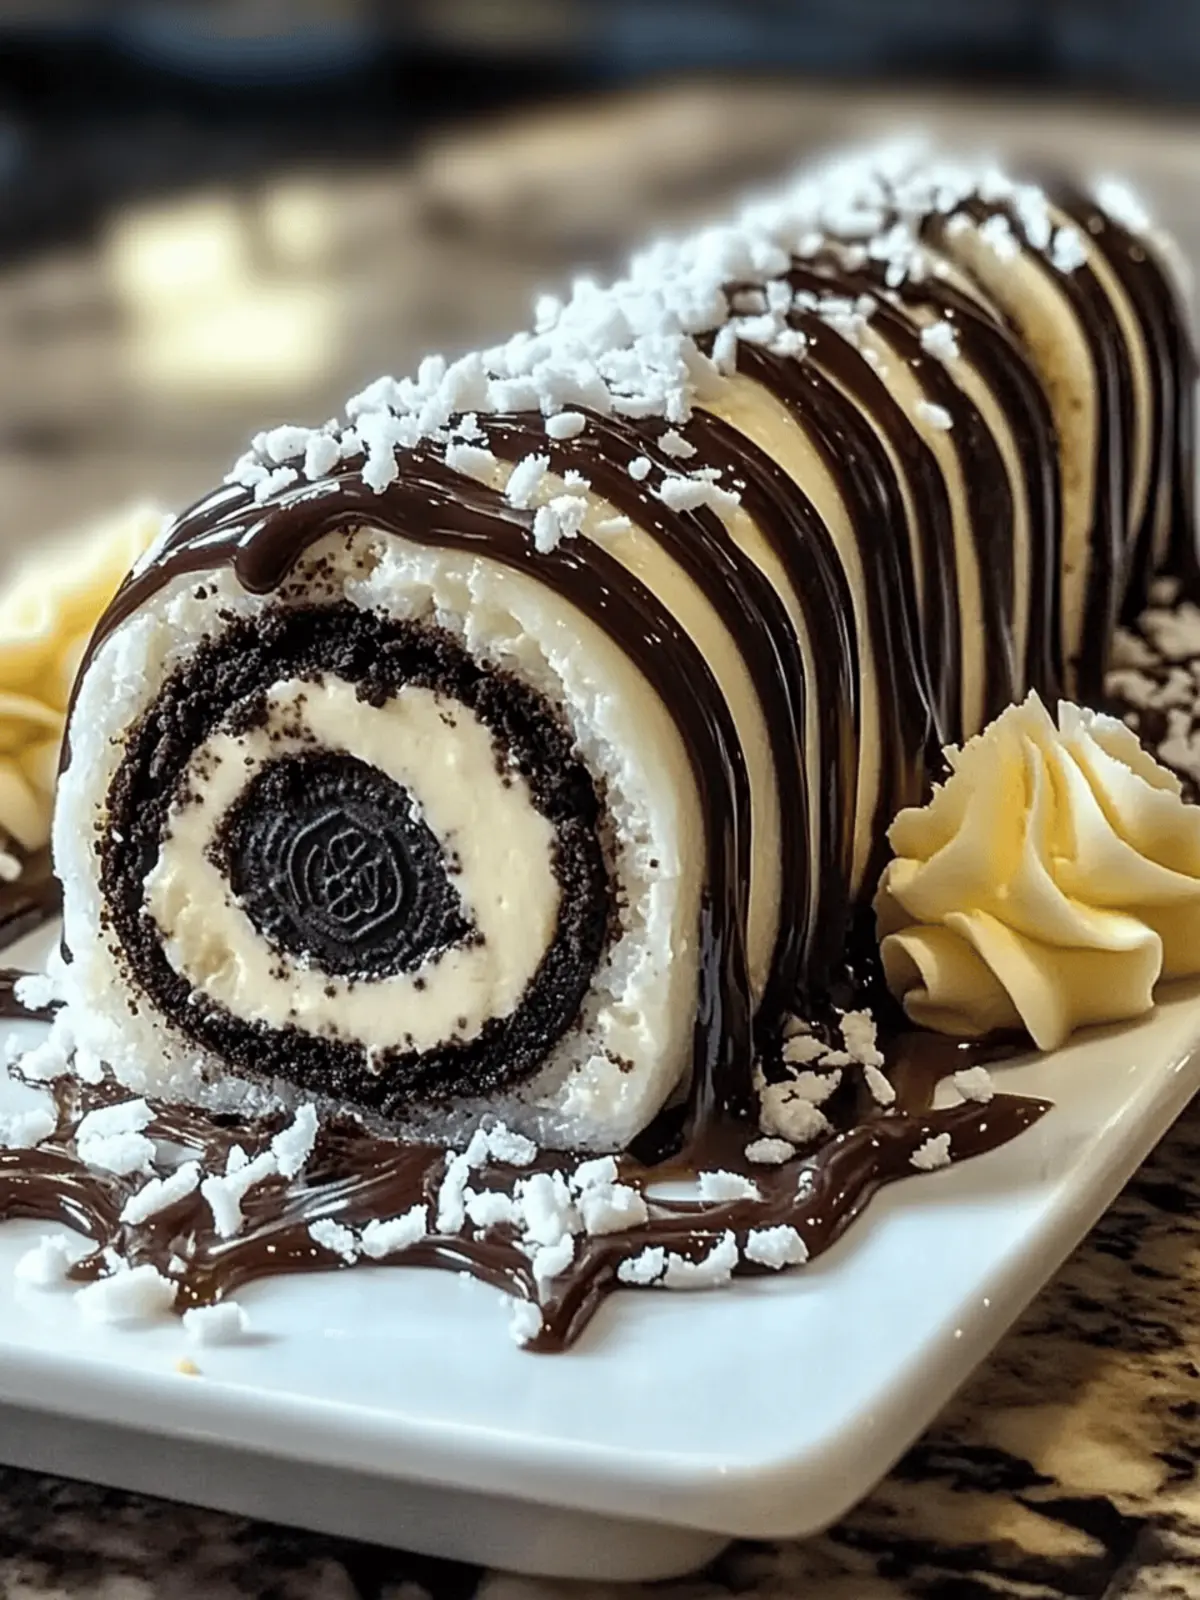
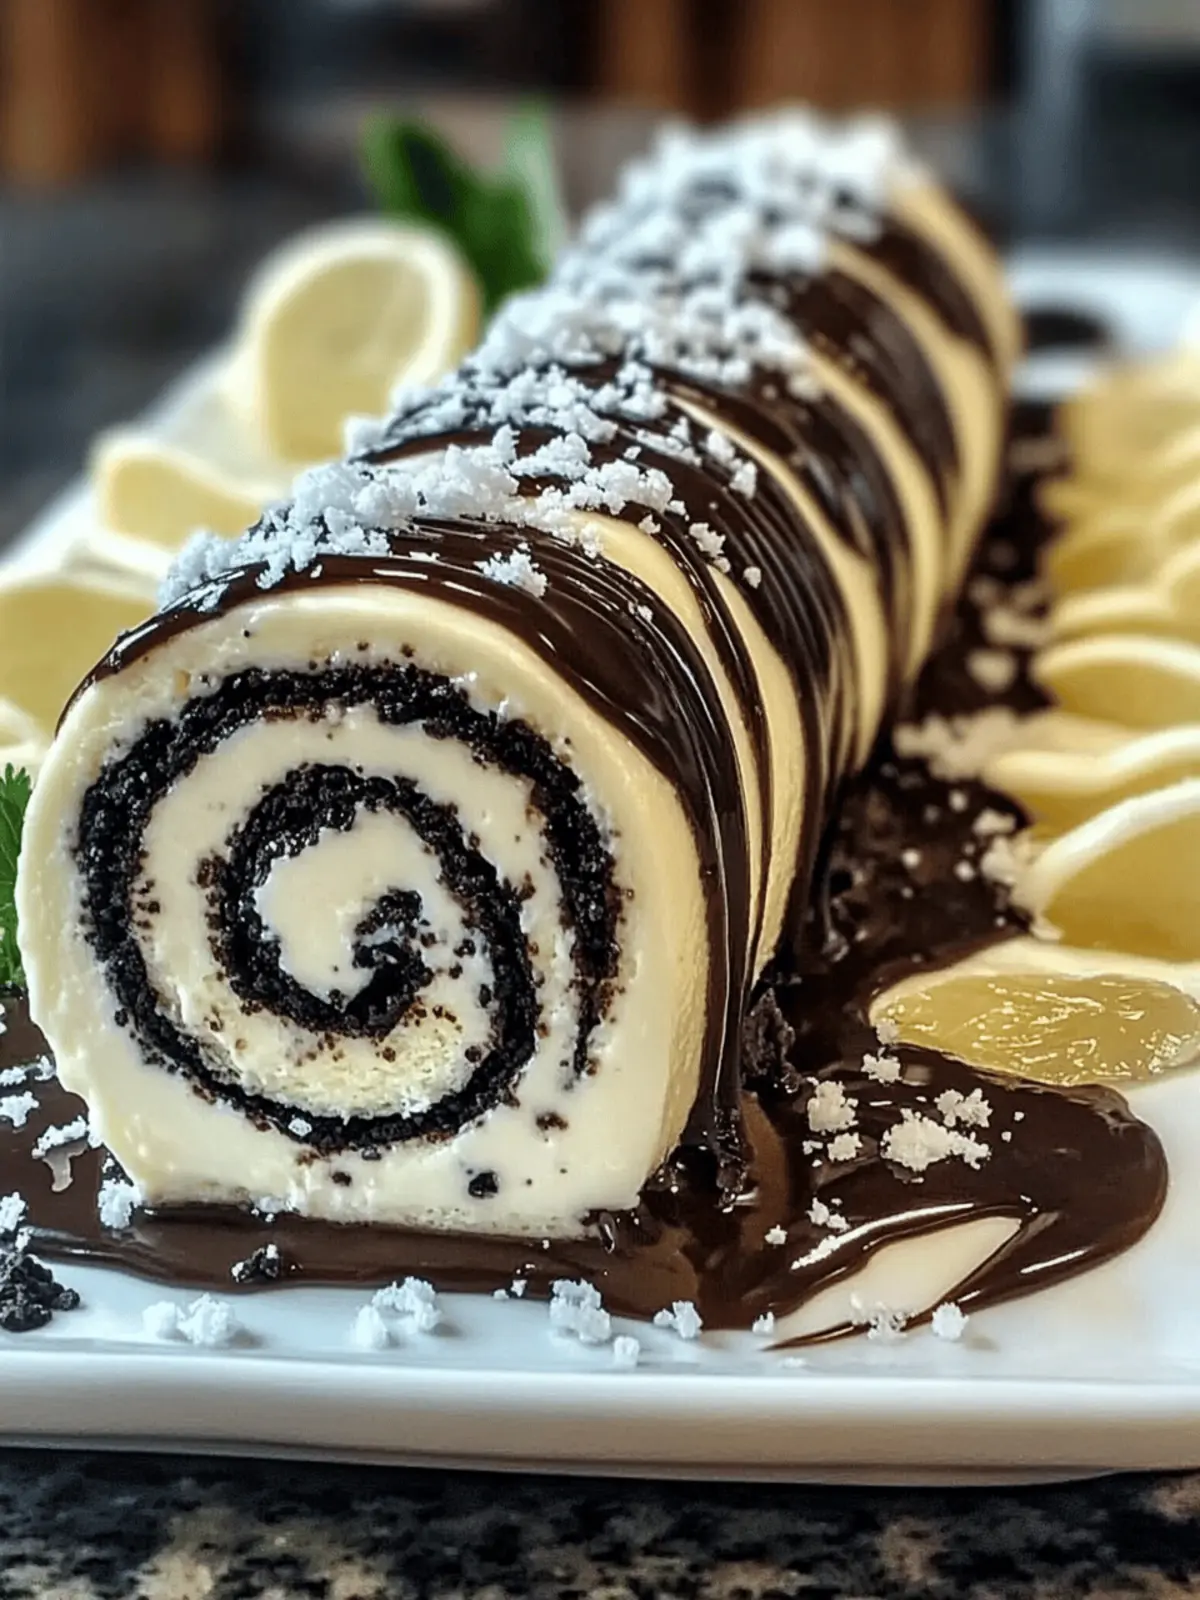
There’s something uniquely satisfying about blending two beloved treats into one delightful creation. Enter my No-Bake Oreo Cheesecake Sushi Rolls—a whimsical dessert that is as fun to make as it is to eat. Picture this: a creamy cheesecake filling enveloped by a crunchy Oreo crust, each slice revealing a delightful combination of textures and flavors that will leave your guests wanting more.
After a long day, I find myself drawn to simple, no-fuss recipes that still deliver on taste and presentation. This creation comes together in a mere 15 minutes, making it perfect for anyone who craves a show-stopping treat without the hassle of baking. Plus, it’s a fantastic family-friendly dessert that even the kids can help roll up!
Whether you’re hosting a gathering or simply treating yourself, these sushi-inspired rolls are bound to impress. With endless customization options—from adding fresh fruit to experimenting with different cookie bases—let’s dive in and create a sweet masterpiece that’s sure to be a hit!
Why You’ll Love No-Bake Oreo Cheesecake Sushi Rolls
Deliciousness awaits with this innovative dessert!
Sweet Satisfaction: Combining the rich flavors of cheesecake with a classic Oreo crust offers an irresistible delight.
Quick & Easy: This recipe is perfect for busy schedules—ready in just 15 minutes!
Kid-Friendly Fun: Get the little ones involved as they help roll and customize their own sushi!
Versatile Options: Swap out Oreos for different cookies or add fresh fruit for a unique twist.
Eye-Catching Presentation: Serve these visually stunning rolls at your next gathering to wow your guests!
No-Bake Oreo Cheesecake Sushi Rolls Ingredients
Enjoy crafting these delightful No-Bake Oreo Cheesecake Sushi Rolls with ease!
For the Filling
- Cream Cheese – Provides a creamy texture and rich flavor; use vegan cream cheese for a dairy-free option.
- Powdered Sugar – Adds sweetness and helps achieve that creamy consistency in the cheesecake filling.
For the Crust
- Oreos – Acts as the crust base, reminiscent of sushi rice; any chocolate or vanilla sandwich cookie can be substituted.
- Butter – Binds the Oreo crumbs to form the crust; remember to melt before mixing!
Optional Add-Ins
- Optional Fruit (e.g., Berries, Bananas) – Enhances flavor and freshness; your choice can elevate each bite.
- Chocolate Drizzle/Crumble Toppings – Adds visual appeal and extra sweetness for a fabulous garnish.
With these ingredients, you’ll be on your way to making a delicious and fun dessert that pleases everyone!
How to Make No-Bake Oreo Cheesecake Sushi Rolls
-
Blend Cream Cheese: In a medium bowl, combine softened cream cheese and powdered sugar. Mix until smooth and creamy for a delicious filling everyone will love.
-
Crush Oreos: Take your Oreo cookies and place them in a ziplock bag. Use a rolling pin to crush them into fine crumbs. This will create the delightful crust for your sushi rolls!
-
Mix Crust Ingredients: In a bowl, combine the crushed Oreos with melted butter. Stir until all the crumbs are coated, forming a mixture that can hold its shape.
-
Shape the Crust: On a sheet of parchment paper, spread the Oreo mixture into a thin rectangle. Aim for about ¼ inch thick; this will be the foundation for your filling.
-
Spread the Filling: Evenly distribute the cream cheese mixture over the Oreo crust. Be sure to leave a little border around the edges for an easier roll!
-
Add Fruit Fillings: If you’re using optional fruits like berries or bananas, sprinkle them over the cream cheese layer. This extra touch adds freshness and flavor!
-
Roll It Up: Using the edges of the parchment, carefully roll the mixture tightly, tucking in the sides as you go. Think of it like creating a burrito—keep it snug but not too tight!
-
Freeze: Place the rolled sushi in the freezer for 30 to 45 minutes. This will help it firm up, making slicing much easier and creating a heavenly texture.
-
Slice and Serve: Once firm, take out the roll and slice it into 1-inch rounds. Arrange the pieces on a platter, garnishing as desired before serving to your happy guests.
Optional: Drizzle some chocolate over the slices for an extra treat!
Exact quantities are listed in the recipe card below.

Expert Tips for No-Bake Oreo Cheesecake Sushi Rolls
- Softened Cream Cheese: Make sure your cream cheese is at room temperature to avoid a lumpy filling, ensuring the smoothest texture for your No-Bake Oreo Cheesecake Sushi Rolls.
- Tight, Not Too Tight: When rolling, keep it snug to prevent the filling from squeezing out; practice makes perfect!
- Sharp Knife for Slicing: Use a sharp knife to ensure clean cuts, giving your rolls a beautiful presentation without squishing the filling.
- Customize Wisely: Feel free to switch out Oreos for other cookies but remember that the texture may vary—experiment to find your perfect balance!
- Serve Fresh: For the best flavor and texture, enjoy these rolls the same day you prepare them, though they can be made a day ahead for convenience.
Make Ahead Options
These No-Bake Oreo Cheesecake Sushi Rolls are perfect for meal prep, saving you time during busy days or parties! You can prepare the Oreo crust and cream cheese filling up to 24 hours ahead of time—just keep the crust tightly wrapped in the refrigerator and the filling stored separately to maintain its creamy texture. When you’re ready to assemble, simply spread the filling over the crust, add any optional fruits, and roll it up. For even better results, freeze the roll for 30-45 minutes to set it firmly before slicing. This way, when it’s time to serve, you’ll have a delightful dessert that’s just as delicious as if you made it at the last minute!
How to Store and Freeze No-Bake Oreo Cheesecake Sushi Rolls
- Fridge: Store leftovers in an airtight container in the fridge for up to 3 days. Enjoy them cold for a refreshing dessert experience!
- Freezer: If you want to keep them longer, freeze the rolls wrapped tightly in plastic wrap and placed in an airtight container for up to 2 months.
- Thawing: To enjoy, thaw the frozen No-Bake Oreo Cheesecake Sushi Rolls in the refrigerator for a few hours before serving.
- Slicing: For best results, slice the rolls just before serving to maintain their freshness and visual appeal.
No-Bake Oreo Cheesecake Sushi Rolls Variations
Get creative and customize these rolls into something uniquely yours!
-
Dairy-Free: Swap cream cheese for vegan cream cheese or coconut cream for a plant-based delight.
Embrace the creamy decadence while keeping it friendly for those avoiding dairy! -
Crunchy Alternatives: Use graham crackers instead of Oreos for an invigorating s’mores twist.
The buttery, slightly toasted flavor complements the cream cheese filling beautifully, taking you straight to summer camp! -
Fruity Add-Ins: Add fresh chopped fruits like mango or strawberries for a refreshing burst.
Each slice reveals bright colors and tangy flavors that lighten up the rich cheesecake experience. -
Nutty Texture: Stir in crushed nuts like almonds or pecans for a delightful crunch.
This not only adds texture but also elevates the flavor profile, enriching every delicious bite. -
Chocolate Lovers: Incorporate a chocolate spread between the layers or drizzle melted chocolate over the top.
This extra touch intensifies the chocolate experience, making it a dream come true for any chocoholic! -
Spiced Delight: Add a sprinkle of cinnamon or nutmeg into your cream cheese mixture for a warm, cozy flavor.
This subtle hint of spice will surprise your taste buds and give a seasonal twist to your dessert. -
Decadent Swirls: Add a layer of caramel or peanut butter spread before rolling for a luxurious treat.
The richness of caramel or the nutty flavor from peanut butter creates an irresistible taste combination. -
Festive Colors: Mix in fun sprinkles or edible glitter for a vibrant, party-ready roll.
Not only are they fun to make, but they’ll also create a fabulous visual that kids and adults alike will adore!
What to Serve with No-Bake Oreo Cheesecake Sushi Rolls?
These delightful rolls are not just a treat on their own; they can shine even brighter when paired with the perfect accompaniments.
- Fresh Berries: A medley of strawberries, blueberries, and raspberries adds a pop of color and a refreshing contrast to the rich flavors of the rolls.
- Whipped Cream: Light and airy, whipped cream creates a delightful balance, enhancing the creaminess of the cheesecake sushi rolls.
- Chocolate Drizzle: An extra drizzle of melted chocolate creates a decadent finish that ties in beautifully with the Oreo crust.
- Mint Leaves: A few sprigs of fresh mint can elevate the presentation and provide a refreshing herbal note to cleanse the palate.
- Coconut Flakes: Toasted coconut adds a crunchy texture and tropical flair, making every bite a little more exciting.
- Ice Cream: Serve with a scoop of vanilla or chocolate ice cream for an indulgent dessert that will leave everyone feeling satisfied.
- Hot Coffee or Tea: Pair these rolls with a warm cup of coffee or tea for a comforting evening treat, balancing flavors perfectly.
- Fruit Salad: A simple mix of seasonal fruits offers a light and colorful side that complements the richness of the rolls.
- Sparkling Water: A refreshing glass of sparkling water with a splash of lemon can cleanse the palate and add a bit of pizzazz to your dessert table.
- Mini Cupcakes: A few chocolate or vanilla mini cupcakes alongside the rolls create a delightful dessert platter that’s perfect for gatherings.

No-Bake Oreo Cheesecake Sushi Rolls Recipe FAQs
What type of Oreos should I use for the crust?
Absolutely! You can use regular Oreos for that classic flavor, but feel free to experiment with other chocolate or vanilla sandwich cookies. I’ve also had great success with graham crackers for a fun twist on the crust!
How should I store leftover No-Bake Oreo Cheesecake Sushi Rolls?
For optimal freshness, store any leftover rolls in an airtight container in the fridge for up to 3 days. I recommend keeping them chilled, as they’re best enjoyed cold, providing a refreshing bite on warm days! If you want to keep them longer, you can freeze them.
Can I freeze No-Bake Oreo Cheesecake Sushi Rolls?
Yes! To freeze, wrap the rolls tightly in plastic wrap and place them in an airtight container. They will maintain their deliciousness for up to 2 months. When you’re ready to savor them, just thaw them in the refrigerator for a few hours before serving. Make sure to only slice them right before enjoying to keep them looking fabulous!
What are some common troubleshooting tips for this recipe?
If your filling seems lumpy, it might be due to the cream cheese not being softened enough—make sure it’s at room temperature before mixing. Also, if your sushi rolls are falling apart during slicing, try chilling them for a bit longer in the freezer to firm up the texture. Lastly, ensure you’re rolling it tightly enough but not overly so to keep that delightful filling intact!
Can I make these No-Bake Oreo Cheesecake Sushi Rolls dairy-free?
Yes! Simply substitute the cream cheese with vegan cream cheese or coconut cream. This will give you the same creamy texture while keeping it free of dairy. You can also use dairy-free butter for the crust if desired, making this dessert friendly for those with lactose intolerance!
Are No-Bake Oreo Cheesecake Sushi Rolls safe for pets?
While these rolls are a delightful treat for humans, they are not suitable for pets, especially dogs, due to their sugar content and the presence of cookies. It’s always best to stick to pet-safe treats for your furry friends.

Delicious No-Bake Oreo Cheesecake Sushi Rolls
Ingredients
Equipment
Method
- In a medium bowl, combine softened cream cheese and powdered sugar. Mix until smooth and creamy.
- Take your Oreo cookies and place them in a ziplock bag. Use a rolling pin to crush them into fine crumbs.
- In a bowl, combine the crushed Oreos with melted butter. Stir until all the crumbs are coated.
- On a sheet of parchment paper, spread the Oreo mixture into a thin rectangle, about ¼ inch thick.
- Evenly distribute the cream cheese mixture over the Oreo crust, leaving a little border around the edges.
- If using optional fruits, sprinkle them over the cream cheese layer.
- Using the edges of the parchment, carefully roll the mixture tightly, tucking in the sides as you go.
- Place the rolled sushi in the freezer for 30 to 45 minutes to firm up.
- Once firm, take out the roll and slice it into 1-inch rounds. Arrange the pieces on a platter.


