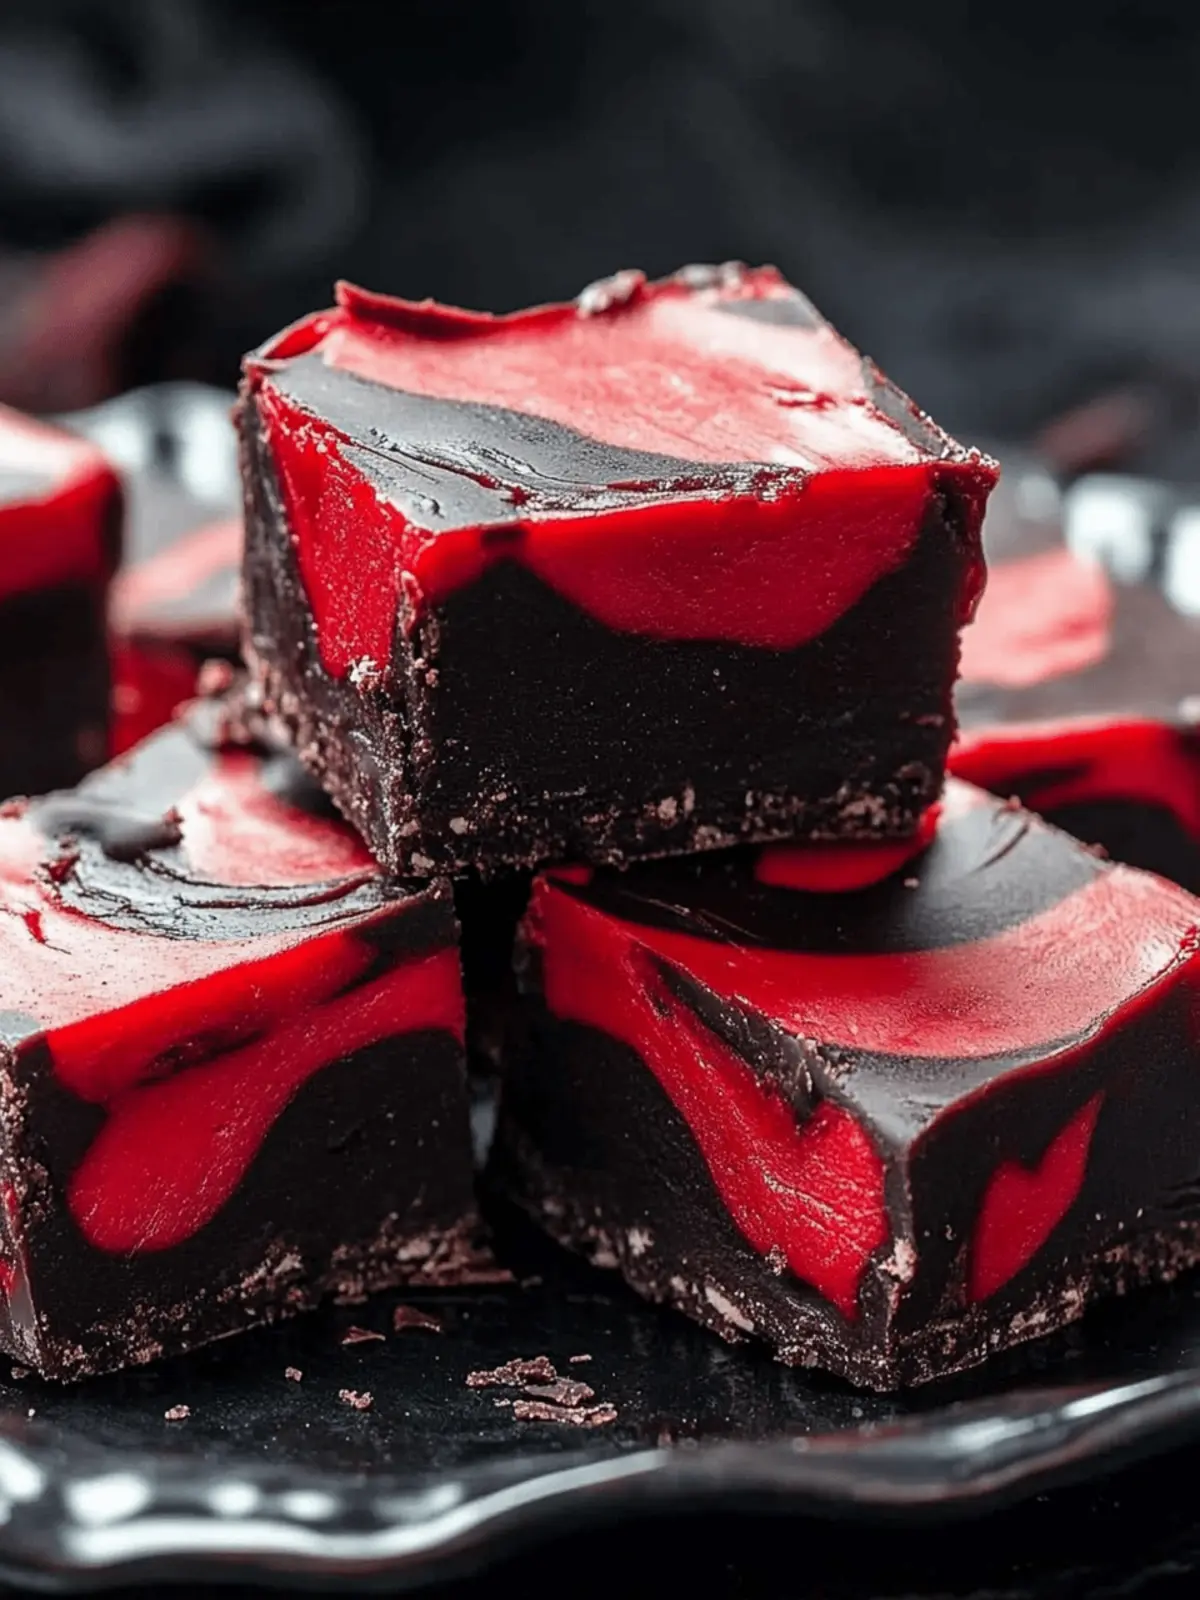
When the air turns crisp and pumpkins line the streets, I find myself drawn to the magic of Halloween treats. This year, I’m embracing the spooky spirit with an indulgent and playful confection: Vampire Fudge. Imagine a rich chocolate base mingling with a vibrant, oozy red filling that looks hauntingly perfect on any party table.
This no-bake delight not only caters to your sweet tooth, but it also offers an easy way to impress guests or entertain kids—no culinary wizardry required. In just a few simple steps, you can whip up a treat that captures the essence of this bewitching season. Plus, with the option to customize flavors and decorations, it becomes a versatile treat that can fit any Halloween bash.
Grab your ingredients, unleash those creative juices, and let’s dive into a recipe that promises to be both a feast for the eyes and the taste buds!
Why Will You Love Vampire Fudge?
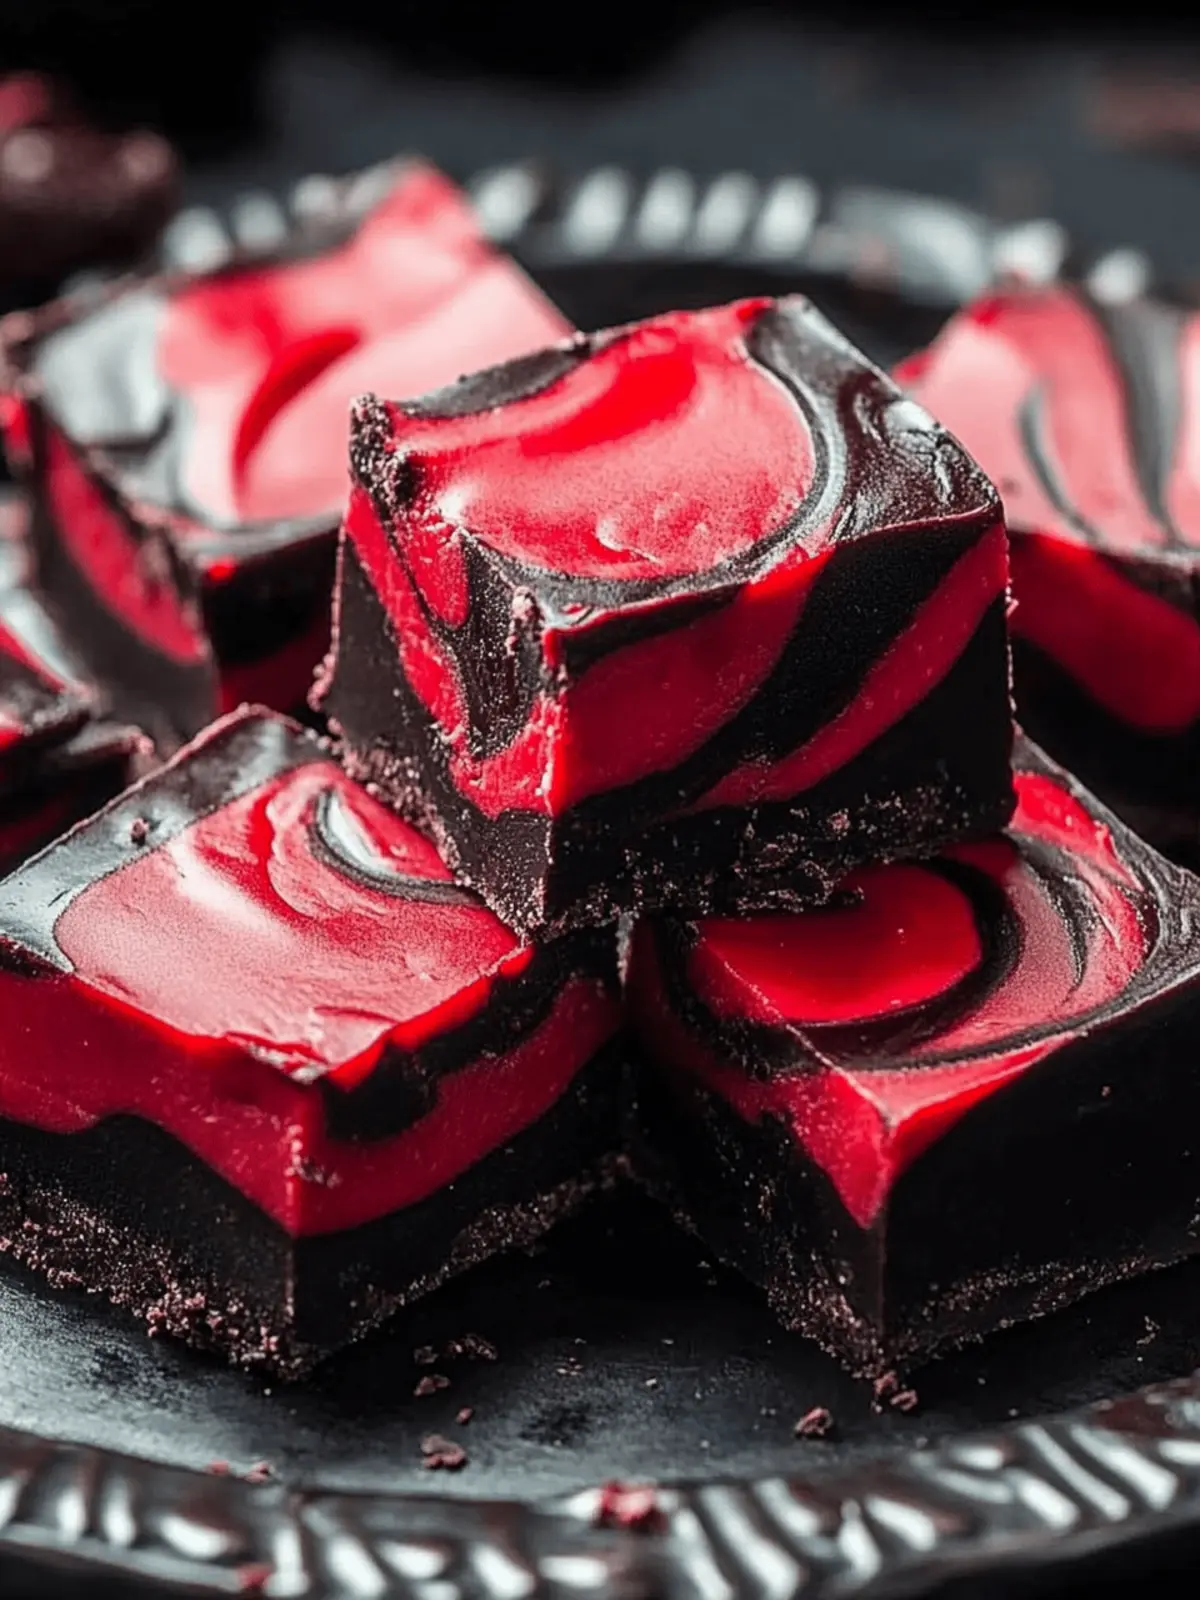
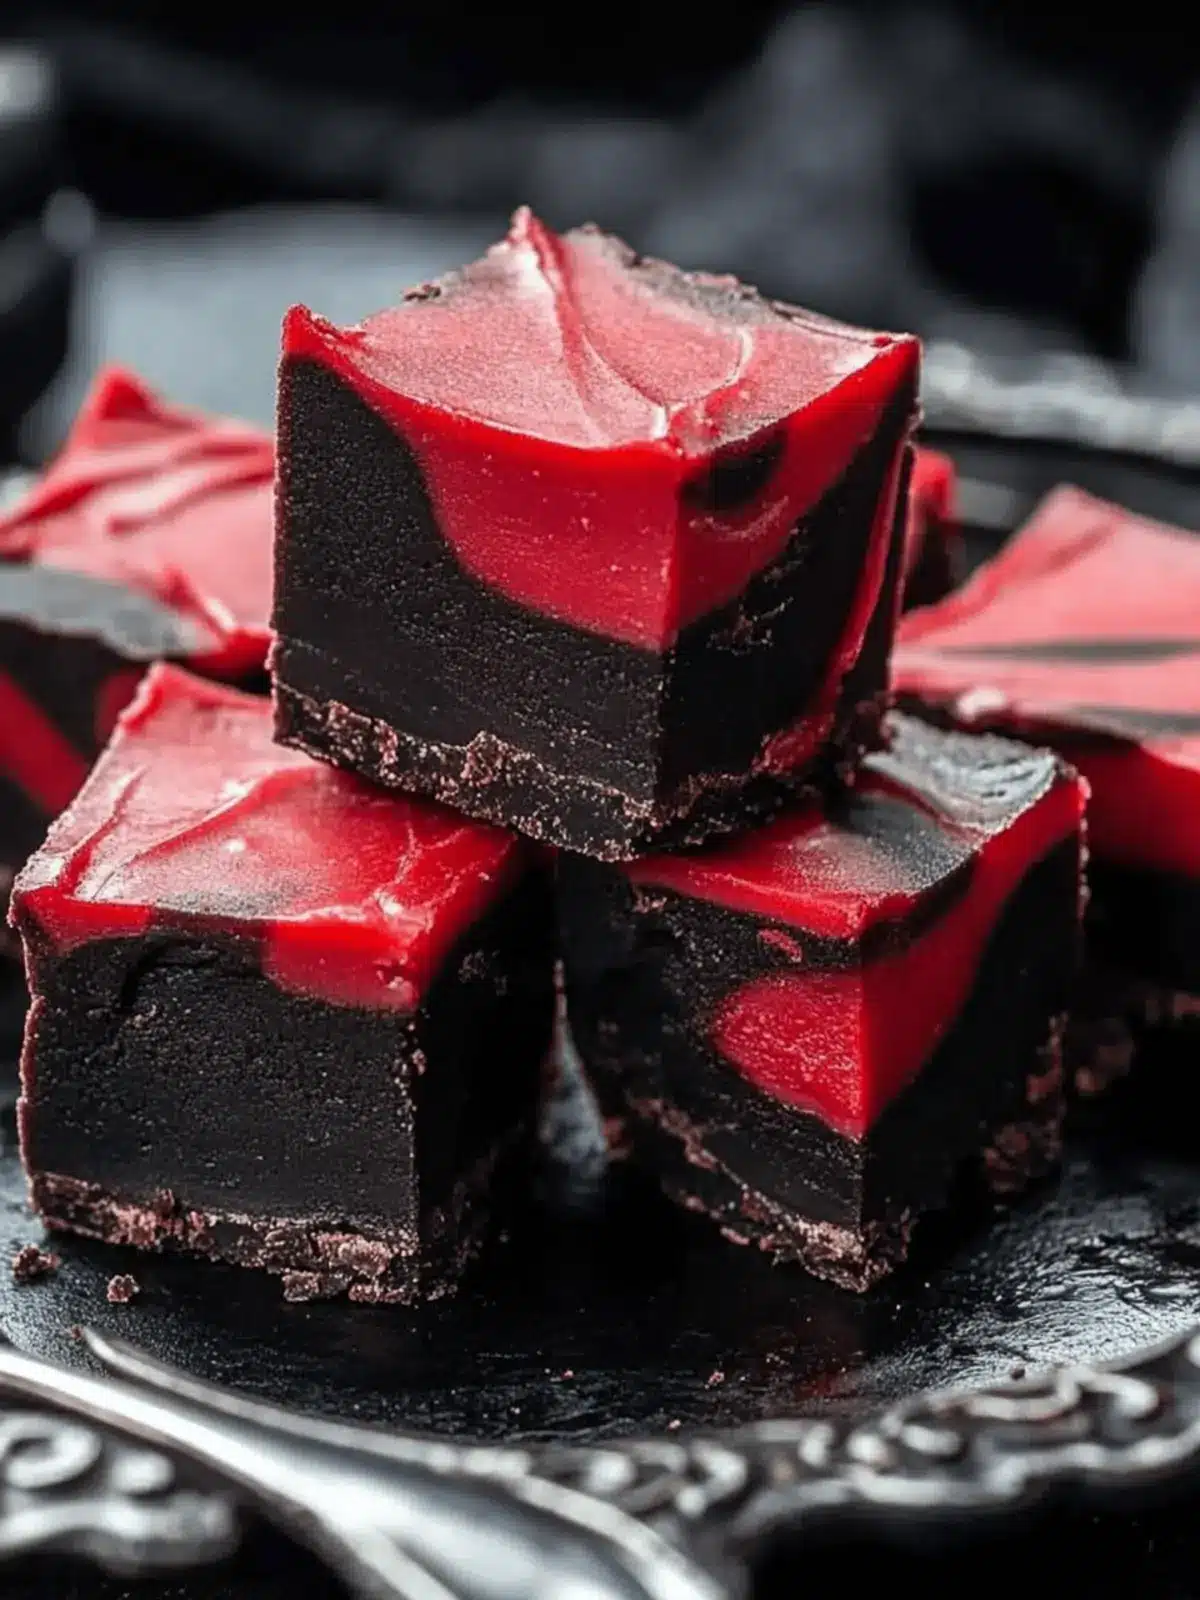
Spooky presentation: This treat is not just delicious; it’s a showstopper with its vibrant, oozy filling that adds a thrilling touch to your Halloween festivities.
No-bake convenience: Perfect for busy schedules, whip it up without the hassle of baking—ideal for last-minute party planning!
Customizable flavors: Feel free to experiment by mixing in different fruit fillings or chocolates, allowing everyone to enjoy their own spin on this frighteningly tasty fudge.
Crowd-pleaser: Kids and adults alike will be enchanted by this sweet treat, making it a hit at any Halloween gathering.
Easy to decorate: Add fun toppings like candy eyeballs or licorice fangs to really enhance the spooky vibes. For more delightful ideas, check out this guide on creative Halloween snacks.
Vampire Fudge Ingredients
For the Chocolate Base
- Semi-sweet chocolate chips – The star of the show, providing a rich and creamy flavor; dark chocolate can be used for a deeper taste.
- Sweetened condensed milk – This sweet ingredient binds everything together; for a dairy-free swap, try coconut milk.
- Butter – Enhances richness and smoothness; opt for vegan butter for a plant-based alternative.
- Vanilla extract – Adds an extra layer of flavor; feel free to omit if you’re avoiding alcohol.
For the Blood Layer
- Red food coloring – This brings the vivid color to life, creating that signature “bloody” look; beet powder is a natural alternative.
- Raspberry or cherry filling – Offers a fruity tartness that pairs perfectly with chocolate; other flavors can be experimented with for different effects.
For the Decoration
- White chocolate chips – Use these for a contrasting decorative element; they’re optional if you prefer a darker presentation.
- Candy eyeballs – A fun and playful decorative addition that enhances the Halloween theme; they add delight but are not necessary.
- Red licorice strings – Mimics vampire fangs—omit for a cleaner look if desired.
- Black decorating gel & Halloween sprinkles – Perfect for customizations and seasonal flair; alternate decorations can be used for other occasions.
How to Make Vampire Fudge
-
Prepare the Pan: Line an 8×8 inch baking dish with parchment paper, making sure it hangs over the edges. This will make it super easy to lift out the fudge later!
-
Melt Chocolate Base: In a saucepan over low heat, combine semi-sweet chocolate chips, sweetened condensed milk, butter, and vanilla extract. Stir gently until the mixture is completely melted and smooth, about 5-7 minutes.
-
Add Blood Layer: Carefully mix in red food coloring until you reach your desired bloody hue. Now, layer the mixture into the prepared pan, alternating with raspberry or cherry filling, and use a knife to create swirling designs for that spooky effect.
-
Chill to Set: Place the fudge in the refrigerator and let it chill for 3-4 hours until it’s firm and set. Patience is key for the perfect consistency!
-
Cut & Serve: Once set, lift the fudge out of the pan using the parchment paper. Cut into bite-sized squares and decorate with your choice of white chocolate chips, candy eyeballs, or licorice strings for a fun Halloween look.
Optional: Top with Halloween sprinkles for an extra festive touch!
Exact quantities are listed in the recipe card below.
Vampire Fudge Variations & Substitutions
Get ready to unleash your creativity by customizing this spooky treat in delightful ways!
-
Dairy-Free: Replace sweetened condensed milk with coconut cream for a rich and creamy fudge that’s entirely plant-based.
-
Gluten-Free: Ensure the chocolate chips and any toppings are certified gluten-free to enjoy this fudge worry-free.
-
Vegan Alternative: Swap butter for coconut oil and use a plant-based chocolate for a completely vegan version that everyone can savor.
-
Fruit Filling Twist: Try using mango or passionfruit puree instead of raspberry for a tropical “bloody” look that surprises your taste buds.
-
Spicy Kick: Add a hint of cayenne pepper to the chocolate base for a surprising heat that balances the sweetness and adds complexity.
-
Nutty Crunch: Fold in crushed nuts like almonds or hazelnuts for an added texture twist, bringing a delicious crunch to each bite.
-
Flavor Boost: Infuse the chocolate with a drop of peppermint or orange extract for a refreshing twist that complements the chocolate beautifully.
-
Decorative Themes: Instead of candy eyeballs, use seasonal candies or edible glitter to customize your fudge according to different holidays or events.
What to Serve with Vampire Fudge?
When it comes to creating an enchanting Halloween spread, the right accompaniments can elevate your Vampire Fudge to delightful new heights.
-
Ghostly Whipped Cream:
This fluffy topping adds a light and airy contrast, enhancing the richness of the fudge while making your dessert even spookier. -
Pumpkin Spice Hot Cocoa:
A warm mug of cocoa accented with pumpkin spice perfectly complements the fudge, adding cozy fall flavors that everyone will adore. -
Crunchy Caramel Apples:
The crispy texture of caramel-coated apples balances the creamy fudge, offering a fun treat that’s both sweet and satisfying. -
Graveyard Dirt Cups:
These playful cups of chocolate pudding layered with crushed cookies and gummy worms create a wonderfully thematic pairing, perfect for a spooky table setting. -
Blood Orange Soda:
A refreshing drink with a hint of tartness will cleanse the palate, while its vibrant color adds to the overall Halloween aesthetic. -
Spooky Sugar Cookies:
Decorated with icing in the shape of bats and ghosts, these cookies provide a delightful crunch that beautifully contrasts the fudgy texture. -
Witch’s Brew Fruit Salad:
A mix of seasonal fruits tossed with a hint of lime will offer a refreshing and colorful addition to your dessert table, enhancing the overall vibe.
Let your imagination run wild as you set your Halloween scene with these tantalizing pairings!
Expert Tips for Vampire Fudge
-
Melt Smoothly: Ensure your chocolate mixture is fully melted and smooth for the best texture; stubborn lumps can ruin the creamy consistency.
-
Swirling Technique: To achieve a perfect “bloody” swirl, gently use a toothpick or knife to mix the red filling without completely blending it into the chocolate base.
-
Chill Time Matters: Allow ample chilling time of 3-4 hours to ensure the fudge sets properly, making it easier to cut into neat squares.
-
Trust Your Ingredients: Using high-quality semi-sweet chocolate chips will elevate your vampire fudge recipe, giving it a richer flavor that truly shines.
-
Customization Options: Don’t hesitate to experiment with flavored fillings or different food dyes for creative variations of your spooky treat!
How to Store and Freeze Vampire Fudge
-
Room Temperature: Keep Vampire Fudge in an airtight container at room temperature for up to 3 days. If your kitchen is warm, it’s best to refrigerate it to maintain its texture.
-
Fridge: Store in the refrigerator to extend freshness, and it will last up to 1 week. Ensure it’s sealed tightly to prevent it from drying out or absorbing odors.
-
Freezer: For longer storage, freeze the fudge in an airtight container or wrapped tightly in plastic wrap for up to 2 months. Thaw in the fridge overnight before serving.
-
Reheating: If you prefer a softer texture, let the fudge sit at room temperature for about 30 minutes before enjoying it. Avoid reheating in the microwave, as it may alter the texture.
Make Ahead Options
Vampire Fudge is a fantastic choice for meal prep, making it easy to enjoy delicious sweets during the busy Halloween season! You can prepare the chocolate base and the blood layer up to 24 hours in advance. Simply melt the chocolate mixture and create the layers in the baking pan, but don’t forget to cover it tightly with plastic wrap or aluminum foil to maintain freshness. When you’re ready to serve, just chill the fudge for 3-4 hours until it sets, then cut into squares and finish with your spooky decorations. This way, you’ll have a hauntingly delicious treat to impress your guests without the last-minute rush!
Vampire Fudge Recipe FAQs
How do I select the best semi-sweet chocolate chips for Vampire Fudge?
Absolutely! Look for high-quality chocolate chips with a rich cocoa percentage—around 50-60% will give you the best flavor. Avoid chips that have a lot of additives, as they may not melt as smoothly.
How can I store leftover Vampire Fudge?
To keep your fudge fresh, store it in an airtight container in the refrigerator where it will last up to 1 week. Make sure it’s sealed tightly to prevent it from drying out or picking up odors from the fridge.
Can I freeze my Vampire Fudge?
Yes, indeed! To freeze your fudge, cut it into squares and place them in an airtight container or wrap each piece tightly in plastic wrap. You can freeze it for up to 2 months. To thaw, simply move the fudge to the fridge overnight for a delicious, chill treat!
What if my fudge is too soft after chilling?
If your Vampire Fudge isn’t setting properly and is too soft, it’s likely due to a higher ratio of liquid or not chilling long enough. Chill for an extra hour and if it still feels soft, consider re-melting it carefully and adding some additional chocolate until you reach the desired thickness. Then, allow it to cool again before chilling.
Are there any dietary considerations for this recipe?
Certainly! The Vampire Fudge can easily be made dairy-free by using coconut milk and vegan butter instead of sweetened condensed milk and regular butter. Also, feel free to check for allergy-friendly chocolate chips, as many brands offer vegan and gluten-free options, making this treat accessible for most dietary needs.
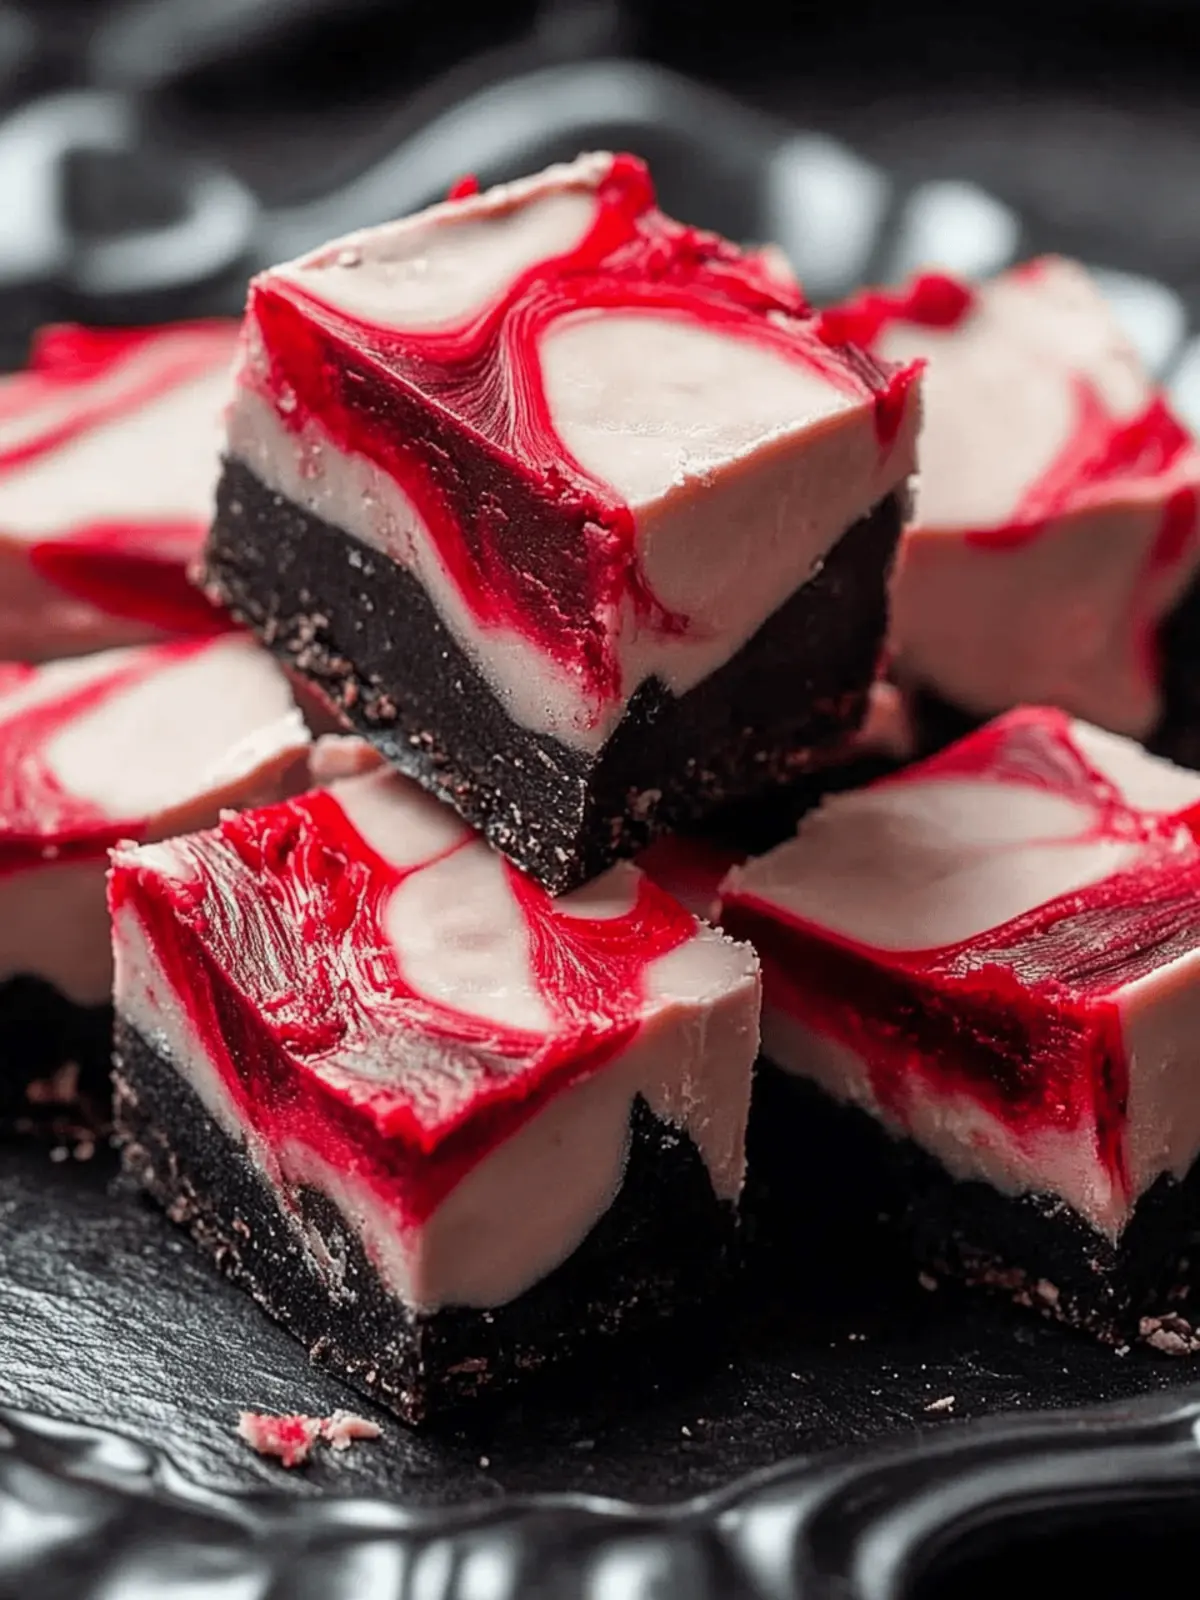
Vampire Fudge: Spooky No-Bake Treat for Halloween Fun
Ingredients
Equipment
Method
- Prepare the Pan: Line an 8x8 inch baking dish with parchment paper, making sure it hangs over the edges.
- Melt Chocolate Base: In a saucepan over low heat, combine semi-sweet chocolate chips, sweetened condensed milk, butter, and vanilla extract. Stir until completely melted and smooth, about 5-7 minutes.
- Add Blood Layer: Mix in red food coloring until desired hue is reached. Layer mixture into the prepared pan with raspberry or cherry filling, creating swirling designs.
- Chill to Set: Place in the refrigerator for 3-4 hours until firm and set.
- Cut & Serve: Lift fudge out using parchment paper, cut into squares, and decorate with toppings as desired.
