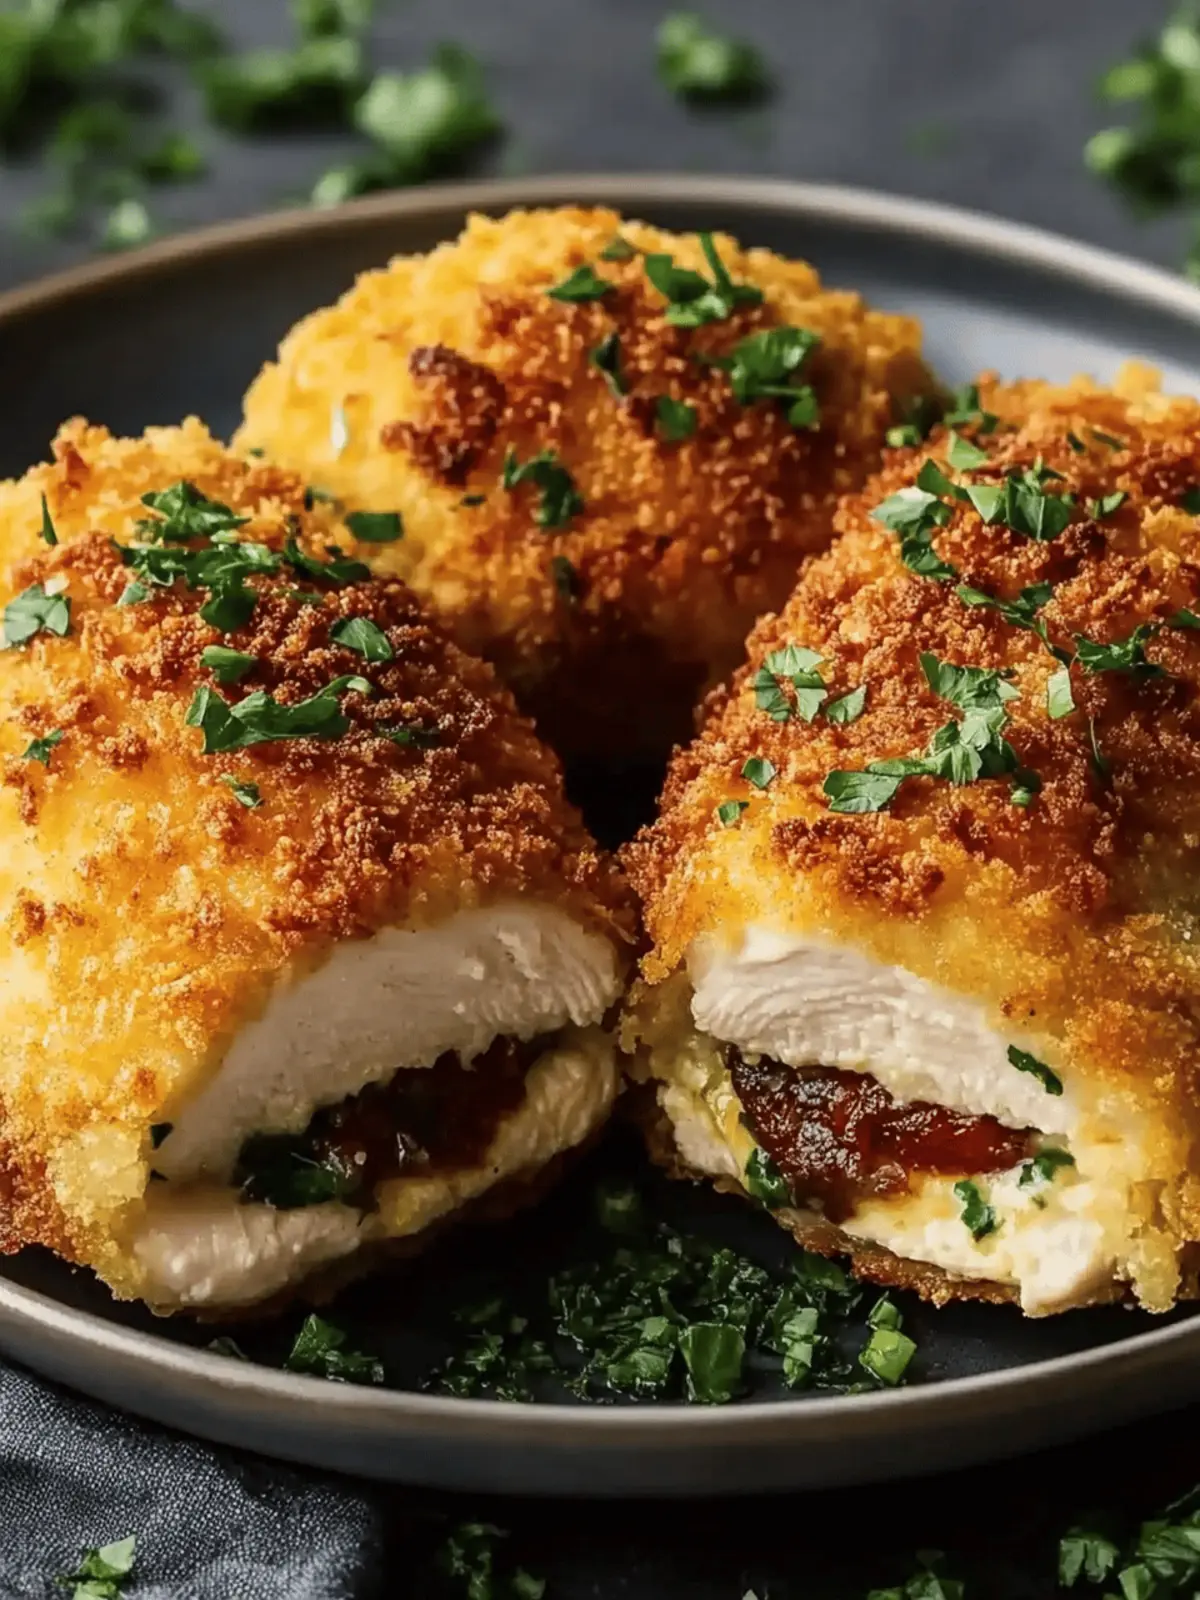
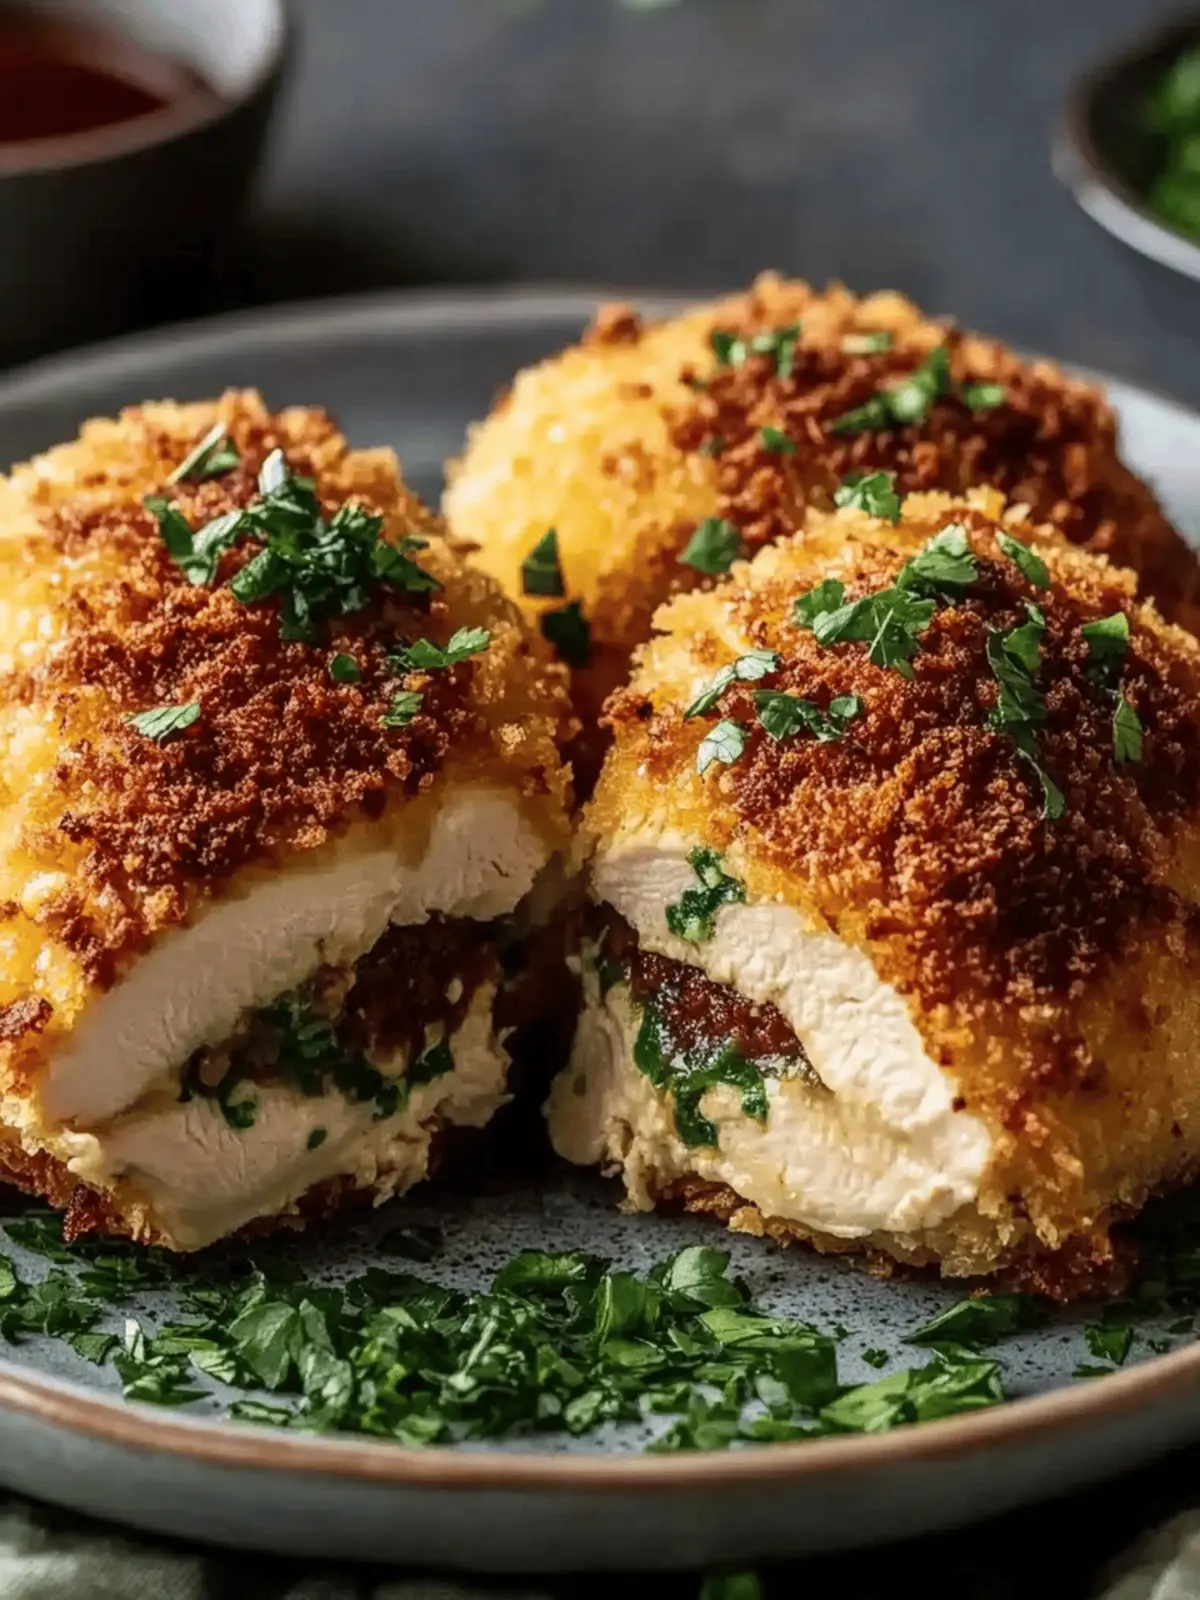
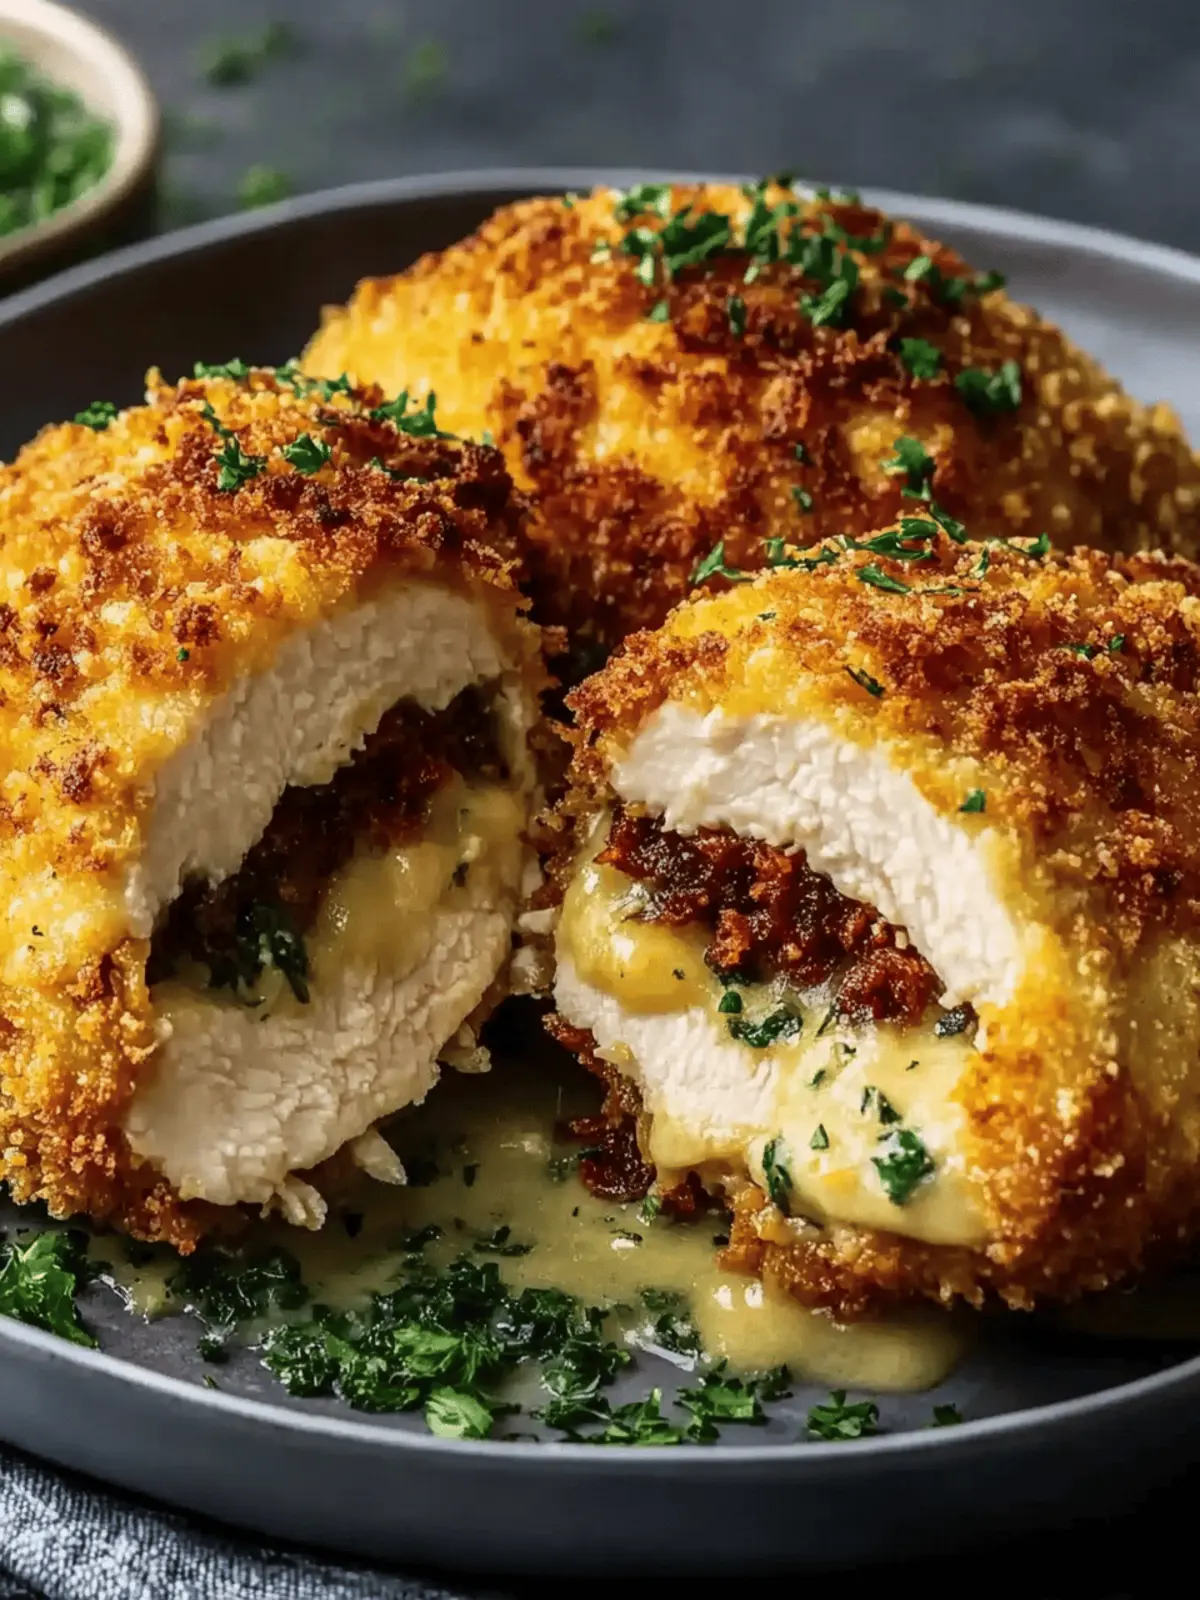
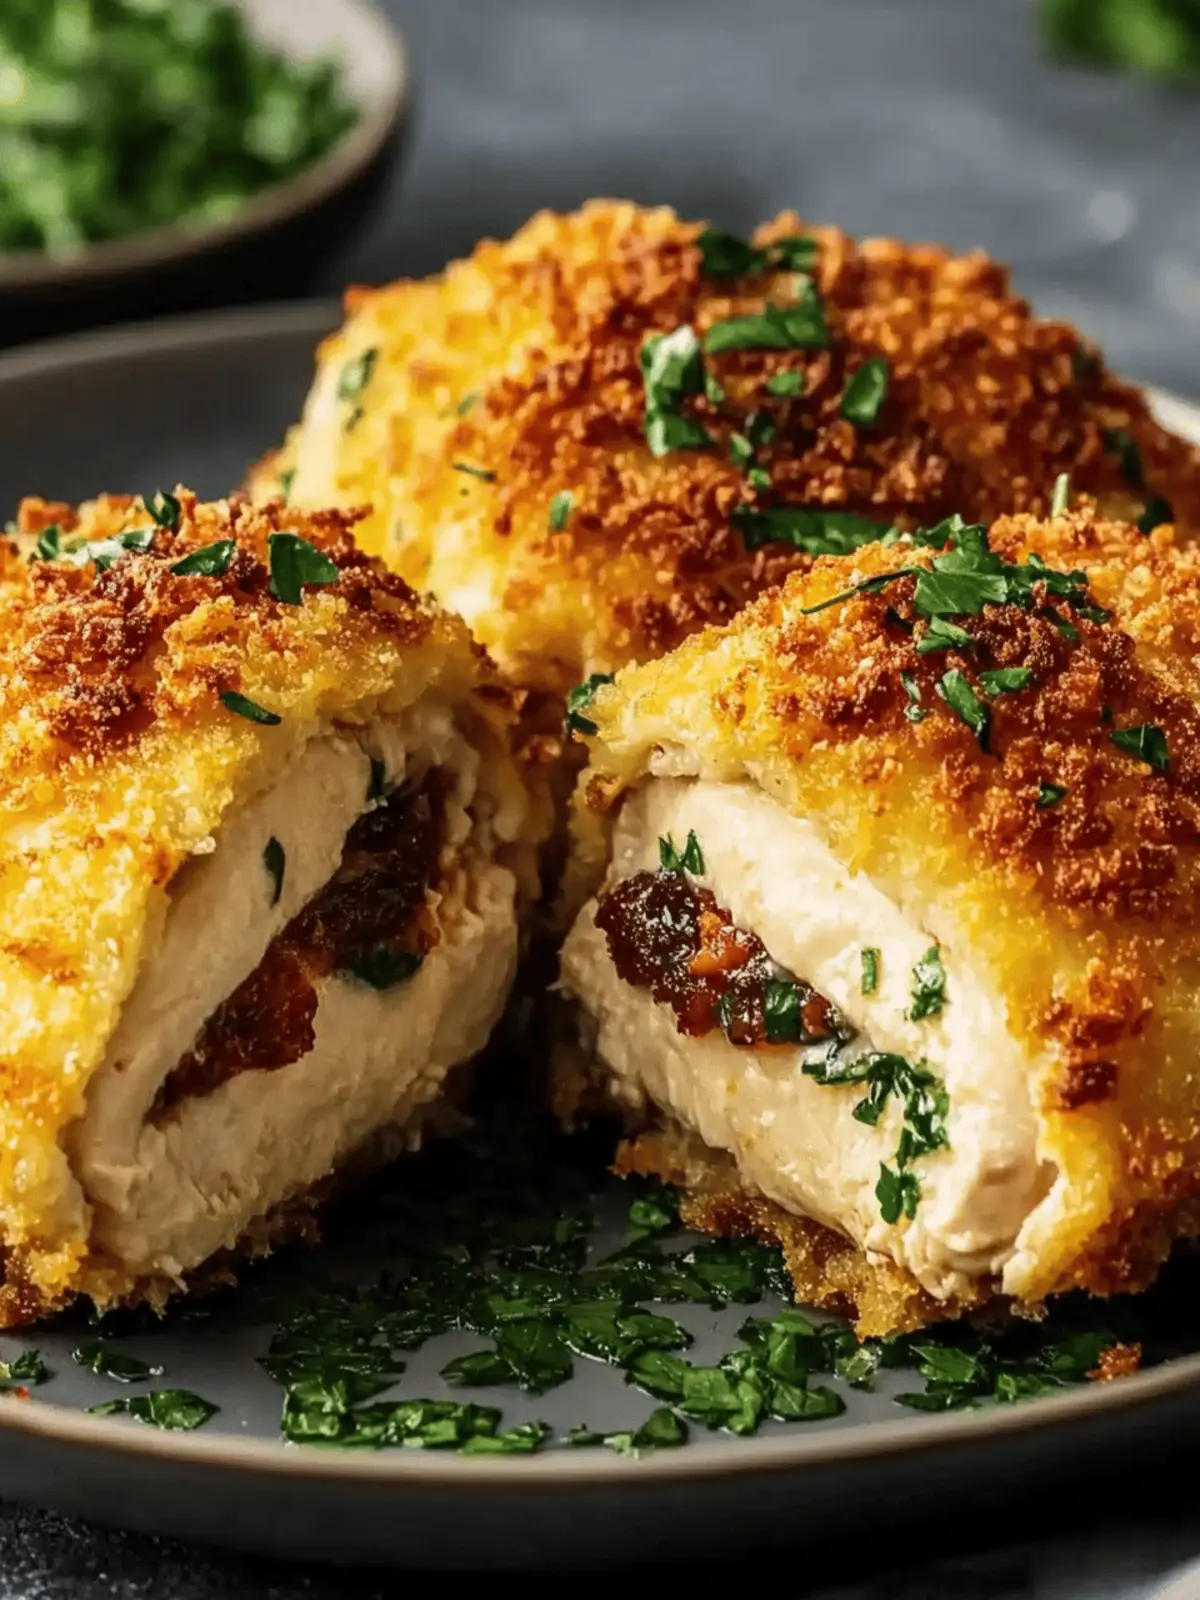
There’s a certain joy that fills the kitchen when I decide to whip up Garlic Butter Chicken Roll-Ups. Just picturing the golden, crispy exterior giving way to a warm, herby butter center makes my mouth water. I discovered this dish after a long day of craving something satisfying yet playful—perfect for indulging without heading out for takeout.
This recipe combines the rich flavors of garlic and fresh herbs with tender chicken breasts, delivering a delightful twist reminiscent of Chicken Kiev, but easier to prepare at home. With just a handful of ingredients and simple steps, it becomes a crowd-pleaser for family dinners or cozy gatherings with friends. Plus, the transformation from ordinary chicken to extraordinary roll-ups is nothing short of magic. Whether you’re a seasoned chef looking to impress or an everyday cook seeking to elevate weeknight meals, these roll-ups will quickly become a cherished favorite. Let’s dive into the joy of cooking together!
Why will you love Chicken Kiev roll-ups?
Irresistible flavors: These Chicken Kiev roll-ups burst with a rich garlic-butter goodness that melts into every bite.
Easy preparation: With simple steps, you can impress your family or friends with a gourmet experience in your own kitchen.
Versatile dish: Perfect for weeknight dinners or special occasions, this recipe suits any gathering.
Crowd-pleaser: The crispy panko coating and tender chicken will have everyone coming back for more!
Customizable: Feel free to mix in your favorite herbs or spices. Discover more delicious variations with your favorite chicken recipes.
Chicken Kiev Ingredients
• Dive into the flavorful world of Chicken Kiev with these key ingredients!
For the Garlic Butter
- Unsalted Butter – gives your roll-ups a rich, creamy base.
- Garlic – fresh cloves elevate the taste, ensuring a fragrant, savory filling.
- Fresh Parsley – adds a burst of color and a fresh twist to the filling.
- Fresh Dill – complements the flavors beautifully; substitute with dried dill if needed.
- Salt – essential for bringing all the flavors together.
- Black Pepper – adds a bit of spice to the mix.
- Lemon Juice – a squeeze brightens the butter and balances the richness.
For the Chicken
- Boneless, Skinless Chicken Breasts – the star of your dish; tender and easy to roll.
- Salt & Pepper – perfect for seasoning and enhancing the chicken’s natural flavor.
For the Coating
- All-Purpose Flour – helps create a base for the egg wash, ensuring the crumbs stick.
- Eggs – act as a binding agent to hold the coating together.
- Panko Breadcrumbs – for an extra crispy exterior that makes every bite satisfying.
- Vegetable Oil – for frying to golden perfection; olive oil can be a healthy alternative.
With these ingredients, you’re just a few steps away from crafting delightful Chicken Kiev roll-ups that will leave everyone craving more!
How to Make Chicken Kiev Roll-Ups
-
Mix the Butter: In a bowl, combine the softened unsalted butter with crushed garlic, fresh parsley, dill, salt, black pepper, and a splash of lemon juice. Blend until smooth and shape into a log. Freeze for about 30 minutes until firm.
-
Prepare the Chicken: Take the boneless, skinless chicken breasts and place them between two sheets of plastic wrap. Gently pound each breast to about ¼ inch thick using a meat mallet or rolling pin, then season with salt and pepper.
-
Stuff and Roll: Carefully remove the frozen garlic butter log from the freezer. Place a piece of the butter in the center of each chicken breast. Roll the chicken tightly around the butter, tucking in the edges to seal. Use toothpicks if needed to keep the roll-up intact.
-
Coat the Chicken: Set up a breading station with three shallow dishes: one with all-purpose flour, another with beaten eggs, and the third with panko breadcrumbs. Roll each chicken roll-up first in flour, then dip in egg, and finally coat in breadcrumbs for an even layer.
-
Cook the Roll-Ups: Heat vegetable oil in a large skillet over medium-high heat. Fry the chicken roll-ups for 4-5 minutes on each side or until golden brown and fully cooked through. Alternatively, bake in a preheated oven at 375°F for 20-25 minutes until crispy.
-
Rest and Serve: Once cooked, transfer the roll-ups to a plate and let them rest for 5 minutes before slicing. This resting time helps retain the buttery goodness inside.
Optional: Serve with a squeeze of fresh lemon juice for a zesty finish.
Exact quantities are listed in the recipe card below.
What to Serve with Garlic Butter Chicken Roll-Ups?
Nothing pairs better with these delectable roll-ups than delightful side dishes that complement their rich flavors and crispy texture.
-
Creamy Mashed Potatoes: The buttery smoothness of mashed potatoes creates a comfort food classic that balances the crispy chicken beautifully.
-
Fresh Garden Salad: A crisp salad with mixed greens and a zesty vinaigrette adds brightness, refreshing each bite of the savory roll-ups.
-
Steamed Asparagus: Tender, lightly seasoned asparagus provides a vibrant touch and a satisfying crunch that contrasts with the chicken’s softness.
-
Garlic Bread: Enhance the garlic goodness with warm, toasty garlic bread, perfect for soaking up any buttery goodness that escapes the roll-ups.
-
Roasted Vegetables: A medley of roasted carrots, zucchini, and bell peppers brings earthy flavors to the table, complementing the luxurious butter inside the chicken.
-
Honey Glazed Carrots: The sweet notes from glazed carrots harmonize excellently with the savory roll-ups, enticing everyone to enjoy a bit more.
-
Crispy Brussels Sprouts: These sprouts, roasted until golden and drizzled with balsamic, offer a delightful crunch and tangy kick alongside the chicken.
-
White Wine: A chilled glass of crisp Sauvignon Blanc pairs well with the buttery richness of the chicken, elevating the entire dining experience.
-
Homemade Coleslaw: Add a crunchy, tangy element with a refreshing coleslaw, making every bite an exciting adventure in flavor and texture.
Chicken Kiev Variations
Customize your delicious Chicken Kiev roll-ups with these flavorful twists that will excite your palate!
-
Herbed Variations: Mix in different herbs like thyme or oregano for varied tastes. A blend of herbs can transform the traditional flavor profile into something uniquely yours.
-
Cheesy Delight: Add a slice of mozzarella or cheddar cheese alongside the butter. It provides a gooey, melty surprise that enhances the richness of the dish.
-
Spicy Kick: Incorporate red pepper flakes or a dash of hot sauce into the garlic butter. This simple addition gives your roll-ups a delightful heat that livens things up.
-
Stuffed with Veggies: Try adding finely chopped spinach or sun-dried tomatoes in the chicken roll-up. It ups the nutrition and makes every bite even more colorful and flavorful.
-
Whole Wheat Coating: For a healthier option, substitute panko breadcrumbs with whole wheat breadcrumbs. This keeps the crunch while adding a wholesome twist.
-
Nutty Crunch: Mix crushed nuts, like almonds or walnuts, into the breadcrumb coating. It adds a delightful crunch and a layer of nutty flavor that’s simply irresistible.
-
Zesty Lemon Twist: Enhance your butter with lemon zest for a refreshing citrus punch. This brightens the flavors brilliantly and complements the garlic beautifully.
-
Creamy Sauce: Serve with a homemade garlic cream sauce on the side for drizzling. It makes each bite bright and creamy, taking your roll-ups to gourmet heights.
Expert Tips for Chicken Kiev Roll-Ups
• Butter Consistency: Make sure the butter is soft enough to mix but firm enough to hold its shape when frozen. This ensures a perfectly melty center.
• Chicken Thickness: Pound the chicken to an even ¼ inch to ensure it cooks evenly. This prevents overcooking and dry meat in your Chicken Kiev roll-ups.
• Sealing the Edges: Seal the roll-ups tightly to prevent the garlic butter from leaking out during cooking. Toothpicks can help secure them if needed.
• Coating Technique: For an extra crispy texture, double-dip your chicken in the egg and breadcrumbs. This creates a thicker coating that holds up beautifully during frying or baking.
• Cooking Method: If frying, keep the oil at a constant medium heat to avoid soggy roll-ups. Baking provides a healthier option that’s still delicious!
• Resting Time: Don’t skip the resting time after cooking; it allows the flavors to meld and helps maintain the juiciness of the Chicken Kiev roll-ups.
How to Store and Freeze Chicken Kiev
Room Temperature: Enjoy your Chicken Kiev roll-ups fresh, but if you have leftovers, they should be consumed within 2 hours to ensure food safety.
Fridge: Store leftover roll-ups in an airtight container for up to 3 days. Reheat thoroughly in the oven for the best texture.
Freezer: Freeze uncooked Chicken Kiev roll-ups tightly wrapped in plastic followed by aluminum foil for up to 3 months. Thaw in the refrigerator before cooking.
Reheating: For leftovers, reheat in a preheated oven at 375°F for about 15-20 minutes until heated through and crispy.
Make Ahead Options
The Garlic Butter Chicken Roll-Ups are a fantastic dish to prep in advance, making them perfect for those busy weeknights! You can prepare the garlic butter and roll the chicken up up to 24 hours before cooking; simply wrap the roll-ups tightly in plastic wrap and refrigerate. To maintain their delightful flavor and prevent drying out, remember to seal them well. When it’s time to enjoy, coat the chicken in flour, egg, and panko breadcrumbs before frying or baking until golden brown. This method allows for a quick and easy meal, ensuring each bite is just as delicious as when freshly made.
Garlic Butter Chicken Roll-Ups Recipe FAQs
How do I select the right chicken breasts?
When choosing chicken breasts, look for ones that are plump and firm. The skin should be smooth with no dark spots or discoloration. Fresh is best, so opt for organic or free-range options if available for superior flavor and quality.
What is the best way to store leftovers?
Store any leftover Chicken Kiev roll-ups in an airtight container in the fridge for up to 3 days. If you want to maintain their crispy texture, reheat them in the oven at 375°F for about 15-20 minutes, ensuring they’re heated through.
Can I freeze Chicken Kiev roll-ups?
Absolutely! Freeze uncooked roll-ups wrapped tightly in plastic wrap, then cover with aluminum foil. They can last up to 3 months in the freezer. When ready to cook, simply thaw them in the fridge overnight before frying or baking.
How can I troubleshoot if my roll-ups leak butter while cooking?
If your roll-ups leak butter, it might be due to not sealing them tightly enough. Ensure the chicken is rolled securely around the frozen butter and consider using toothpicks to hold everything together. Also, reduce the cooking temperature to avoid causing the butter to melt out too quickly.
Can I use a different type of oil for frying?
Certainly! While vegetable oil is ideal for frying, you can substitute it with canola or peanut oil, both of which have high smoke points. Alternatively, for a healthier option, bake the roll-ups in the oven for the same crispy result without the need for frying.
Are there any dietary considerations I should be aware of?
If you’re cooking for someone with dietary restrictions, be mindful of allergens. This recipe contains dairy (in the butter) and can include gluten (from the flour and panko). For a gluten-free version, try using gluten-free breadcrumbs and flour, and ensure a dairy-free butter alternative is used.
Delicious Chicken Kiev Roll-Ups You’ll Crave Tonight
Ingredients
Equipment
Method
- In a bowl, combine the softened unsalted butter with crushed garlic, fresh parsley, dill, salt, black pepper, and a splash of lemon juice. Blend until smooth and shape into a log. Freeze for about 30 minutes until firm.
- Take the boneless, skinless chicken breasts and place them between two sheets of plastic wrap. Gently pound each breast to about ¼ inch thick using a meat mallet or rolling pin, then season with salt and pepper.
- Carefully remove the frozen garlic butter log from the freezer. Place a piece of the butter in the center of each chicken breast. Roll the chicken tightly around the butter, tucking in the edges to seal. Use toothpicks if needed to keep the roll-up intact.
- Set up a breading station with three shallow dishes: one with all-purpose flour, another with beaten eggs, and the third with panko breadcrumbs. Roll each chicken roll-up first in flour, then dip in egg, and finally coat in breadcrumbs for an even layer.
- Heat vegetable oil in a large skillet over medium-high heat. Fry the chicken roll-ups for 4-5 minutes on each side or until golden brown and fully cooked through. Alternatively, bake in a preheated oven at 375°F for 20-25 minutes until crispy.
- Once cooked, transfer the roll-ups to a plate and let them rest for 5 minutes before slicing. This resting time helps retain the buttery goodness inside.

