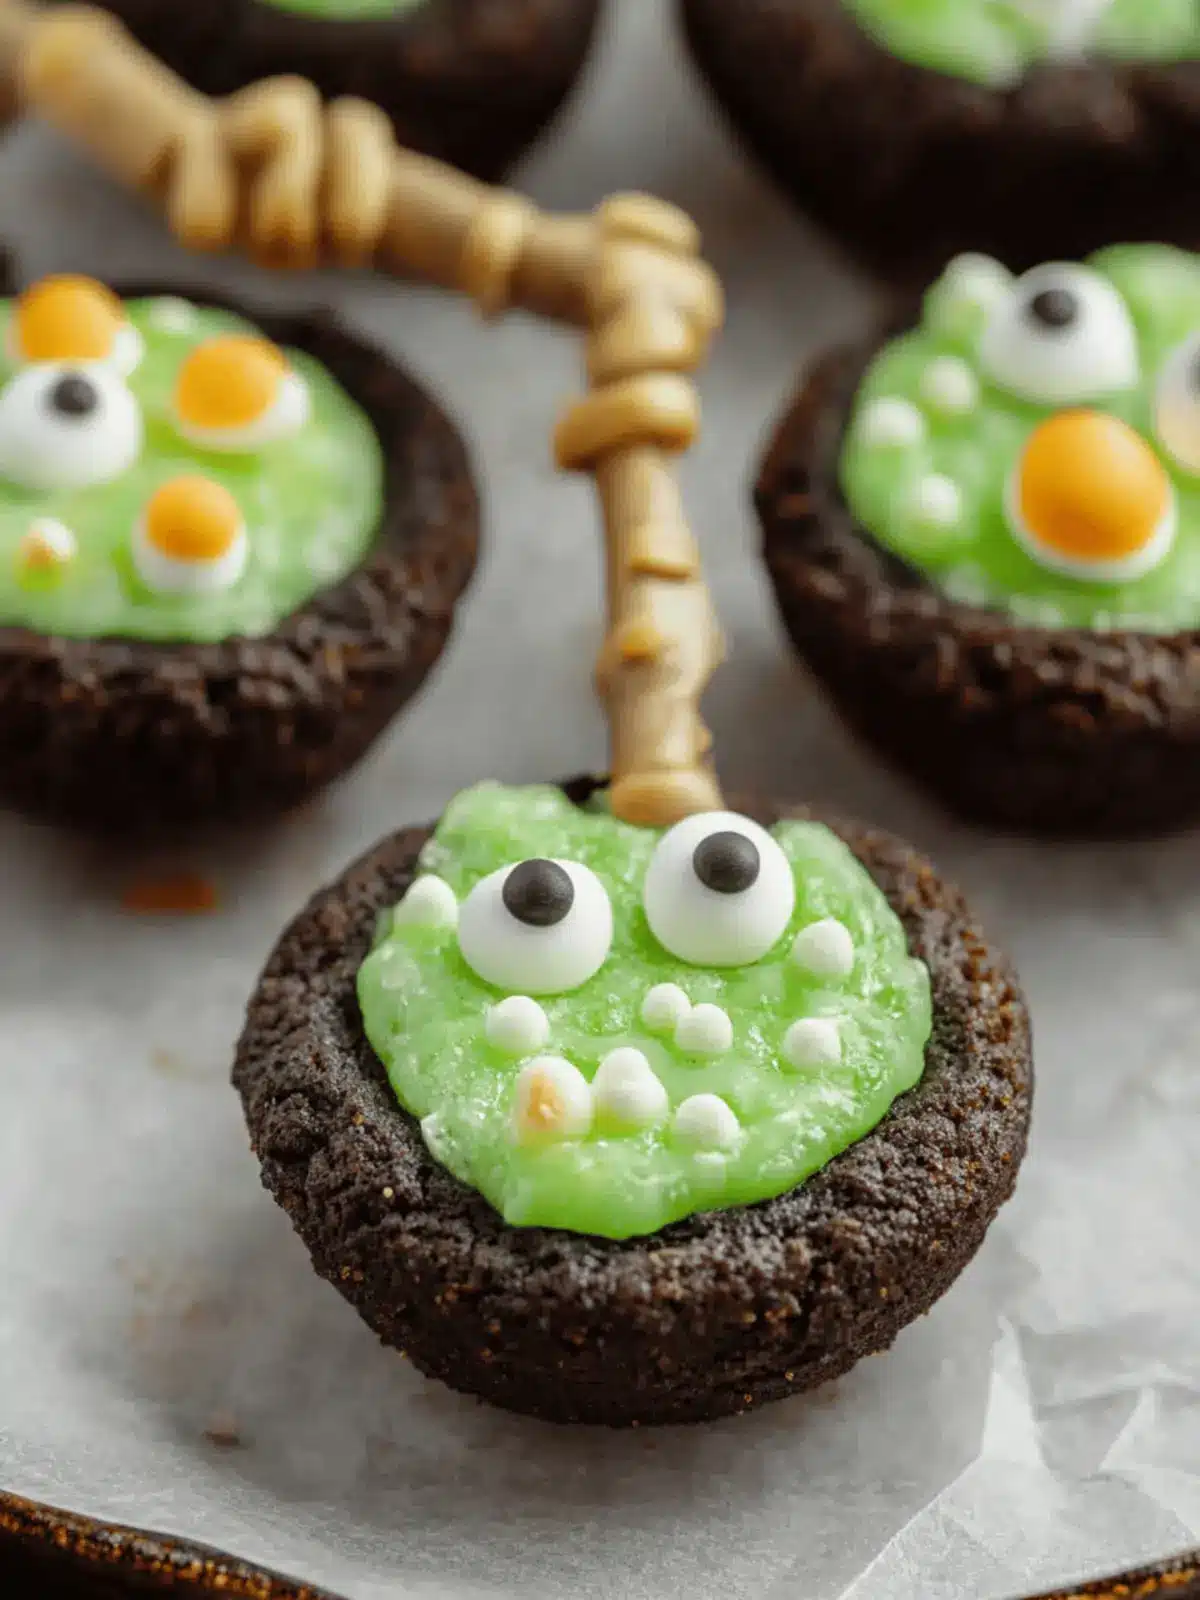
As the crisp autumn air sweeps in and the leaves begin to paint the world in shades of orange and gold, my thoughts drift to all things spooky and sweet. This is the perfect time to whip up a batch of Easy Cauldron Cookies—delightful little treats that are not only easy to prepare but also guaranteed to be a hit at your Halloween gatherings. With their soft, cake-like texture and light chocolate flavor, these cookie cups look just like bubbling cauldrons, topped with vibrant green buttercream that invites creativity and fun.
I discovered this recipe while reminiscing about childhood Halloween parties, where treats were as essential as costumes. Whether you’re baking with kids or looking for a festive dessert to impress friends, these cookies tick all the boxes. And the best part? You can easily customize them to match your Halloween spirit, making them a versatile addition to any celebration. Get ready to unleash your inner witch or wizard and conjure up some magic in your kitchen!
Why are Easy Cauldron Cookies a Halloween Essential?
Simplicity makes these cookies perfect for any skill level, ensuring everyone can join in on the fun. Customizable decor lets your creativity shine; switch up colors and toppings to fit your theme! Kid-Friendly and engaging, they’re a hit for family baking days. Quick to prepare, you can whip these up in under an hour—ideal for last-minute gatherings. Deliciously festive, their soft chocolate base and vibrant buttercream will charm all your guests at Halloween parties!
Easy Cauldron Cookies Ingredients
• The key to making these Easy Cauldron Cookies is having all the ingredients at hand.
For the Cookie Cups
- Devil’s Food Cake Mix – An easy and chocolatey base; feel free to use any cake mix flavor for a different twist.
- Large Eggs – Essential for binding, creating that perfect moist texture; no substitutes needed here.
- Canola or Vegetable Oil – Adds moisture for softer cookies; melted butter can enhance the flavor if you prefer.
- Black Food Coloring (optional) – This spooky touch darkens the cookie cups for a festive flair; omit if you want a classic look.
For the Buttercream Frosting
- Unsalted Butter – The creamy base for your frosting; make sure it’s softened for easy mixing.
- Powdered Sugar – Sweetens and provides structure to the frosting; there’s no substitute for this key ingredient.
- Vanilla Extract – A splash adds depth to the buttercream, with pure vanilla giving the best results.
- Salt – Just a pinch balances the sweetness beautifully; skip it if using salted butter.
- Milk (1-3 tablespoons) – Adjusts the frosting’s creaminess; non-dairy milk is a great alternative.
- Green Food Coloring – Perfect for creating that potions-like buttercream color; use any hue for variety.
For Decorating
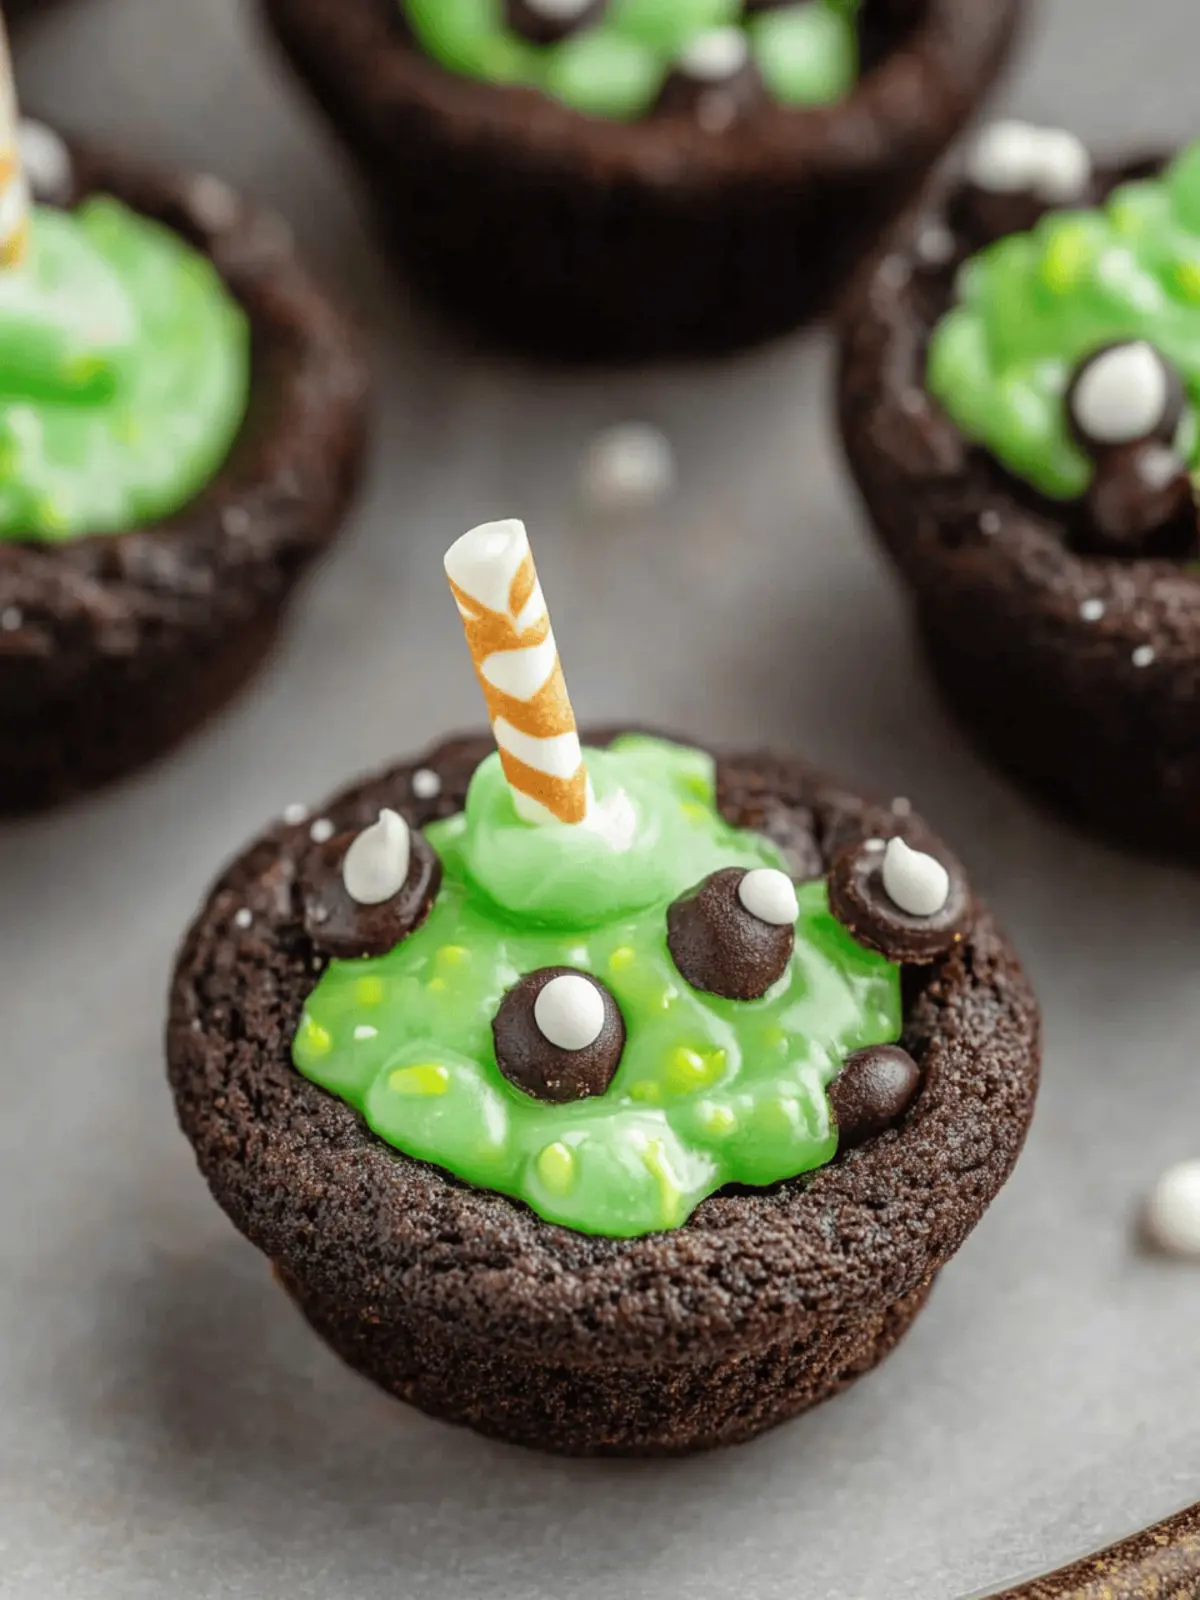
- Round Green Sprinkles, Halloween Sprinkles, Candy Eyeballs, Pretzel Sticks – Fun toppings to enhance the appearance; feel free to swap with your favorite Halloween treats!
How to Make Easy Cauldron Cookies
-
Preheat your oven to 350°F and grease three mini muffin pans lightly to prevent sticking. This will prepare your pans for cookie magic!
-
Mix the cake mix, eggs, oil, and optional black food coloring in a bowl until well combined. You want a smooth batter that’s ready for baking!
-
Scoop about 1/2 tablespoon of dough into each muffin cup, flattening it slightly with a spoon. This will help create that perfect cauldron shape.
-
Bake for 8-10 minutes until the edges are set and the tops look slightly puffed. As soon as they’re out, make indents in the warm cookies to prepare for the frosting.
-
Cool the cookie cups completely on a wire rack while you prepare the buttercream. This step ensures the frosting won’t melt upon application.
-
Beat the softened butter in a mixing bowl until creamy. Then, gradually add the powdered sugar, vanilla, salt, and milk to create a smooth buttercream. Color it with green food coloring to achieve that potion-like effect!
-
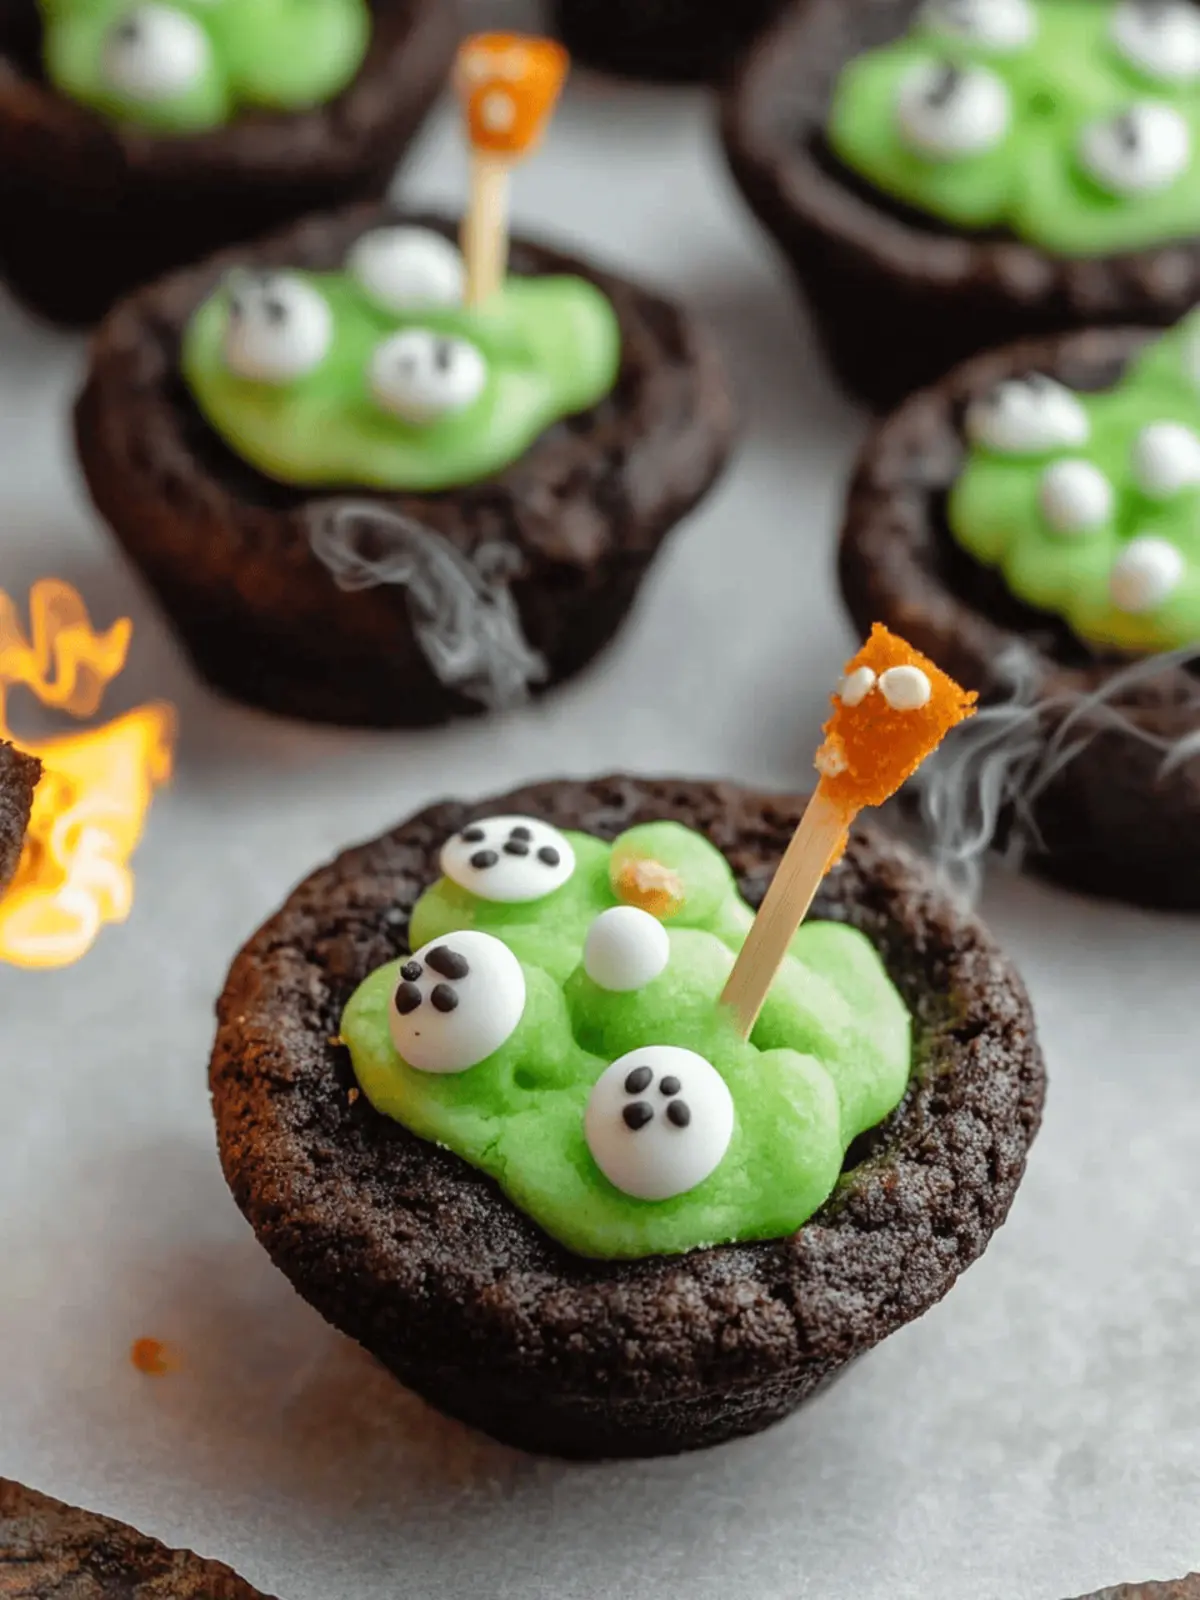
Pipe the green buttercream into the cooled cookie cups, decorate with sprinkles, candy eyeballs, and place pretzel sticks as fun stir sticks. Enjoy the festivity of your creation!
Optional: Add edible glitter for a magical touch!
Exact quantities are listed in the recipe card below.
Expert Tips for Easy Cauldron Cookies
-
Chill Your Dough: Letting the cookie dough chill for 30 minutes can help prevent spreading, resulting in better-shaped cauldrons.
-
Make Indents Wisely: Use the back of a teaspoon to create uniform indents in the warm cookies. This helps maintain their shape while allowing ample space for frosting.
-
Avoid Melting Frosting: Ensure cookie cups are completely cool before piping frosting. This prevents the buttercream from melting into a puddle!
-
Experiment with Flavors: Don’t hesitate to play with different cake mixes or frosting flavors—these Easy Cauldron Cookies are all about customization and creativity.
-
Decorate Creatively: Get creative with your toppings! Use colored sprinkles or even bits of chocolate to give each cauldron a unique look and feel.
-
Storage Matters: Keep your decorated cookies in an airtight container at room temperature. They typically stay fresh for 3-4 days, perfect for enjoyable treats at Halloween festivities.
What to Serve with Easy Cauldron Cookies?
Treat your Halloween guests to a full culinary experience that delights the senses.
- Hot Cocoa: A warm cup of cocoa is the perfect accompaniment, balancing the sweetness of the cookies while providing a cozy vibe.
- Caramel Apple Slices: These juicy slices add a fresh crunch and a touch of tanginess to contrast the soft, sweet cookies.
- Ghostly Panna Cotta: Creamy and subtly sweet, this dessert brings a sophisticated touch, making a festive finish to your Halloween spread.
- Pumpkin Spice Latte: This spiced beverage echoes the season’s flavors, creating a comforting pairing with the chocolatey goodness of the cauldron cookies.
- Spooky Cheese Platter: Include a variety of cheeses, crackers, and Halloween-themed decorations. It offers a savory complement to the sweet cookies and rounds out your treats beautifully.
- Mummy Dogs: These whimsical hot dog treats wrapped in crescent dough add a fun and savory touch, pleasing both kids and adults alike.
- Witch’s Brew Punch: A fruity, fizzy drink with a hint of green will charm guests and ties in its festive spirit!
- Boozy Apple Cider: Elevate the party with this adult twist, providing a warm, spiced flavor that pairs wonderfully with the cookies’ sweetness.
- Chocolate-Dipped Pretzel Rods: The salty-sweet combo adds a unique crunch and a delightful element of surprise that will keep everyone coming back for more.
Storage Tips for Easy Cauldron Cookies
Room Temperature: Store decorated Easy Cauldron Cookies in an airtight container at room temperature for up to 3-4 days to maintain freshness and avoid drying out.
Fridge: If you prefer a longer storage solution, keep your cookies in the refrigerator for up to one week. Just ensure they’re in a sealed container to prevent them from absorbing any odors.
Freezer: For longer-term enjoyment, freeze undecorated cookie cups for up to 3 months. Place them in a freezer-safe bag or airtight container, separating layers with parchment paper.
Reheating: When ready to enjoy, thaw in the fridge overnight and reheat briefly in the microwave for a few seconds to restore their softness. Avoid reheating decorated cookies to prevent melting the frosting.
Easy Cauldron Cookies Variations
Dive into a world of creativity with these delicious cookie treats! Feel free to personalize your Easy Cauldron Cookies and explore delightful twists on this Halloween favorite.
-
Brownie Base: Swap the devil’s food cake mix for brownie mix to create a fudgier, richer cookie cup. The gooey texture pairs beautifully with the frosting!
-
Cream Cheese Frosting: Replace the buttercream with tangy cream cheese frosting for a delicious contrast to the sweetness. This twist will elevate the flavors and deepen the festive spirit.
-
Store-Bought Frosting: In a time crunch? Use store-bought frosting and simply tint it with food coloring to match your Halloween theme. It’s a quick way to save time without sacrificing taste!
-
Gluten-Free Option: Substitute the cake mix with a gluten-free chocolate cake mix for a delightful treat suited for everyone. Just ensure all other ingredients are also gluten-free.
-
Nutty Surprise: Add crushed walnuts or pecans to your brownie base for a delightful crunch. This twist enhances the texture and introduces a nutty flavor to every bite.
-
Flavored Sprinkles: Use flavored sprinkle options, like orange or chocolate, in place of traditional sprinkles for added fun. This small change makes your cauldrons even more whimsical and delicious!
-
Spicy Kick: If you enjoy a bit of heat, fold in a pinch of cayenne pepper or cinnamon to the cookie dough. A little spice adds unexpected warmth alongside the sweetness!
-
Fruit Infusion: Mix in small bits of dried fruits like cranberries or cherries for a chewy surprise! Their tartness balances the sweetness while providing a pop of color.
Make Ahead Options
These Easy Cauldron Cookies are a fantastic choice for meal prep, allowing you to enjoy festive treats with ease! You can prepare the cookie cups up to 24 hours in advance by baking them and storing them in an airtight container at room temperature. To keep them fresh, ensure they are completely cooled before sealing to avoid moisture. Additionally, you can make the buttercream frosting up to 3 days ahead and refrigerate it in a sealed container. When it’s time to serve, simply pipe the frosting into the cookie cups and decorate as desired. With these make-ahead tips, you’ll have delicious cookies ready for any Halloween celebration without the last-minute rush!
Easy Cauldron Cookies Recipe FAQs
How do I choose the best cake mix for Easy Cauldron Cookies?
Absolutely! While Devil’s Food Cake Mix is a fantastic choice for a rich chocolate flavor, feel free to switch it up by using any boxed cake mix flavor you like. Vanilla or red velvet can offer different tastes and visuals for your cauldrons. Just keep in mind that the flavor of the cake mix will play a significant role in the final taste of your cookies!
How should I store my Easy Cauldron Cookies after making them?
For optimal freshness, store your decorated Easy Cauldron Cookies in an airtight container at room temperature for up to 3-4 days. If you need to store them longer, they can stay in the fridge for up to one week. Just remember to keep them covered to avoid any weird fridge odors creeping in!
Can I freeze the cookie cups or frosting separately?
Yes! You can absolutely freeze your undecorated cookie cups for up to 3 months. Place them in a freezer-safe bag or container, with parchment paper between layers to prevent sticking. For the buttercream frosting, it can also be frozen in an airtight container; just thaw it overnight in the fridge when you’re ready to use it. After thawing, whip it for a minute to restore its creamy texture before piping.
What should I do if my cookies spread too much while baking?
The more the merrier! If your cookies spread too much, don’t worry—it happens to the best of us! To prevent this next time, chilling your dough for about 30 minutes before baking can help. Also, ensure that your baking powder and soda are fresh, as old leavening agents can cause unexpected spreading.
Are there any allergy considerations for Easy Cauldron Cookies?
Yes, indeed! If you’re baking for someone with food allergies, it’s important to take those into consideration. The main allergens in this recipe include eggs, wheat (from the cake mix), and dairy (from the butter). You can use egg substitutes like applesauce or a flax egg for a vegan version, and opt for gluten-free cake mix if necessary. Always double-check your ingredients for any potential allergens, especially if you plan on serving these cookies to friends or family!

Easy Cauldron Cookies: Spooktacular Treats for Halloween Fun
Ingredients
Equipment
Method
- Preheat your oven to 350°F and grease three mini muffin pans lightly to prevent sticking.
- Mix the cake mix, eggs, oil, and optional black food coloring in a bowl until well combined.
- Scoop about 1/2 tablespoon of dough into each muffin cup, flattening it slightly with a spoon.
- Bake for 8-10 minutes until the edges are set and tops look slightly puffed. Make indents in warm cookies.
- Cool cookie cups completely on a wire rack.
- Beat softened butter in a mixing bowl until creamy. Gradually add powdered sugar, vanilla, salt, and milk.
- Pipe green buttercream into cooled cookie cups, decorate with sprinkles, candy eyeballs, and pretzel sticks.

