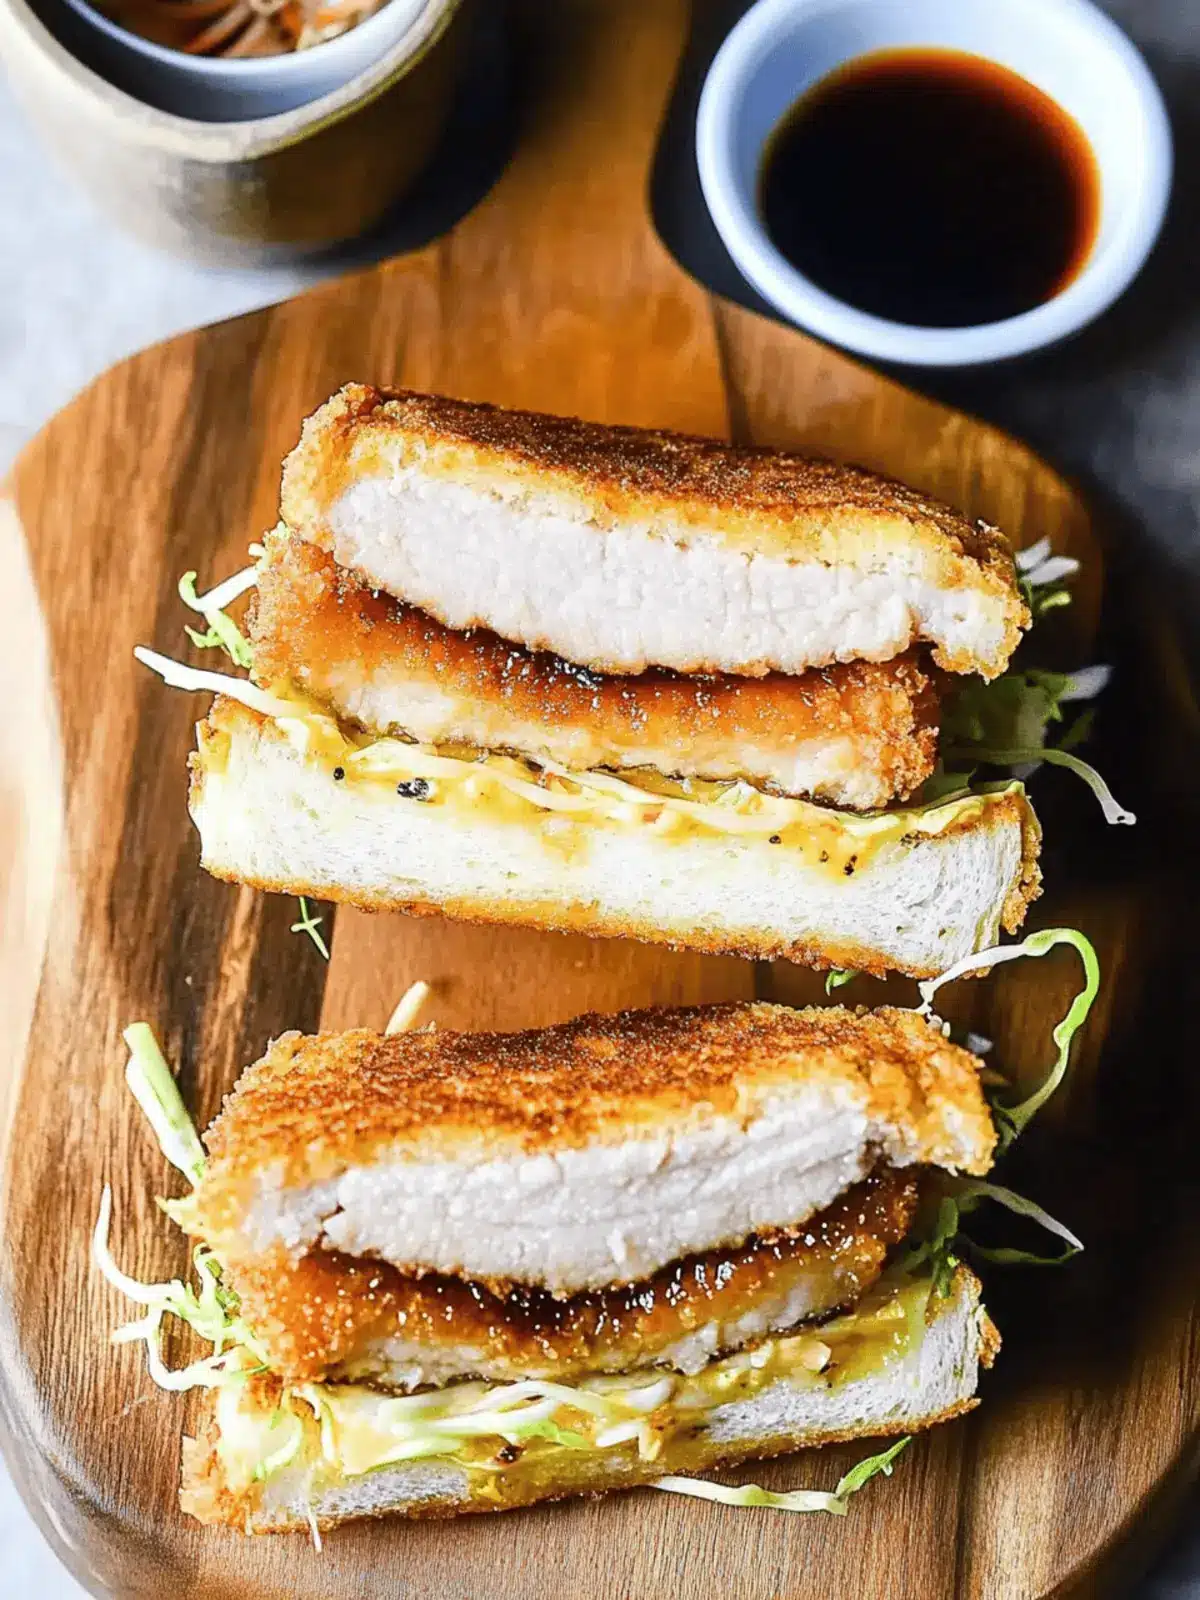
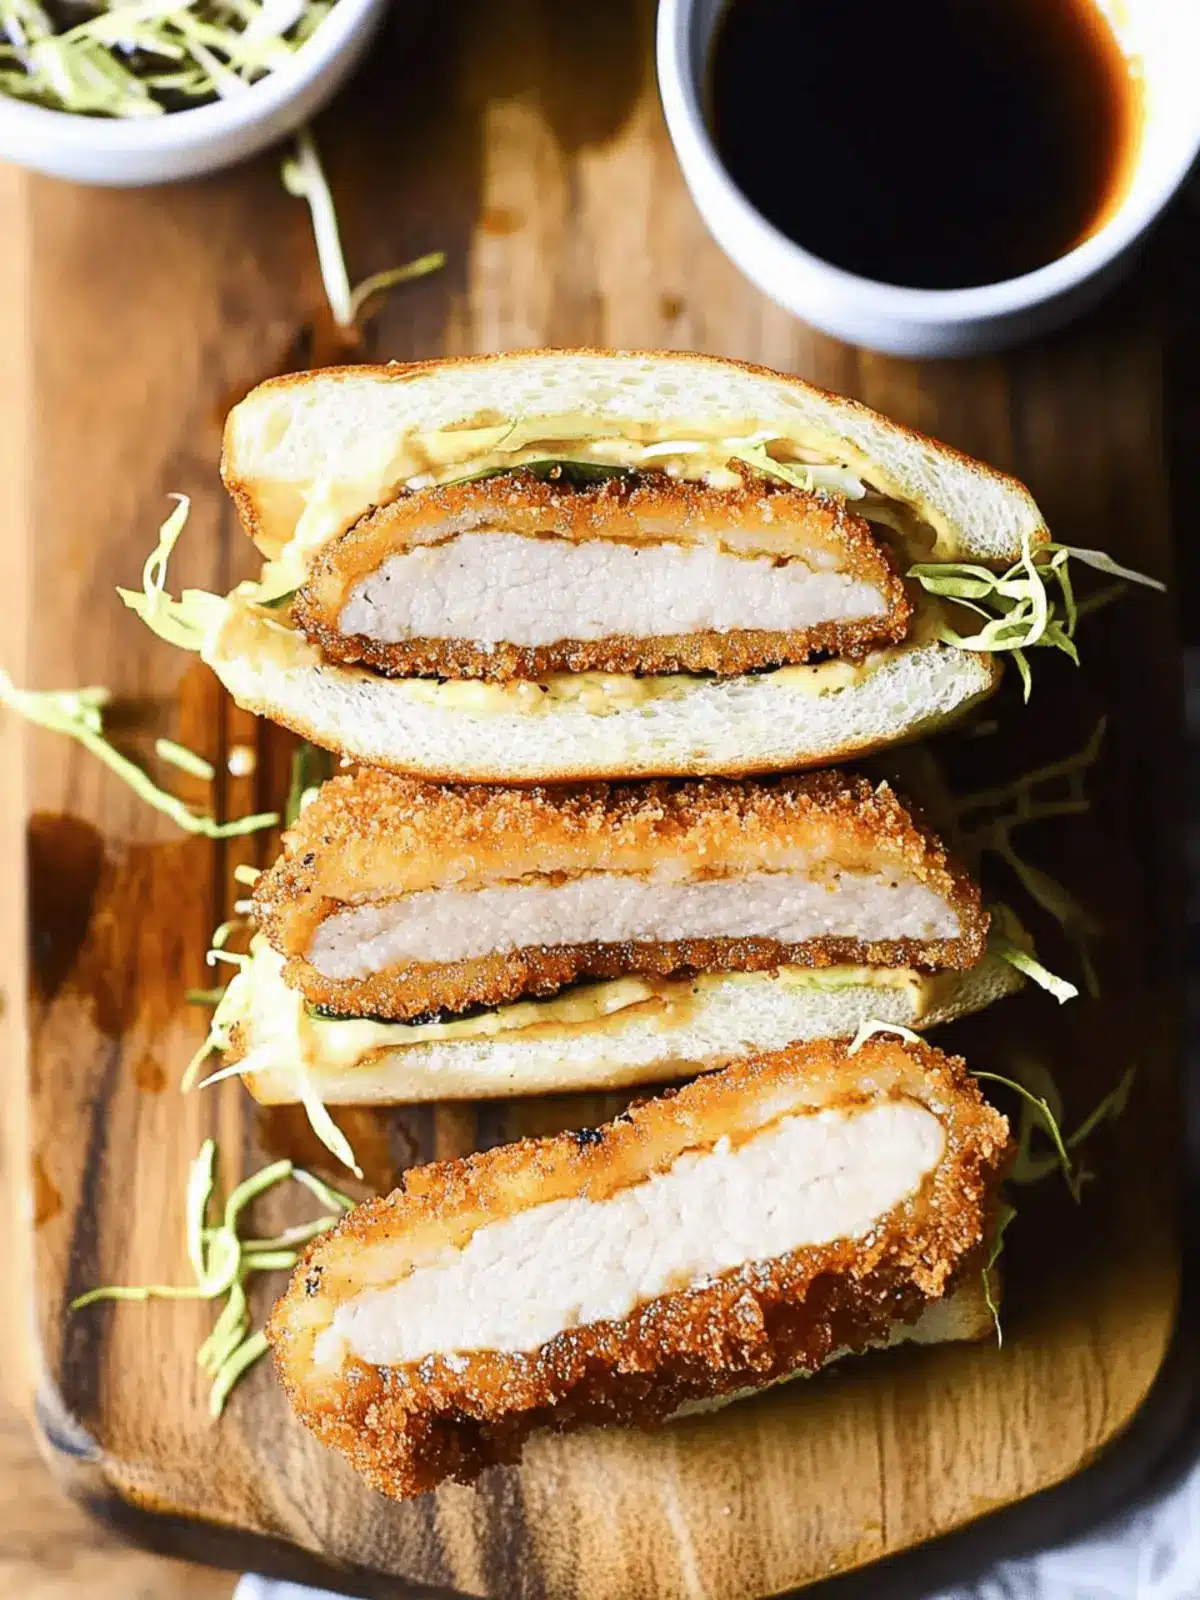
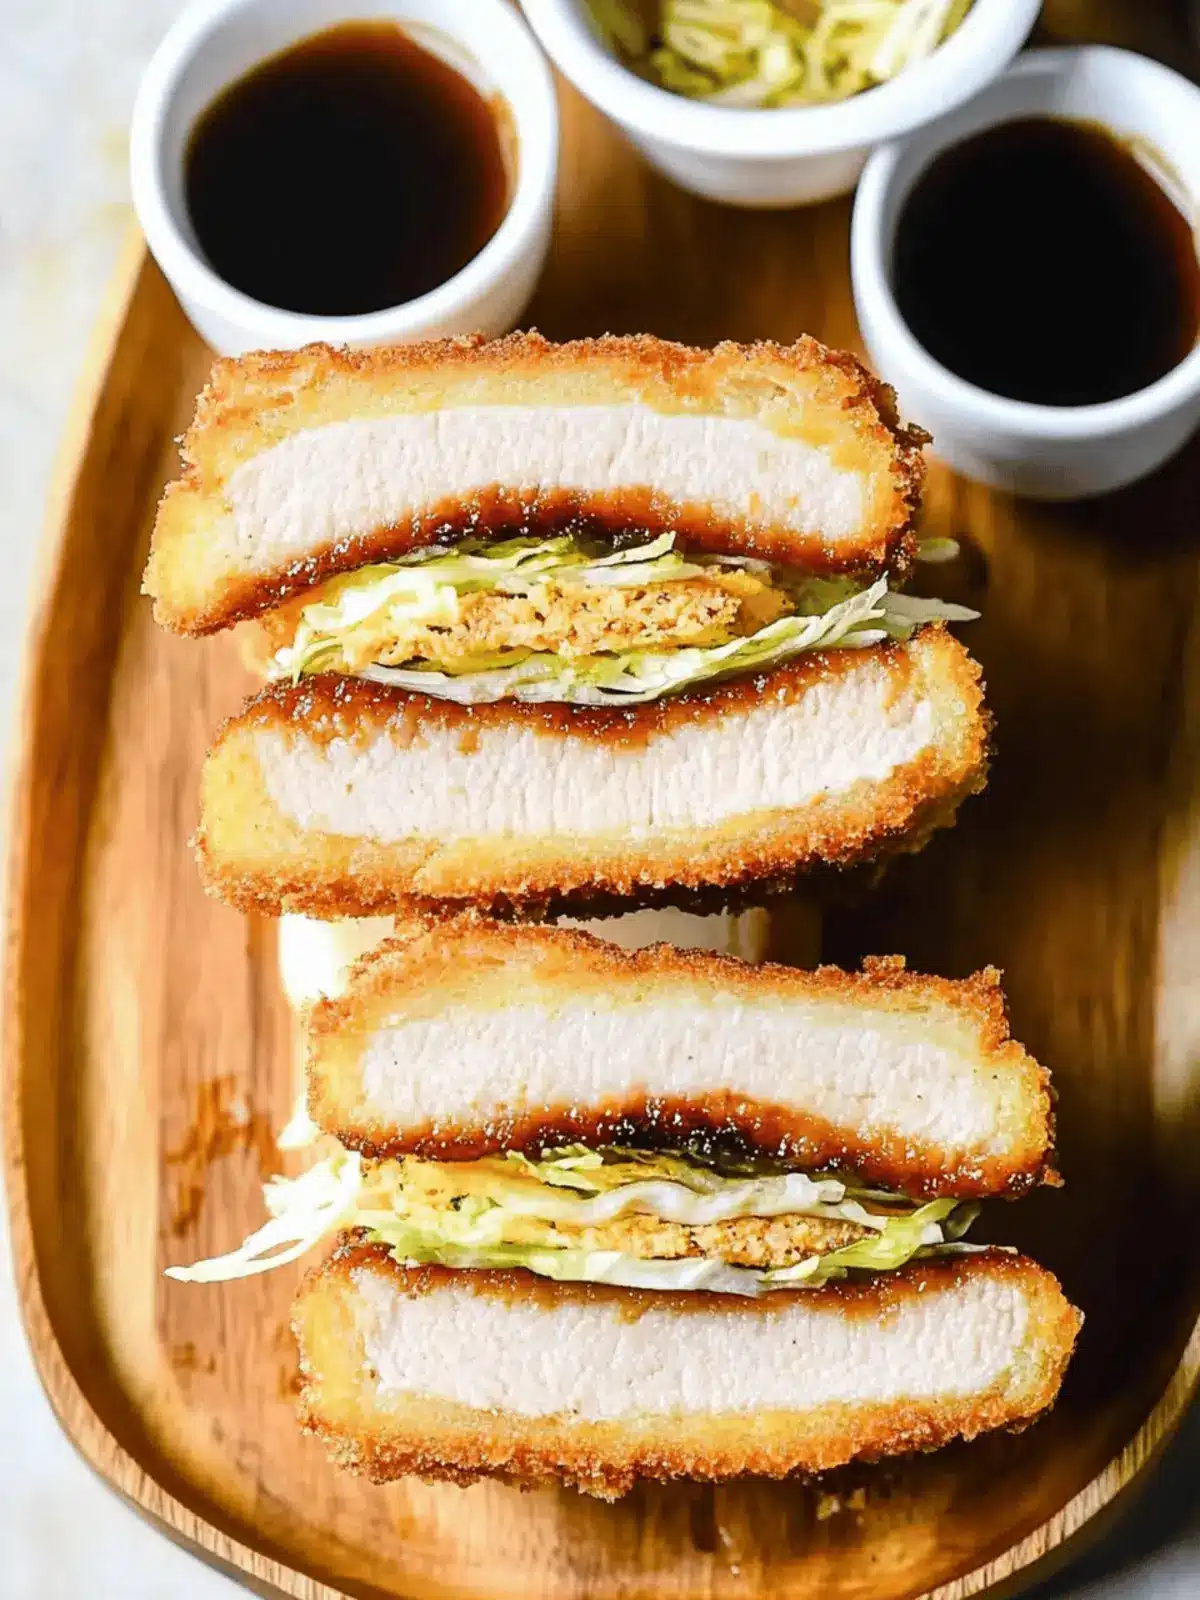
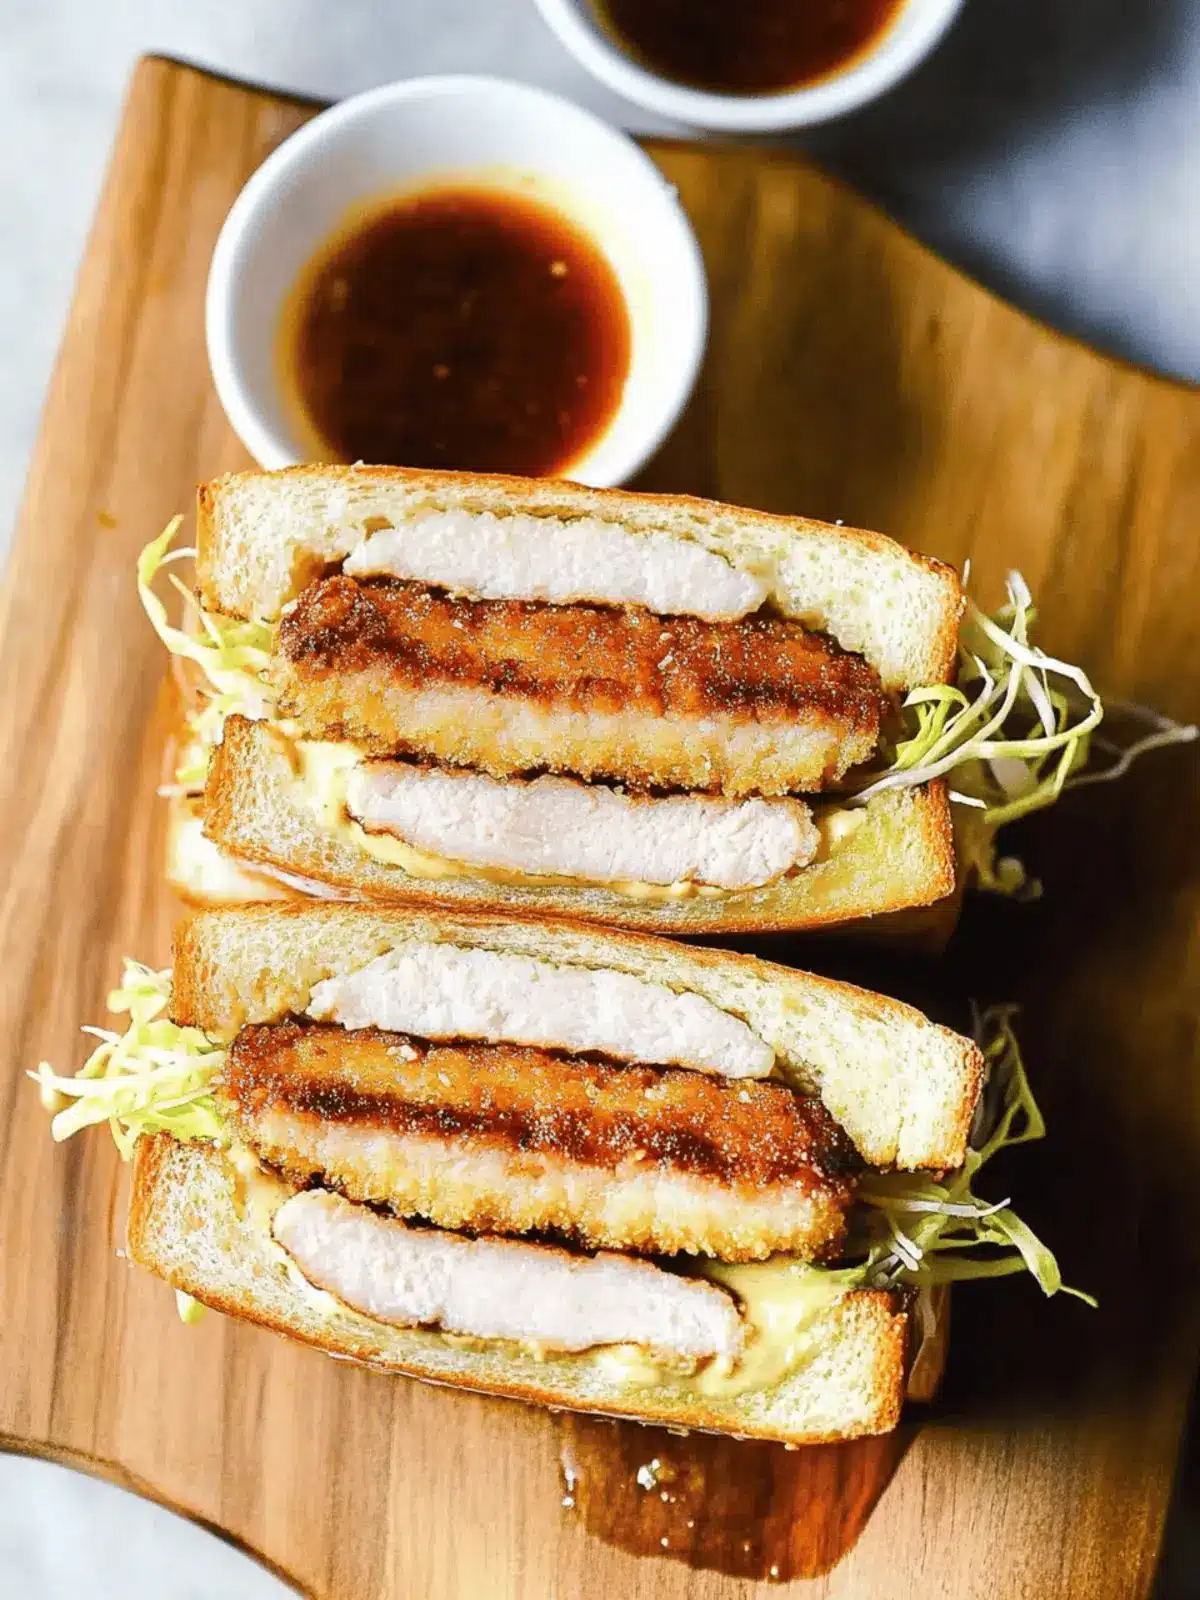
There’s something undeniably comforting about sinking your teeth into a perfectly crispy Katsu Sando. As I carefully coat each tender pork cutlet and breathe in the heavenly aroma of frying, I’m reminded of how simple ingredients can lead to an extraordinary experience. This classic Japanese sandwich, with its golden crust and luscious fillings, is my go-to for elevating lunch from mundane to memorable.
Whether you’re new to Japanese cuisine or already have a keen appreciation for its savory delights, this recipe brings joy to any table. What truly sets this Katsu Sando apart are the choices—you can drizzle it with a zesty homemade Japanese mustard mayo or a rich red miso sauce, ensuring every bite is bursting with flavor. Serve it up for a fulfilling meal or a delightful snack, and watch as it transforms your weeknight routine into a cozy culinary adventure. Let’s dive into making your new favorite comfort sandwich!
Why is Pork Katsu Sando a Showstopper?
Crispy Perfection: The double-frying technique creates an irresistible crunch that takes your sandwich to the next level.
Flavor Infusion: With options like tangy homemade mustard mayo or umami-packed red miso sauce, each bite is a flavor explosion.
Customizable Delight: Easily swap proteins or breads to suit your taste—try chicken or even a vegetarian option!
Quick Prep: Just a few simple steps stand between you and this delectable creation, making it an ideal weeknight gem.
Crowd Pleaser: Perfect for lunch or dinner, this sandwich will impress friends and family alike, turning any meal into a special occasion.
For more delicious ideas, check out our recipe variations to elevate your meal even further!
Pork Katsu Sando Ingredients
For the Sandwich
- Pork Tenderloin Fillet – Choose the freshest cut for the juiciest results in your Pork Katsu Sando.
- Salt and Pepper – Essential for enhancing the pork’s natural flavors; adjust to suit your taste.
- Cooking Oil (for frying) – A high smoke-point oil like vegetable oil is crucial for achieving that perfect crispy texture.
- All-purpose Flour – This creates a base coating for your pork; gluten-free flour works as a suitable alternative.
- Egg – Helps the panko adhere nicely, creating that coveted crunch; a flax egg substitutes well for vegans.
- Milk – Adds creaminess to the egg wash; feel free to use non-dairy milk as a replacement.
- Panko Breadcrumbs – Their unique texture delivers maximum crunch; regular breadcrumbs can work, but expect a different outcome.
- White Bread – The classic choice for holding all those delicious fillings; whole wheat or gluten-free bread are tasty substitutions.
- Butter (for spreading) – Provides richness and aids in achieving that golden-brown crust; dairy-free butter can be used as well.
- Worcestershire Sauce – Adds an extra layer of flavor; opt for a gluten-free version if needed.
- Green Cabbage – Offers a refreshing crunch; swap in red cabbage for a vibrant twist.
For the Sauces
- Japanese Mustard Mayo – A tangy addition that elevates the sandwich; substitute with smooth Dijon mustard if you’re in a pinch.
- Red Miso Sauce – Imparts a unique umami flavor; feel free to experiment with different miso types for varied taste profiles.
Get ready to savor the delightful taste of your homemade Pork Katsu Sando!
How to Make Pork Katsu Sando
- Prepare Pork: Slice the pork tenderloin into 1.5 to 2 cm thick pieces. Tenderize them gently through the meat and season with salt and pepper to enhance flavor.
- Chill: Wrap the seasoned pork in plastic wrap and freeze for about 30 minutes. This helps firm up the shape, making it easier to fry.
- Make Sauces: For the Japanese mustard mayo, whisk together your ingredients until smooth. For the red miso sauce, combine all ingredients in a pot and simmer on low until thickened.
- Set Up Breading Stations: In three separate bowls, arrange flour, beaten egg, and panko breadcrumbs. This setup makes coating the pork a breeze!
- Coat Pork: Dredge each piece of pork first in flour, then dip it into the egg mixture, and finally coat it thoroughly with panko breadcrumbs for that crunchy finish.
- First Fry: Heat your oil to 160°C (320°F). Fry the coated pork for about 4 minutes on each side until golden brown and crispy. Let it rest on a wire rack to maintain the crunch.
- Second Fry: Increase the oil temperature to 180°C (356°F) and fry the pork for an additional minute on each side. This step ensures an ultra-crispy texture!
- Assemble Sandwich: Spread butter on one side of each bread slice. Drizzle Worcestershire sauce on the fried pork, layer on the shredded cabbage, and place the pork cutlet inside the bread.
- Cut and Serve: Trim the crusts if desired, cut your Katsu Sando in half, and enjoy this delightful treat!
Optional: Serve with pickles or a side of miso soup for a complete meal.
Exact quantities are listed in the recipe card below.

How to Store and Freeze Pork Katsu Sando
-
Room Temperature: Best enjoyed fresh, but you can leave it at room temperature for up to 2 hours if serving immediately.
-
Fridge: Leftover Pork Katsu Sando can be stored in an airtight container for up to 1 day. The bread may lose its crispiness, so reheat before serving.
-
Freezer: For longer storage, freeze assembled sandwiches tightly wrapped in plastic wrap for up to 2 months. Reheat directly from the freezer in an oven or skillet for optimal texture.
-
Reheating: To revive your Katsu Sando, preheat your oven to 350°F (175°C) and bake for about 10 minutes, ensuring it’s hot and crisp. Enjoy every bite!
Pork Katsu Sando Variations
Ready to make your Katsu Sando even more unforgettable? There are so many delightful twists you can try!
-
Dairy-Free: Swap regular milk and butter for non-dairy versions to create a vegan-friendly sandwich that still packs a flavor punch.
-
Gluten-Free: Use gluten-free flour and breadcrumbs for celiacs or those avoiding gluten, ensuring everyone can enjoy this crispy delight.
-
Hot & Spicy: For a spicy kick, add a touch of sriracha or some chili flakes to the mayonnaise or mix it into the miso sauce for an exciting flavor twist.
-
Protein Variation: Experiment with chicken, tofu, or even eggplant slices instead of pork for a different take, catering to different palates and dietary preferences.
-
Fresh Herbs: Add a handful of fresh cilantro or basil into your sauce mix to infuse each bite with a vibrant, aromatic flavor that will elevate your Katsu Sando experience.
-
Texture Boost: Layer in crispy fried onions or pickled jalapeños for an added crunch and tang, creating a delightful contrast with the softness of the bread.
-
Different Sauces: Try swapping out the sauces entirely! A creamy avocado spread or a zesty kimchi mayo could offer a refreshing alternative that turns tradition on its head.
-
Breading Twist: For an extra crunch, create a double-layered breading by first dipping the cutlets in seasoned flour, then eggs, and back into the flour before coating in panko. This provides an extra thick crispy crust!
Expert Tips for Pork Katsu Sando
-
Perfect Pork Thickness: Ensure your pork cutlets are evenly cut to about 1.5 to 2 cm thick. This helps them cook evenly and stay juicy.
-
Frozen Firmness: Freezing the pork for 30 minutes not only aids in shaping but also enhances its texture. Don’t skip this step!
-
Double Frying: Master the two-stage frying technique for an irresistibly crispy exterior. The first fry cooks through, while the second achieves that delightful crunch.
-
Panko Placement: Press the panko breadcrumbs firmly onto the pork to ensure they adhere well. This prevents them from falling off during frying, ensuring a perfectly crispy Pork Katsu Sando.
-
Temperature Control: Monitor your oil temperature closely. If it’s too hot, the coating may burn before the pork is cooked; too cool, and you’ll end up with greasy meat.
-
Flavor Your Bread: Spread butter on the bread before assembly for a richer flavor and that golden crust. Don’t forget to layer in the crunch of cabbage for a balanced bite!
What to Serve with Pork Katsu Sando?
To create a delightful meal around your Katsu Sando, consider these delicious pairings that enhance every bite.
-
Crispy Pickles: Their tangy crunch contrasts nicely with the rich flavors of the sandwich, offering a refreshing bite that cleanses the palate.
-
Miso Soup: A warm bowl of miso soup adds a comforting, umami-rich start to your meal. It’s soothing and complements the savory elements of the Katsu Sando beautifully.
-
Japanese Potato Salad: Creamy and subtly sweet, this side dish enhances the flavors of the pork while offering a contrasting texture that rounds out your dining experience.
-
Shredded Cabbage Salad: Light and crunchy, this salad can be tossed with sesame dressing for a nutty flavor that echoes the sandwich while adding fresh texture.
-
Fried Edamame: These little green gems are fun to snack on and packed with protein; they provide a satisfying bite between the sandwich’s crispy layers.
-
Cold Green Tea: Refreshing and slightly bitter, this drink pairs perfectly with the richness of the Katsu Sando, cleansing the palate between bites.
-
Fruit Mochi: For a sweet ending, indulge in chewy fruit mochi. Their delightful sweetness contrasts with the savory sandwich and provides a delightful finish to your meal.
Pair these suggestions with your Pork Katsu Sando to transform an ordinary lunch into a culinary adventure!
Make Ahead Options
These Pork Katsu Sando are perfect for meal prep enthusiasts! You can prepare the pork cutlets up to 24 hours in advance by following the first few steps of the recipe. Simply slice and season the pork, then wrap it tightly and refrigerate. For the sauces, whip up the Japanese mustard mayo and red miso sauce and store them in airtight containers—both will stay fresh for up to 3 days. When you’re ready to enjoy your Katsu Sando, simply bread and fry the pork as directed, keeping in mind that your semi-prepped cutlets will fry quickly and just as deliciously! This way, you can save time during busy weeknights while still indulging in a phenomenal homemade meal.

Pork Katsu Sando Recipe FAQs
How do I choose the best pork for my Katsu Sando?
Absolutely! For the juiciest results, select a fresh pork tenderloin fillet. Look for meat that is bright pink with a slight sheen. Avoid pieces with dark spots or a dull color, as these indicate age. The tenderloin should feel firm to the touch and have minimal fat covering to ensure that it cooks up tender and flavorful.
What’s the best way to store leftover Katsu Sando?
Very! Leftover Pork Katsu Sando can be stored in an airtight container in the refrigerator for up to 1 day. The key is to reheat it to maintain a crispy texture. If you would like to enjoy it later, I recommend reheating in an oven to retain its crunch—just bake at 350°F (175°C) for 10 minutes or until heated through.
Can I freeze Pork Katsu Sando?
Absolutely! To freeze your sandwiches, wrap them tightly in plastic wrap or aluminum foil. They can be stored in the freezer for up to 2 months. To reheat, simply place them in a preheated oven at 350°F (175°C) for approximately 10-15 minutes. This will help keep the bread crispy while ensuring the pork is heated through.
What if I can’t find panko breadcrumbs?
No worries! You can use regular breadcrumbs if you’re in a pinch, but keep in mind that they may not provide the same level of crunch. If you’re looking for a more textured alternative, you can try crushing up baked rice crackers as a substitute for that crispy coating. Just make sure the pieces are finely crushed so they adhere well.
Are there any dietary restrictions I should consider for my Katsu Sando?
Very! If you’re preparing this Fujian delicacy for someone with dietary restrictions, keep in mind that Worcestershire sauce contains gluten. You can easily find gluten-free versions at the store or simply leave it out. For a dairy-free option, swap butter for margarine or dairy-free butter. If you’re catering to vegans, you can substitute pork with a plant-based protein and use a flax egg in the breading process.
How do I ensure my Katsu is perfectly crispy?
The more the merrier! For that iconic crispy texture, make sure to follow the double-frying technique: fry at a lower temperature first to cook the pork, then increase the oil temperature for the second fry to achieve that golden crunch. Additionally, do not move the cutlet too much during the initial fry, as this can cause the coating to separate.

Pork Katsu Sando: Crunchy Japanese Sandwich Bliss at Home
Ingredients
Equipment
Method
- Slice the pork tenderloin into 1.5 to 2 cm thick pieces. Tenderize them gently through the meat and season with salt and pepper to enhance flavor.
- Wrap the seasoned pork in plastic wrap and freeze for about 30 minutes.
- For the Japanese mustard mayo, whisk together your ingredients until smooth. For the red miso sauce, combine all ingredients in a pot and simmer on low until thickened.
- In three separate bowls, arrange flour, beaten egg, and panko breadcrumbs.
- Dredge each piece of pork first in flour, then dip it into the egg mixture, and finally coat it thoroughly with panko breadcrumbs.
- Heat your oil to 160°C (320°F). Fry the coated pork for about 4 minutes on each side until golden brown and crispy. Let it rest on a wire rack.
- Increase the oil temperature to 180°C (356°F) and fry the pork for an additional minute on each side.
- Spread butter on one side of each bread slice. Drizzle Worcestershire sauce on the fried pork, layer on the shredded cabbage, and place the pork cutlet inside the bread.
- Trim the crusts if desired, cut your Katsu Sando in half, and enjoy!


